

Without Back Cover#
There exists two basic possibilities of mounting:
Mounting of clock into wall niche
Mounting into a panel.
For both mounting is very important to prepare appropriate holes according to drawing and clock body.
Step 1
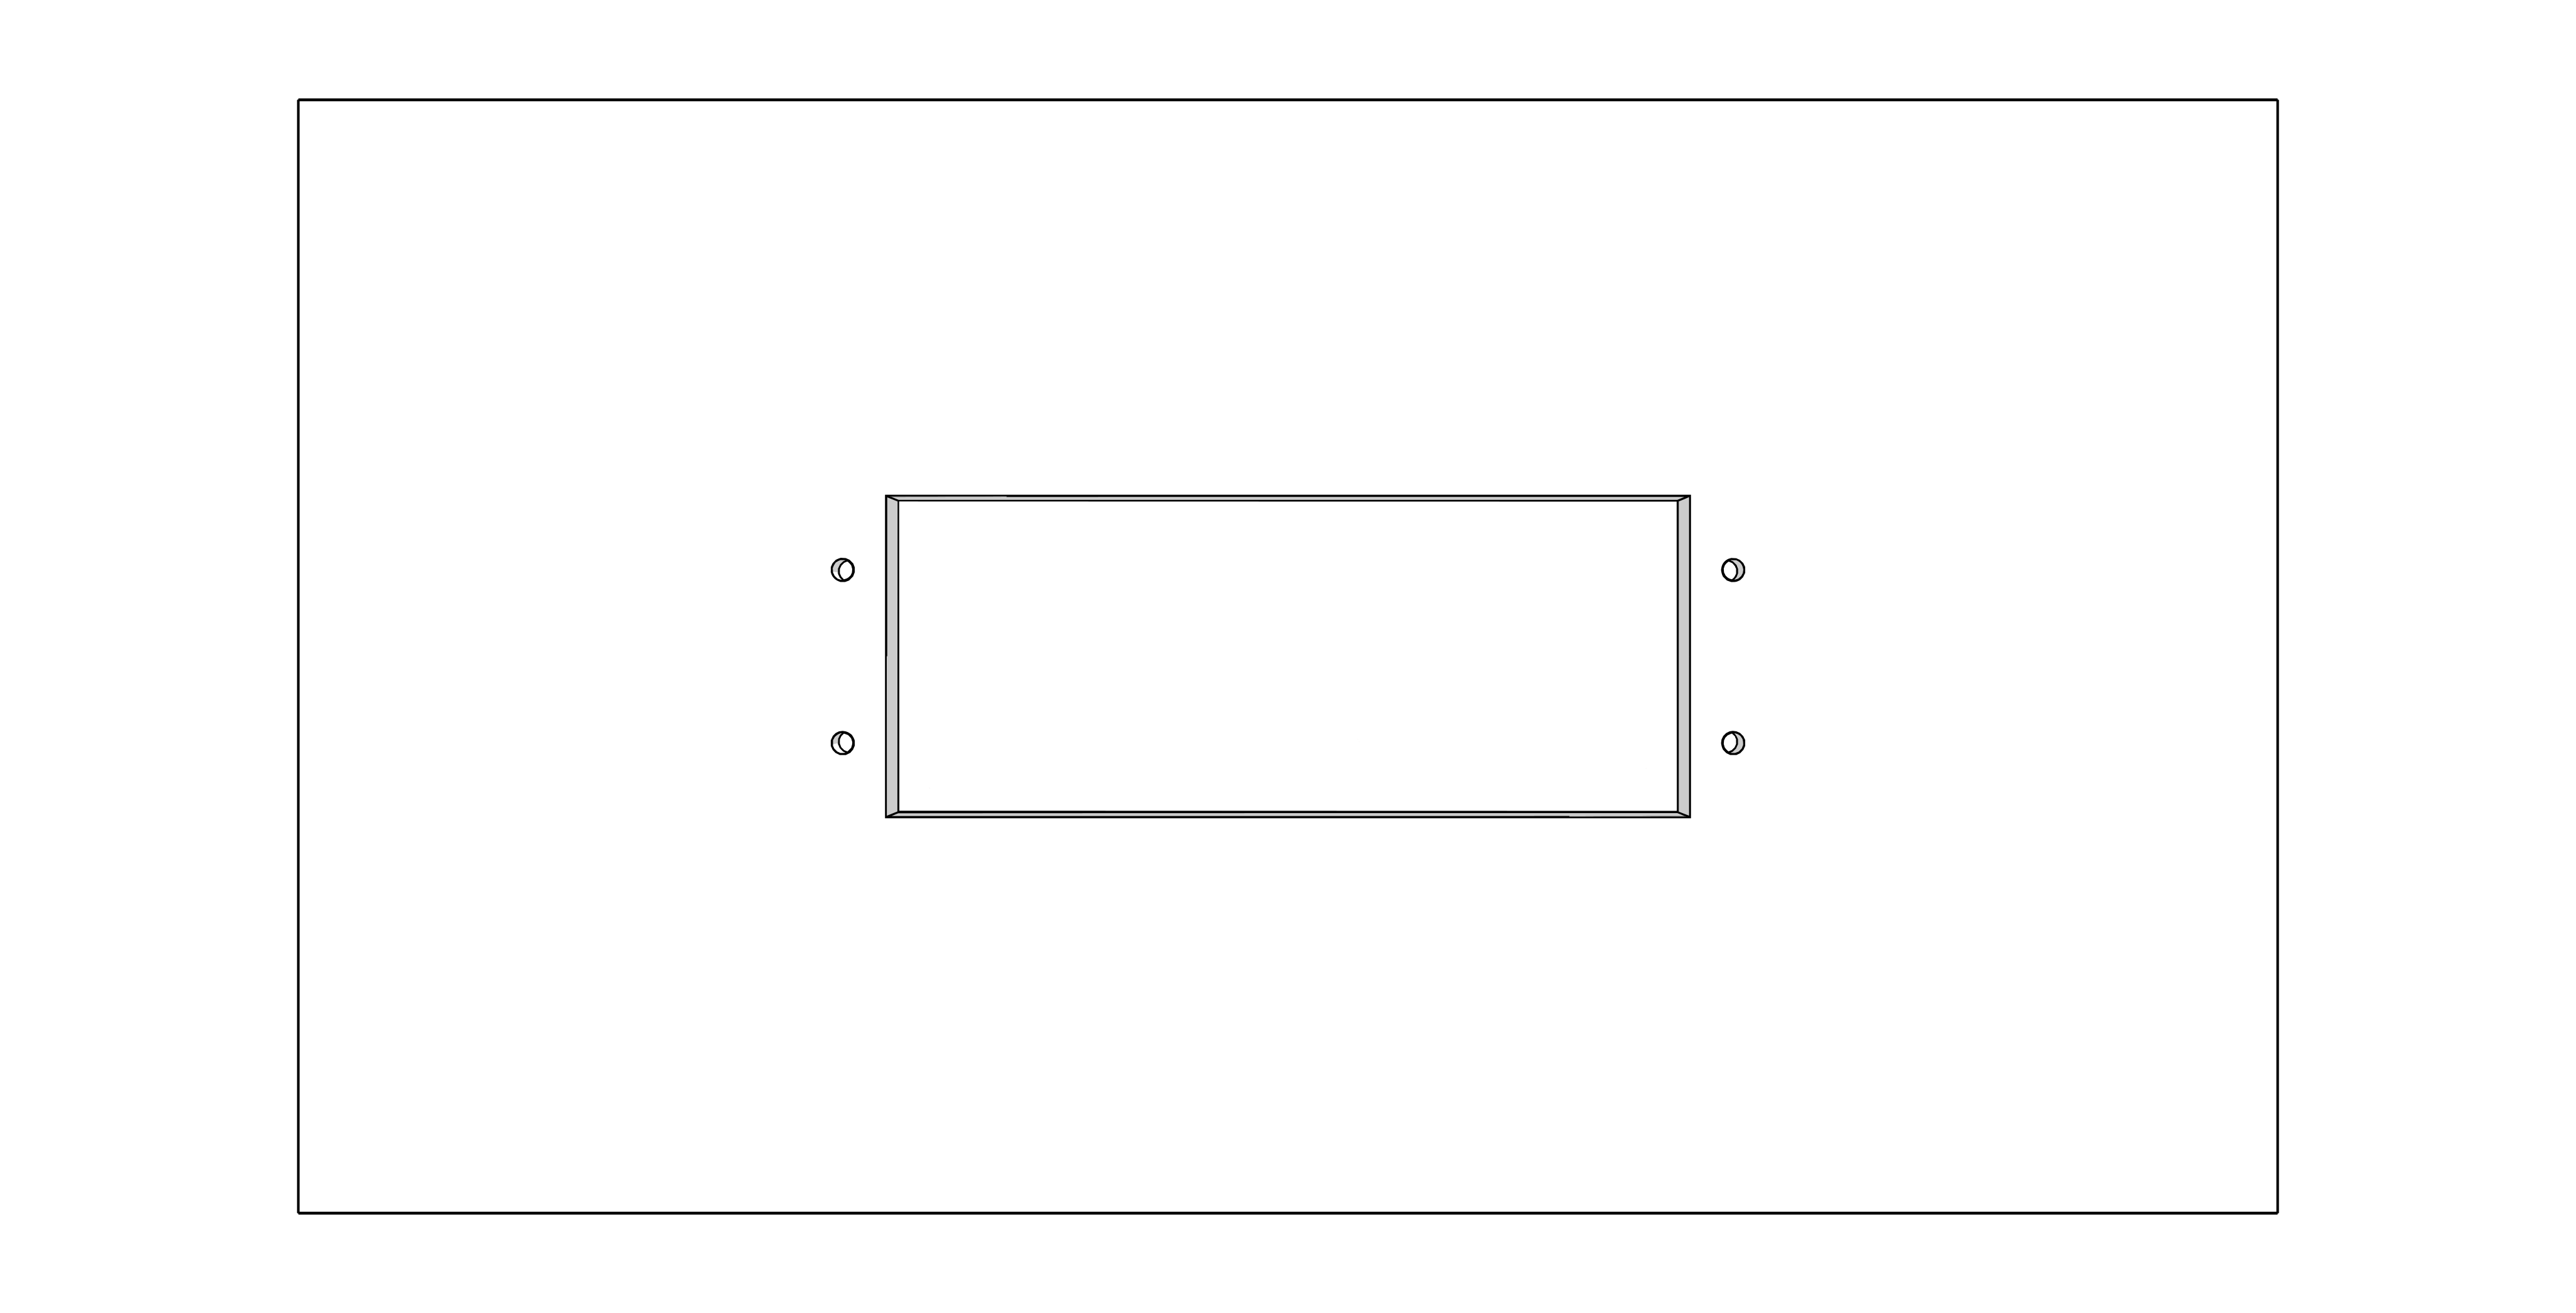
For wall niche mounting:
Drill two anchoring holes into a wall of a diameter adequate to accommodate appropriate screws of 4 to 5 mm diameter. As a template for marking the position of holes the back cover can be used.
For panel mounting:
Drill two anchoring holes of 2.6 mm diameter into the panel to accommodate appropriate screws of 4 to 5 mm diameter. As a template for marking the position of the holes the back cover can be used.
Step 2
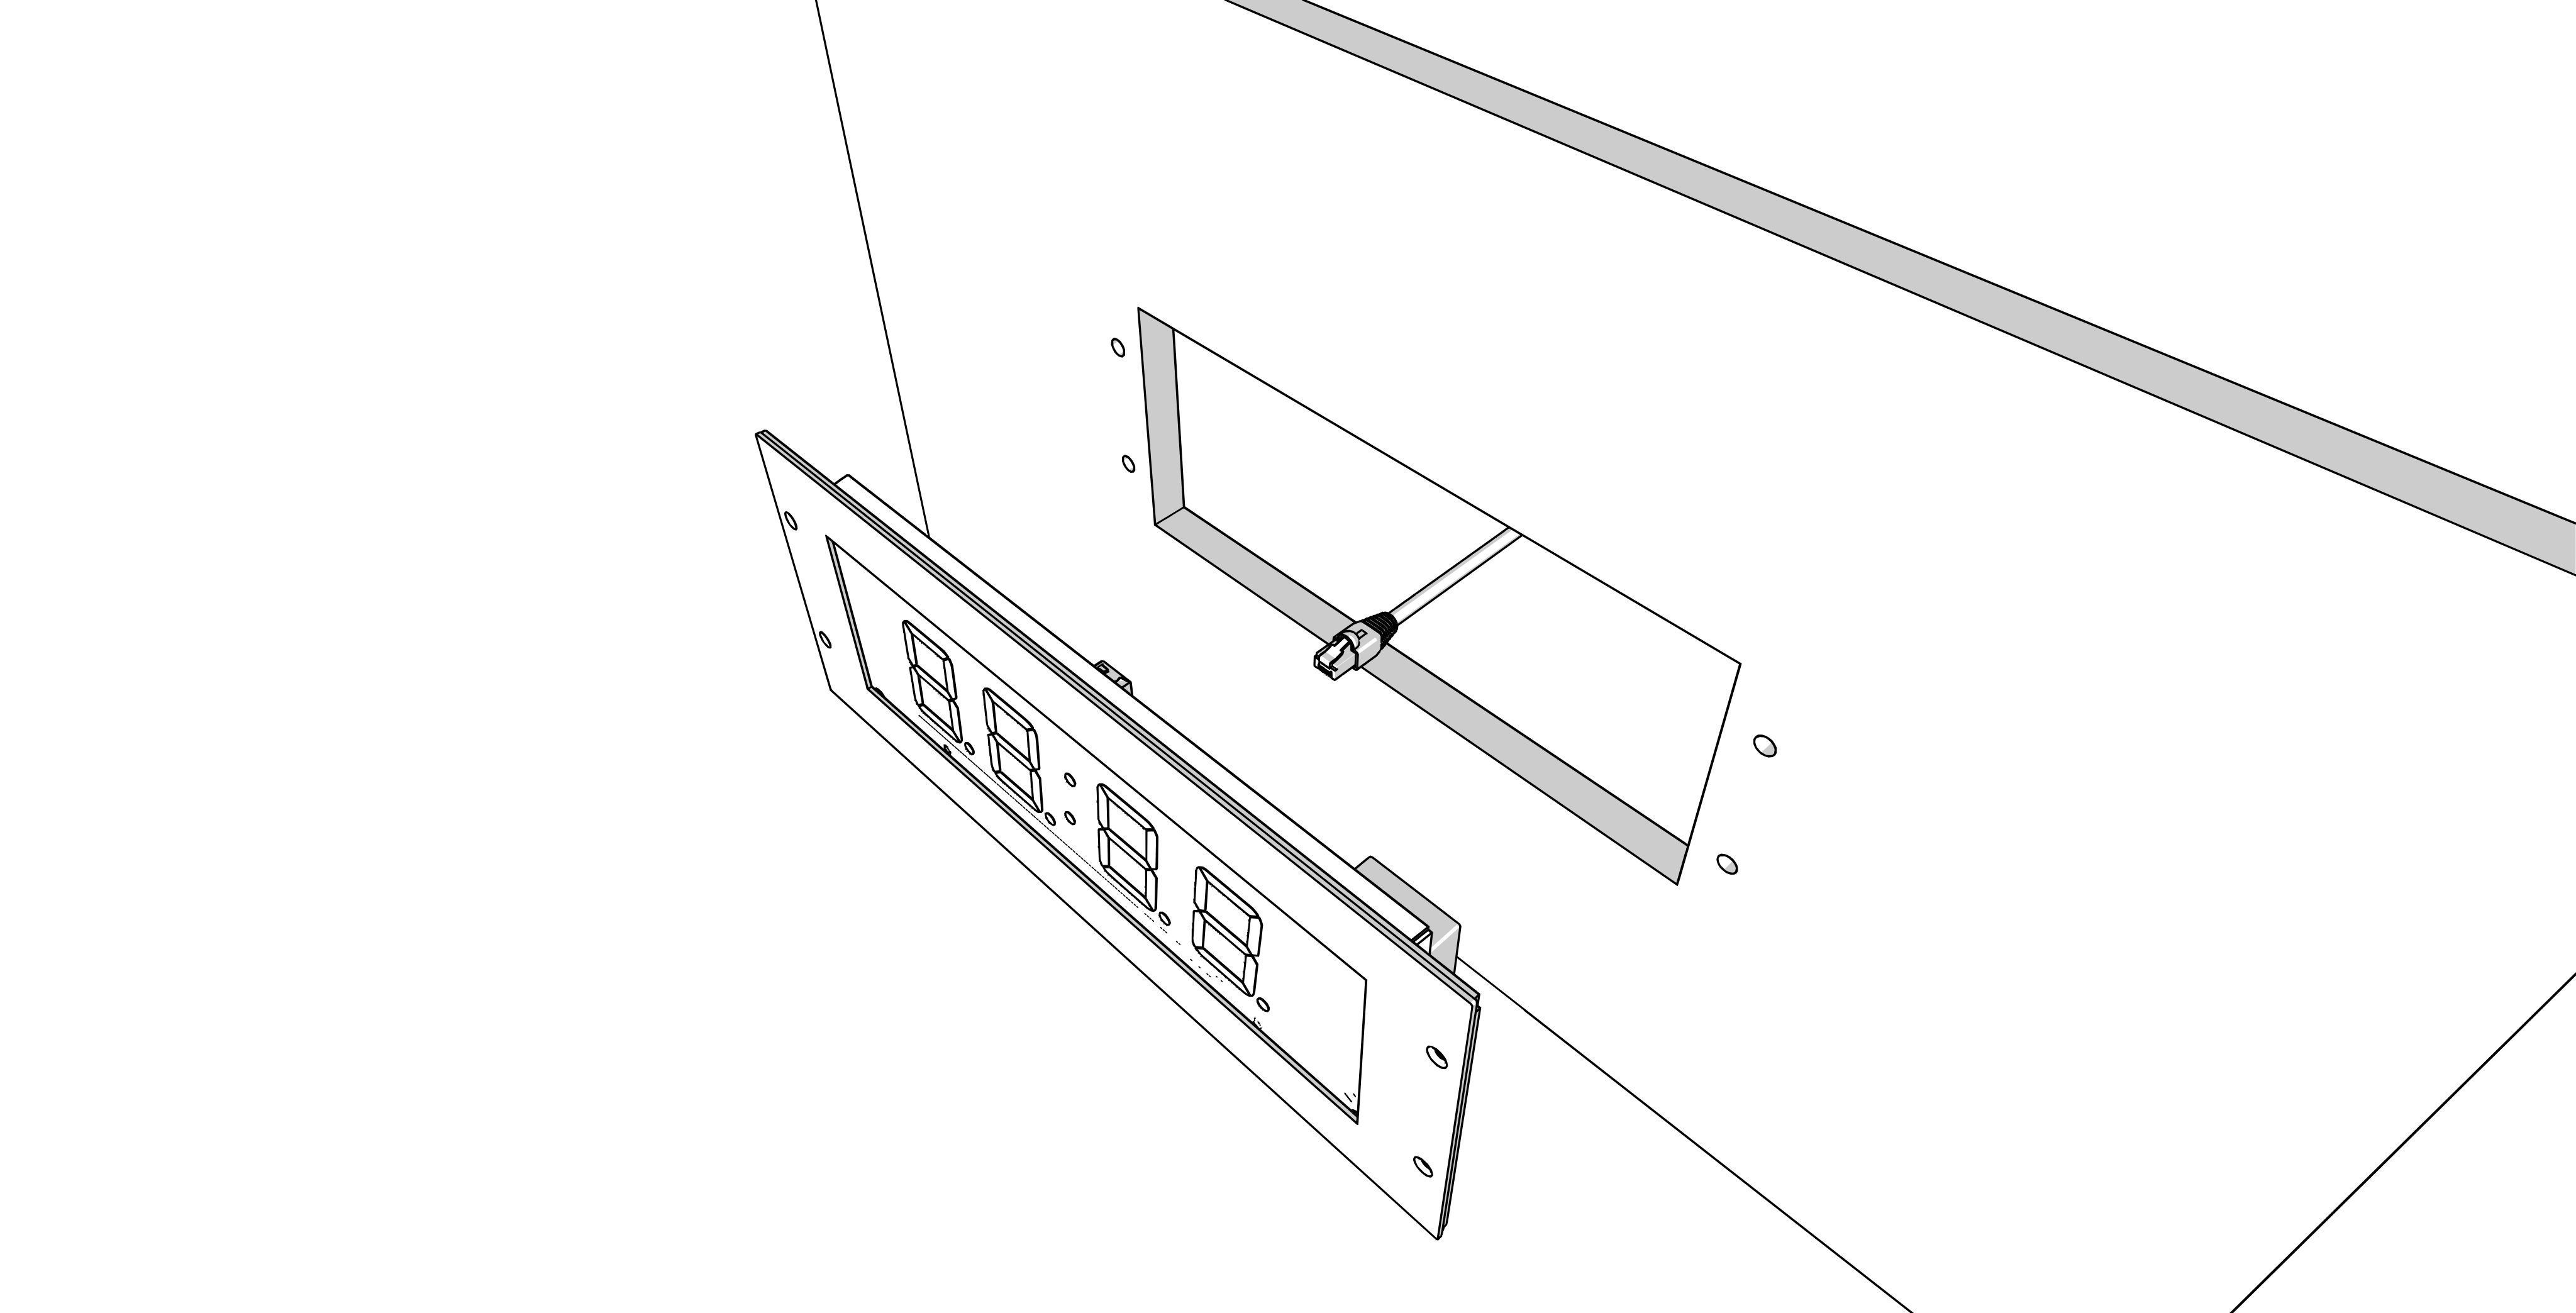
1
See chapter Cable Connection.
For mains‑powered clocks, connect the supply conductors according to the labels located on the terminals of the power module (WAGO terminals or equivalent).
Shape or shorten the conductors so that their routing does not obstruct proper positioning and securing of the clock.
For PoE‑powered clocks, connect a PoE‑enabled Ethernet cable to the RJ‑45 connector on the control board.
Use a PoE switch port or PoE injector that provides the required PoE power.
Connect the wires of the respective component (e.g., temperature sensor, keyboard, or RS‑485 interface) to the plug‑in terminal connector according to the label next to the terminal.
1
The plug-in terminal connectors are inserted in the terminals.
Insert the plug‑in connector of the respective component (e.g., temperature sensor, keyboard, or RS‑485 interface) into the corresponding terminal on the control board.
Connect the Ethernet cable to the RJ-45 connector, if available.
Caution
Be careful not to swap the terminals. Check the markings of the terminals on the control board.
Caution
For the LGC variant, set the DIP switch according to the used synchronization signal (its position can be found in the Cable Connection chapter, marked with the letter B).
For lines synchronization, keep the DIP switch in its default position.
For all other synchronization signals (DCF, MOBALine, polarized impulse line, IRIG‑B), set the DIP switch to the DCF position.
See the chapter Clock Operation > Non-network Clock Operation for detailed information about connecting the various synchronization sources and receivers.
Step 3
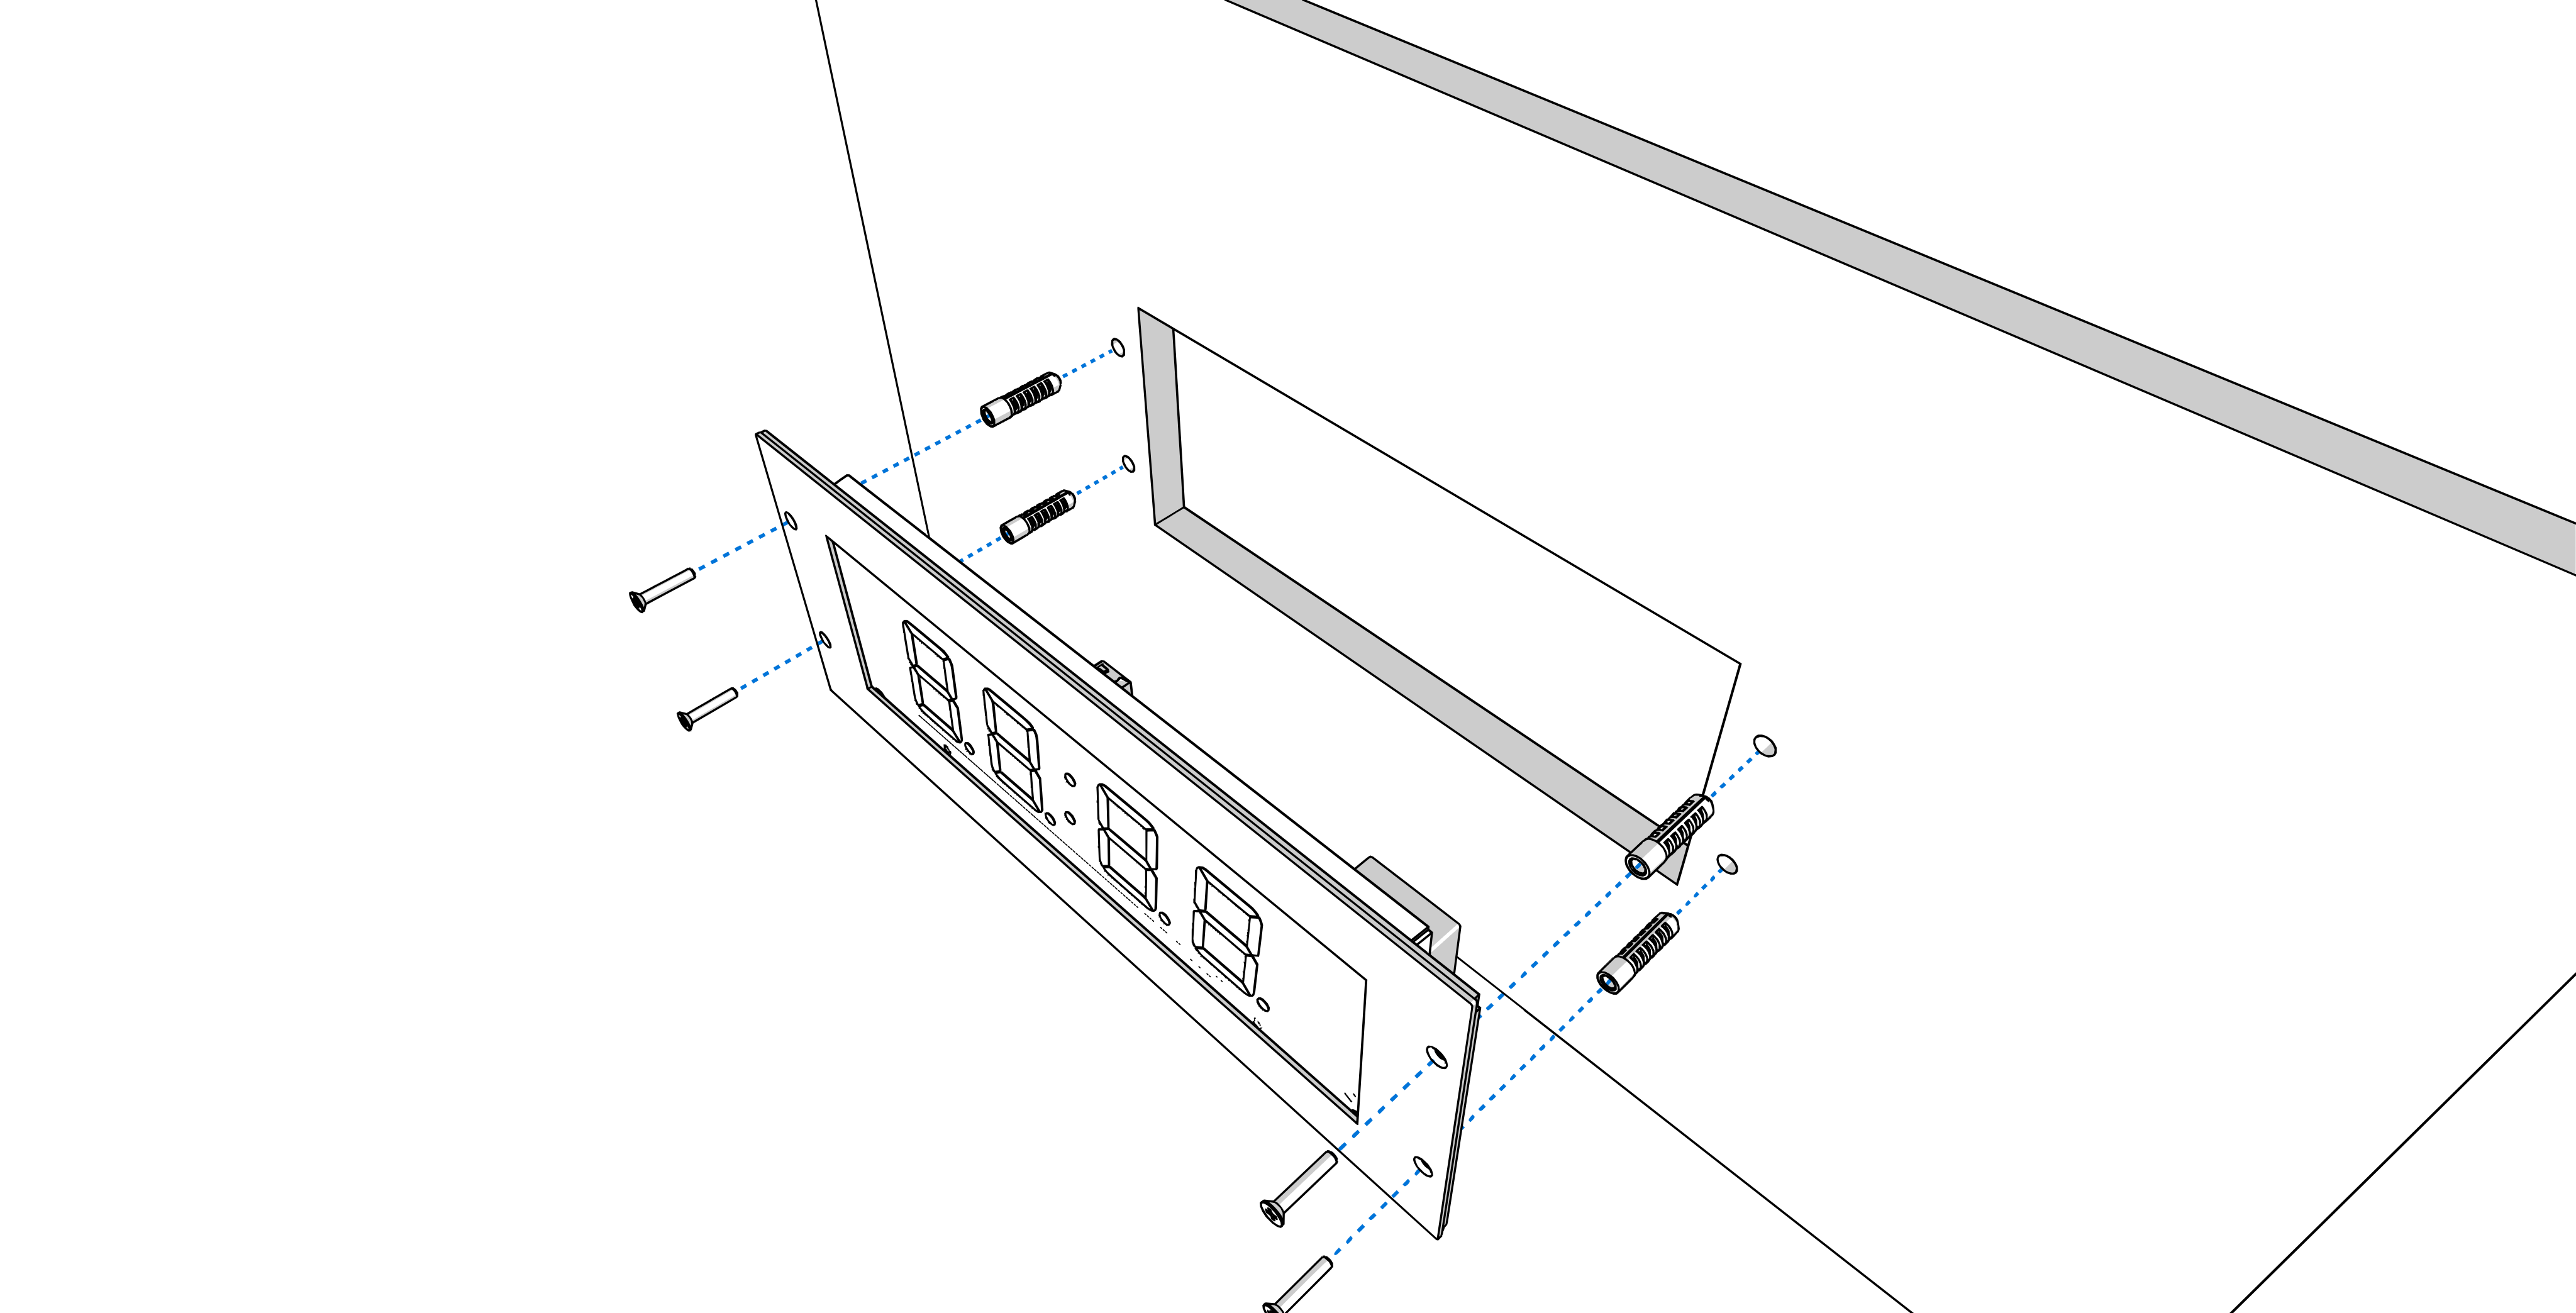
Fix the clock to the panel/wall using screws.