Report Templates#
To open the report templates, choose from the menu.
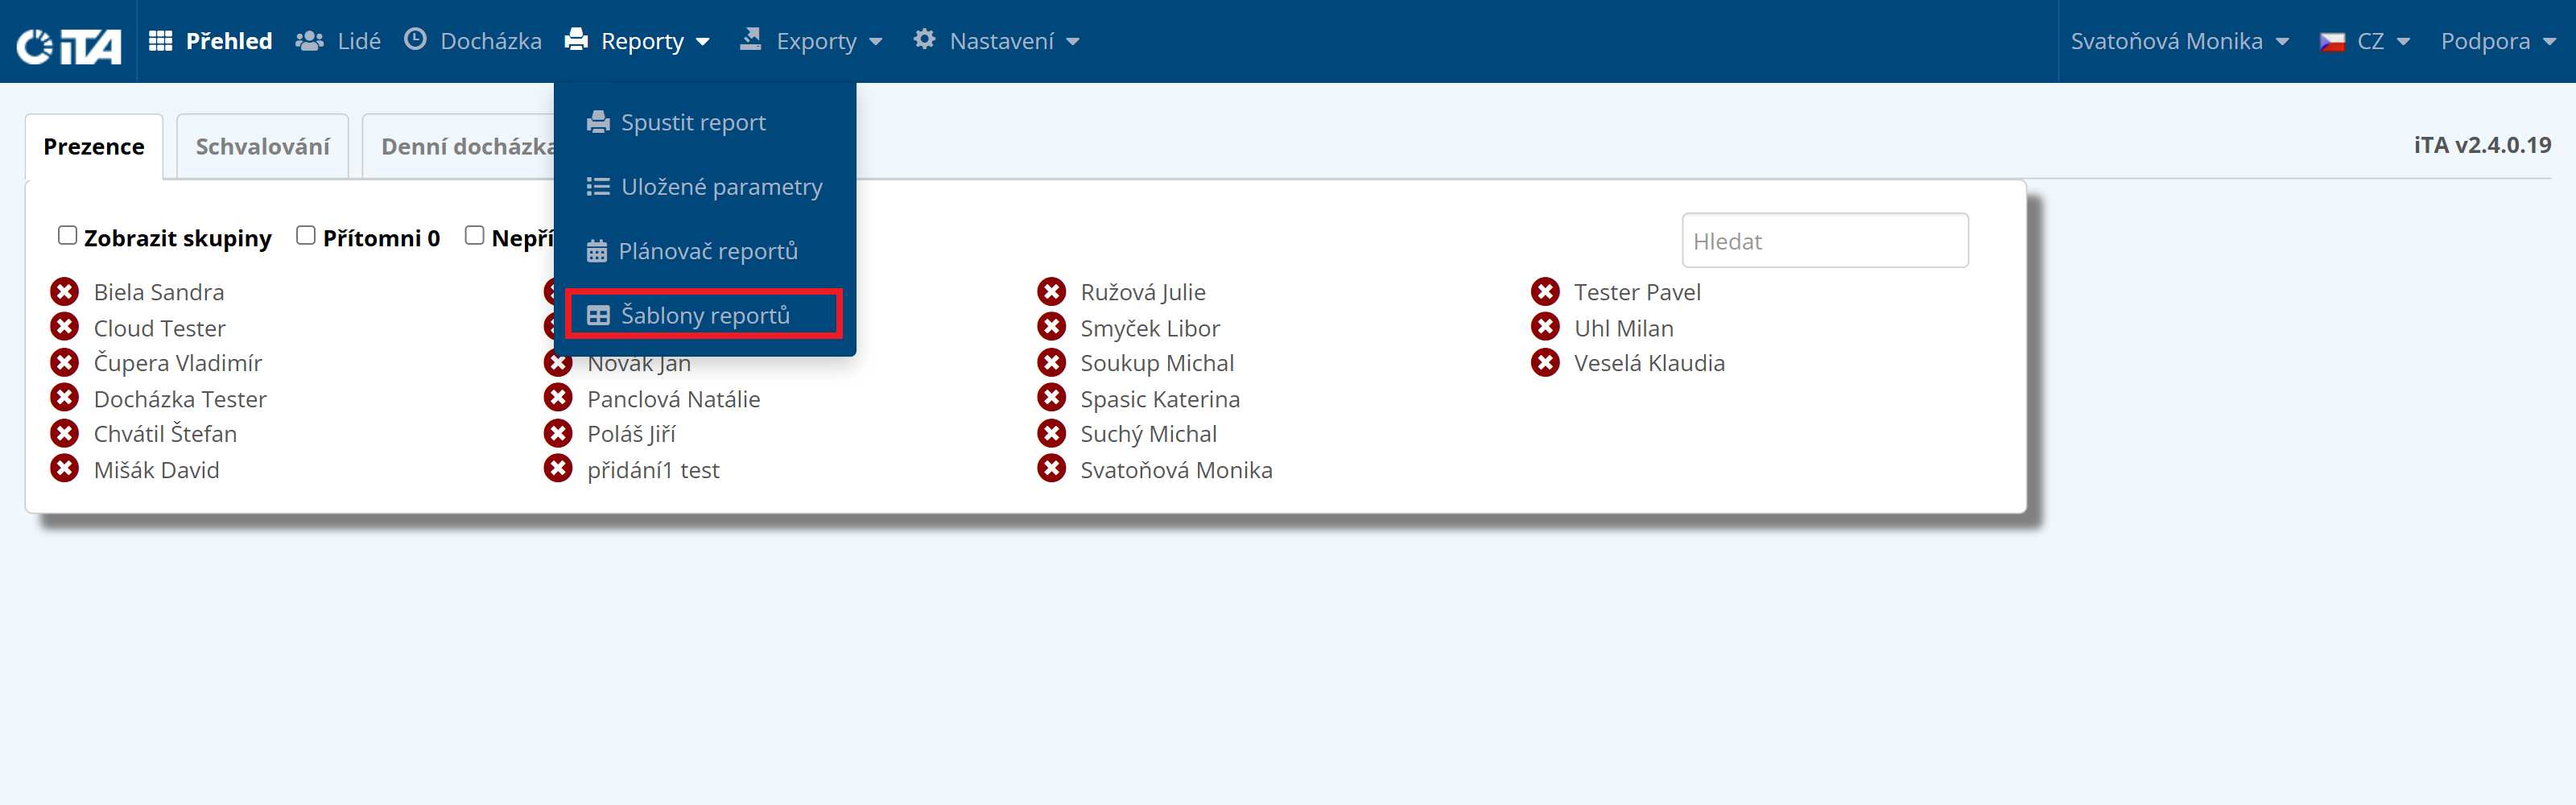
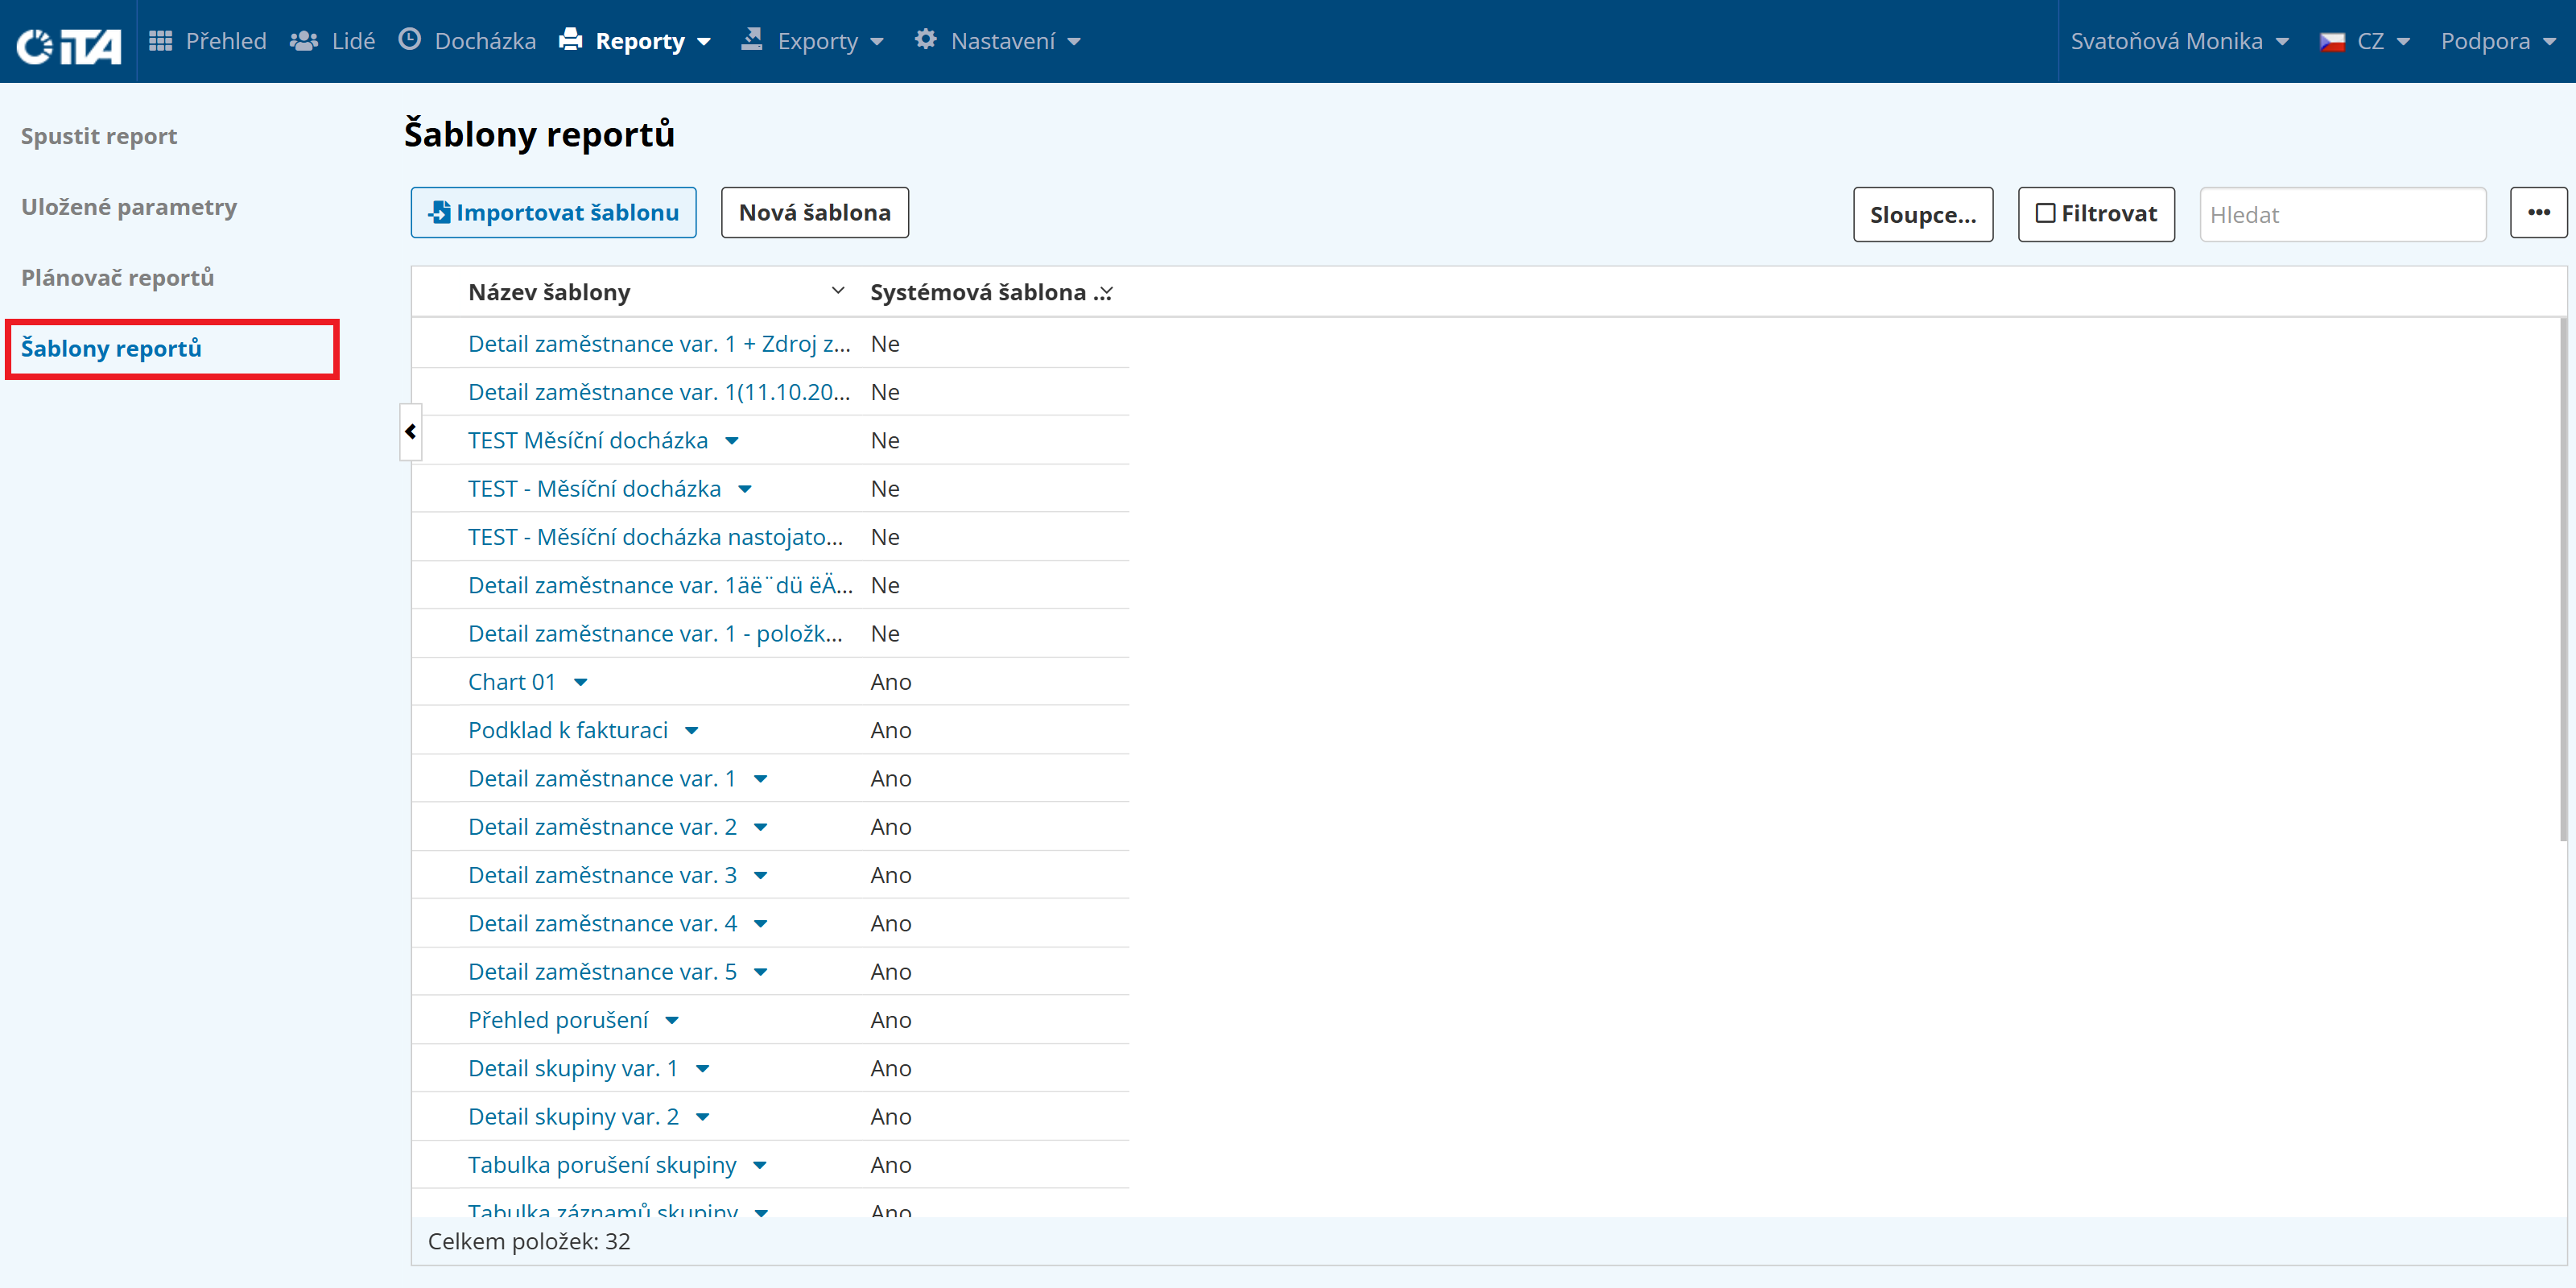
The system provides predefined reports, or you can create a new template, or have one imported.
Creating a Report Template#
Click New Template:

Enter the report template name:

Click Save. You are taken to the report template parameter settings.
Report Template Parameters#
Main Settings#
In this subsection, you configure the basic settings.

Fill in the following fields:
- Template name:
The template’s name.
- Page grouping:
The key used to display the information. Example: to create a template for individual employees, select “Group by employee”; to group by month, select “Group by month”. The report will have as many pages as there are selected groupings. (If I select “Group by employee”, the report will have as many pages as there are employees. If I select “Group by month”, it will have as many pages as there are months…).
- Editing language:
Select the language in which to send the report. Czech, English, German, and Swiss (Rumantsch) are currently supported.
- Page grouping (Filter):
Choose whether to display only records using a variable, only records with unresolved violations, or only records containing attendance.
- Paper format:
Choose between A4, A3, or the widget displayed on the landing page (Overview).
- Orientation:
Choose portrait or landscape.
- Margins:
Choose between automatic margins and custom margins.
Header#
In this subsection, you can create and edit the header. The header is defined by rows, each of which contains a column. The number of rows and columns defines a table that appears at the top of each page.
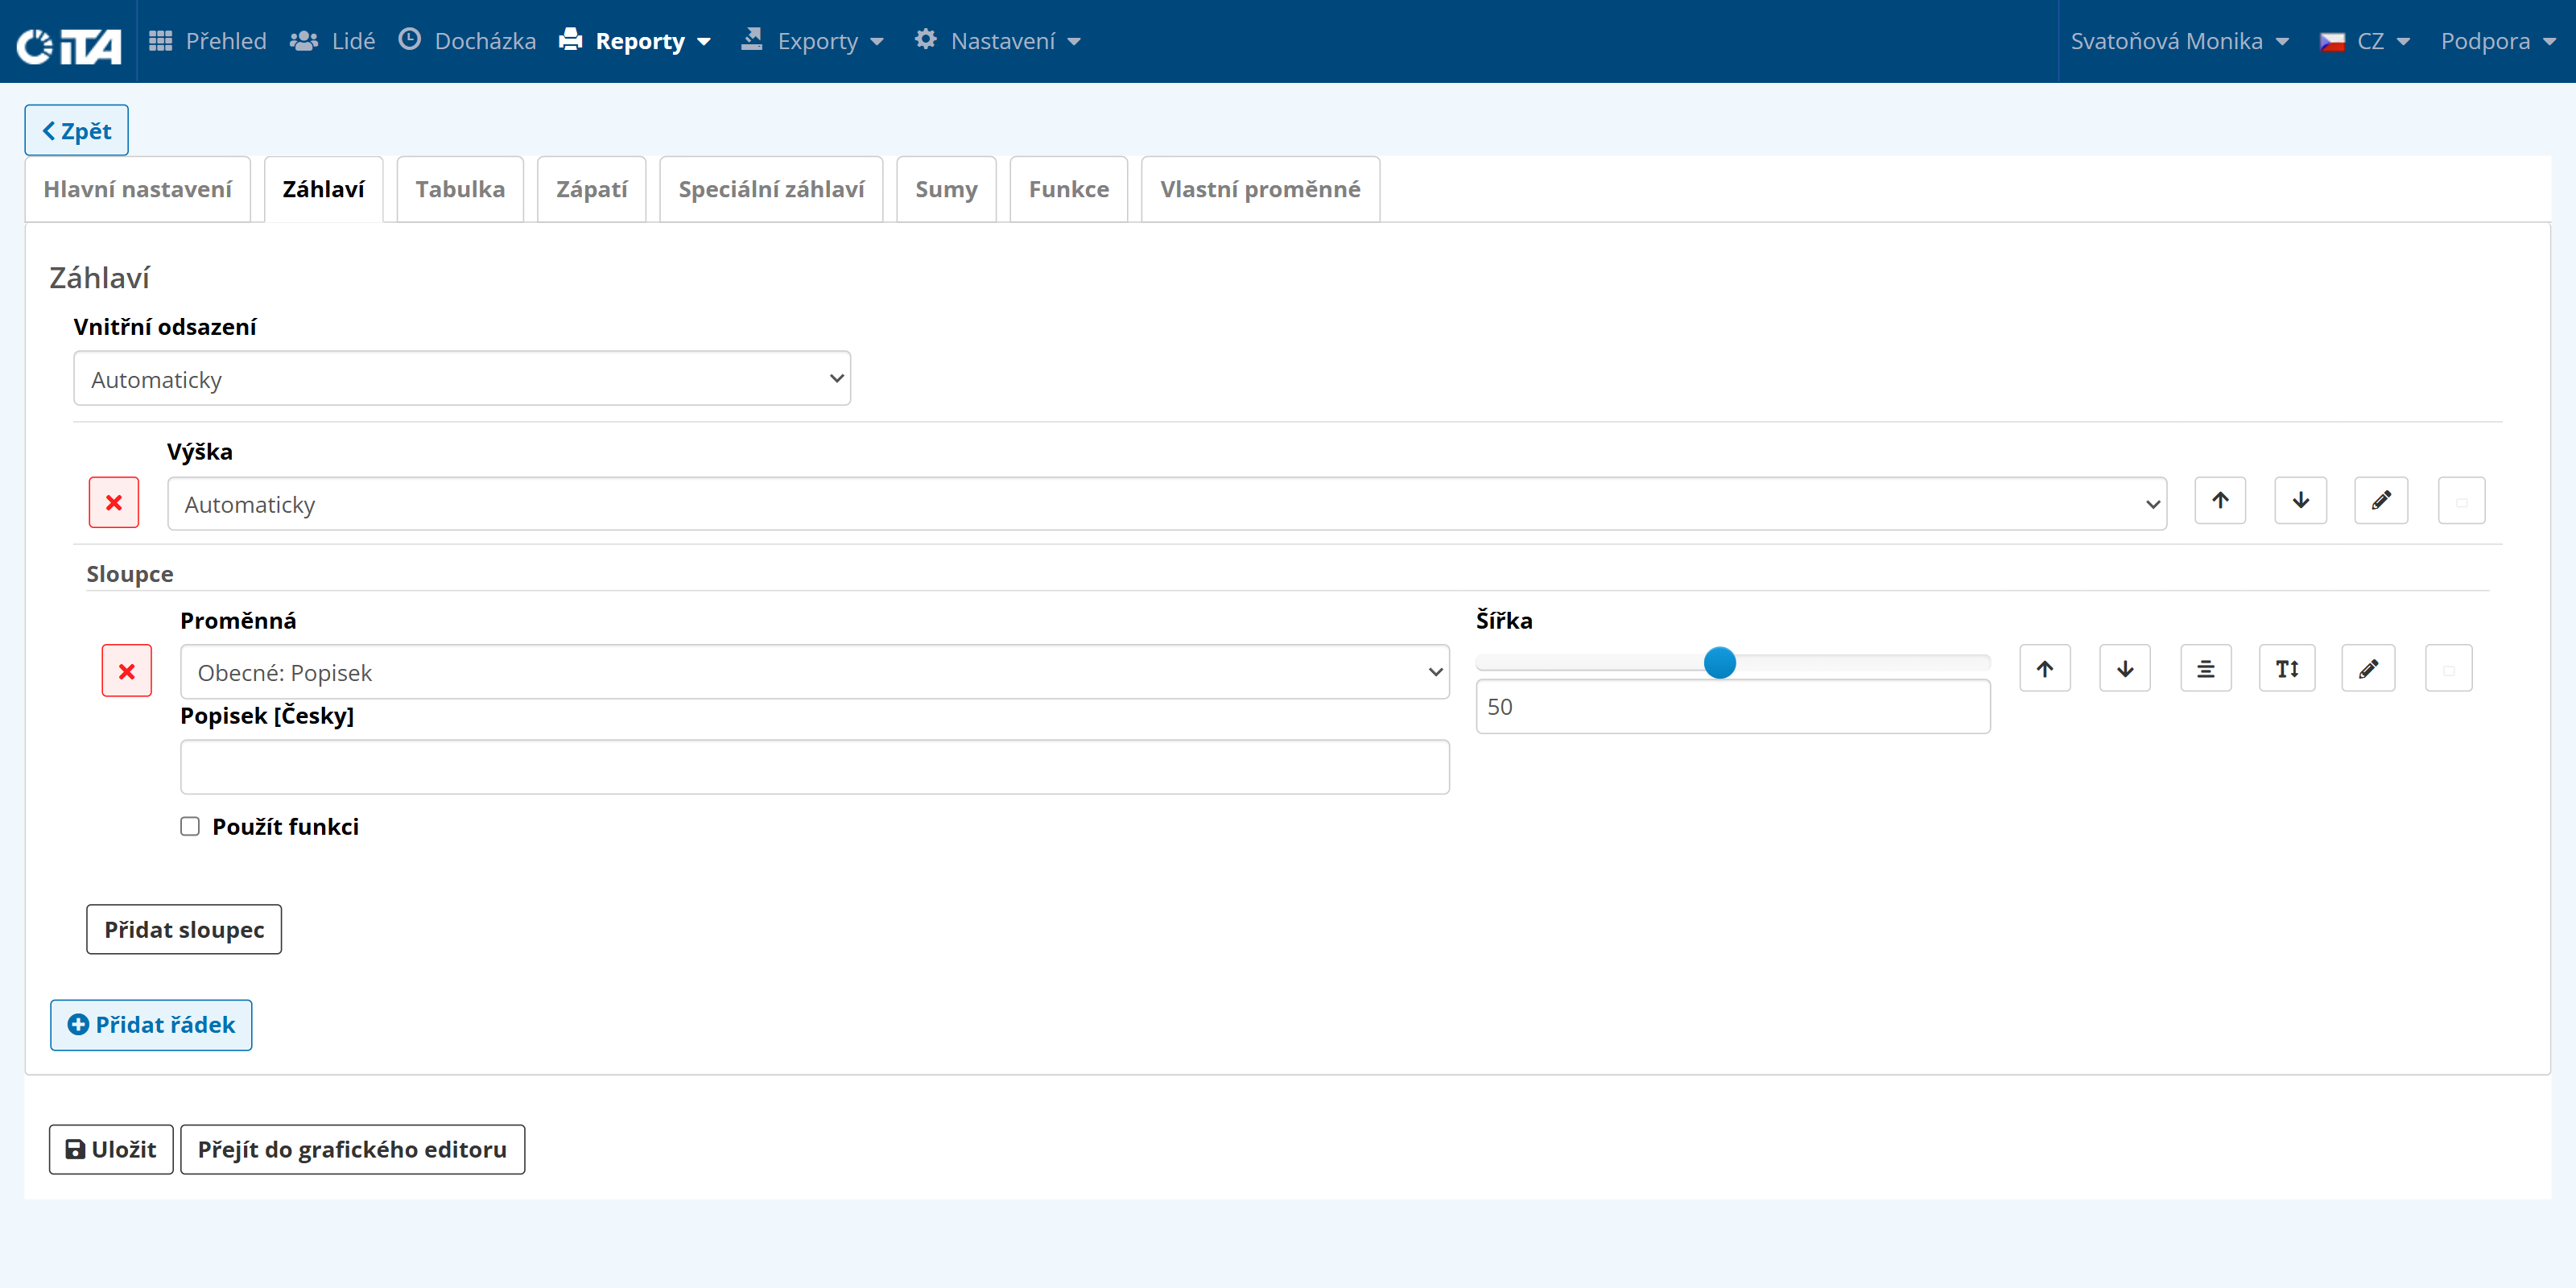
Several options are available:
- Padding:
Lets you set the padding (in mm) on each side:
Automatic — dimensions are determined automatically by the system.
Custom — you set the dimensions yourself.
- Height:
Lets you change the column height:
Automatic — the system selects the best height automatically.
Fixed height — set a specific height.
- Add column:
Use Add Column to add columns that drive the data in the header. More than 100 options are available.
Variables: Interval, General, Report, Year, Employee Group, Customer, Employee, Record.
- Add row:
Use Add Row to add a new row, which you can again split into columns.
Universal Options#
In the options, you can configure the following parameters:
- Width:
This setting controls the width of the given parameter relative to the others. For example, the date needs less space than the overall summary.

- / :
Move up / move down.
Use this option to move individual columns up or down without having to delete and recreate them.

- Label type:
Choose an automatic label, or rename it freely using the “Custom” option.
- :
Horizontal/vertical alignment
use this function to align data in the table to a specific side.
- :
Text size/weight
select the text size and weight.
- :
Text/background color
choose the text and background color.
- :
Text border
choose an automatic or custom text border.
Table#
On the Table tab, you can select the actual data displayed in the generated report.
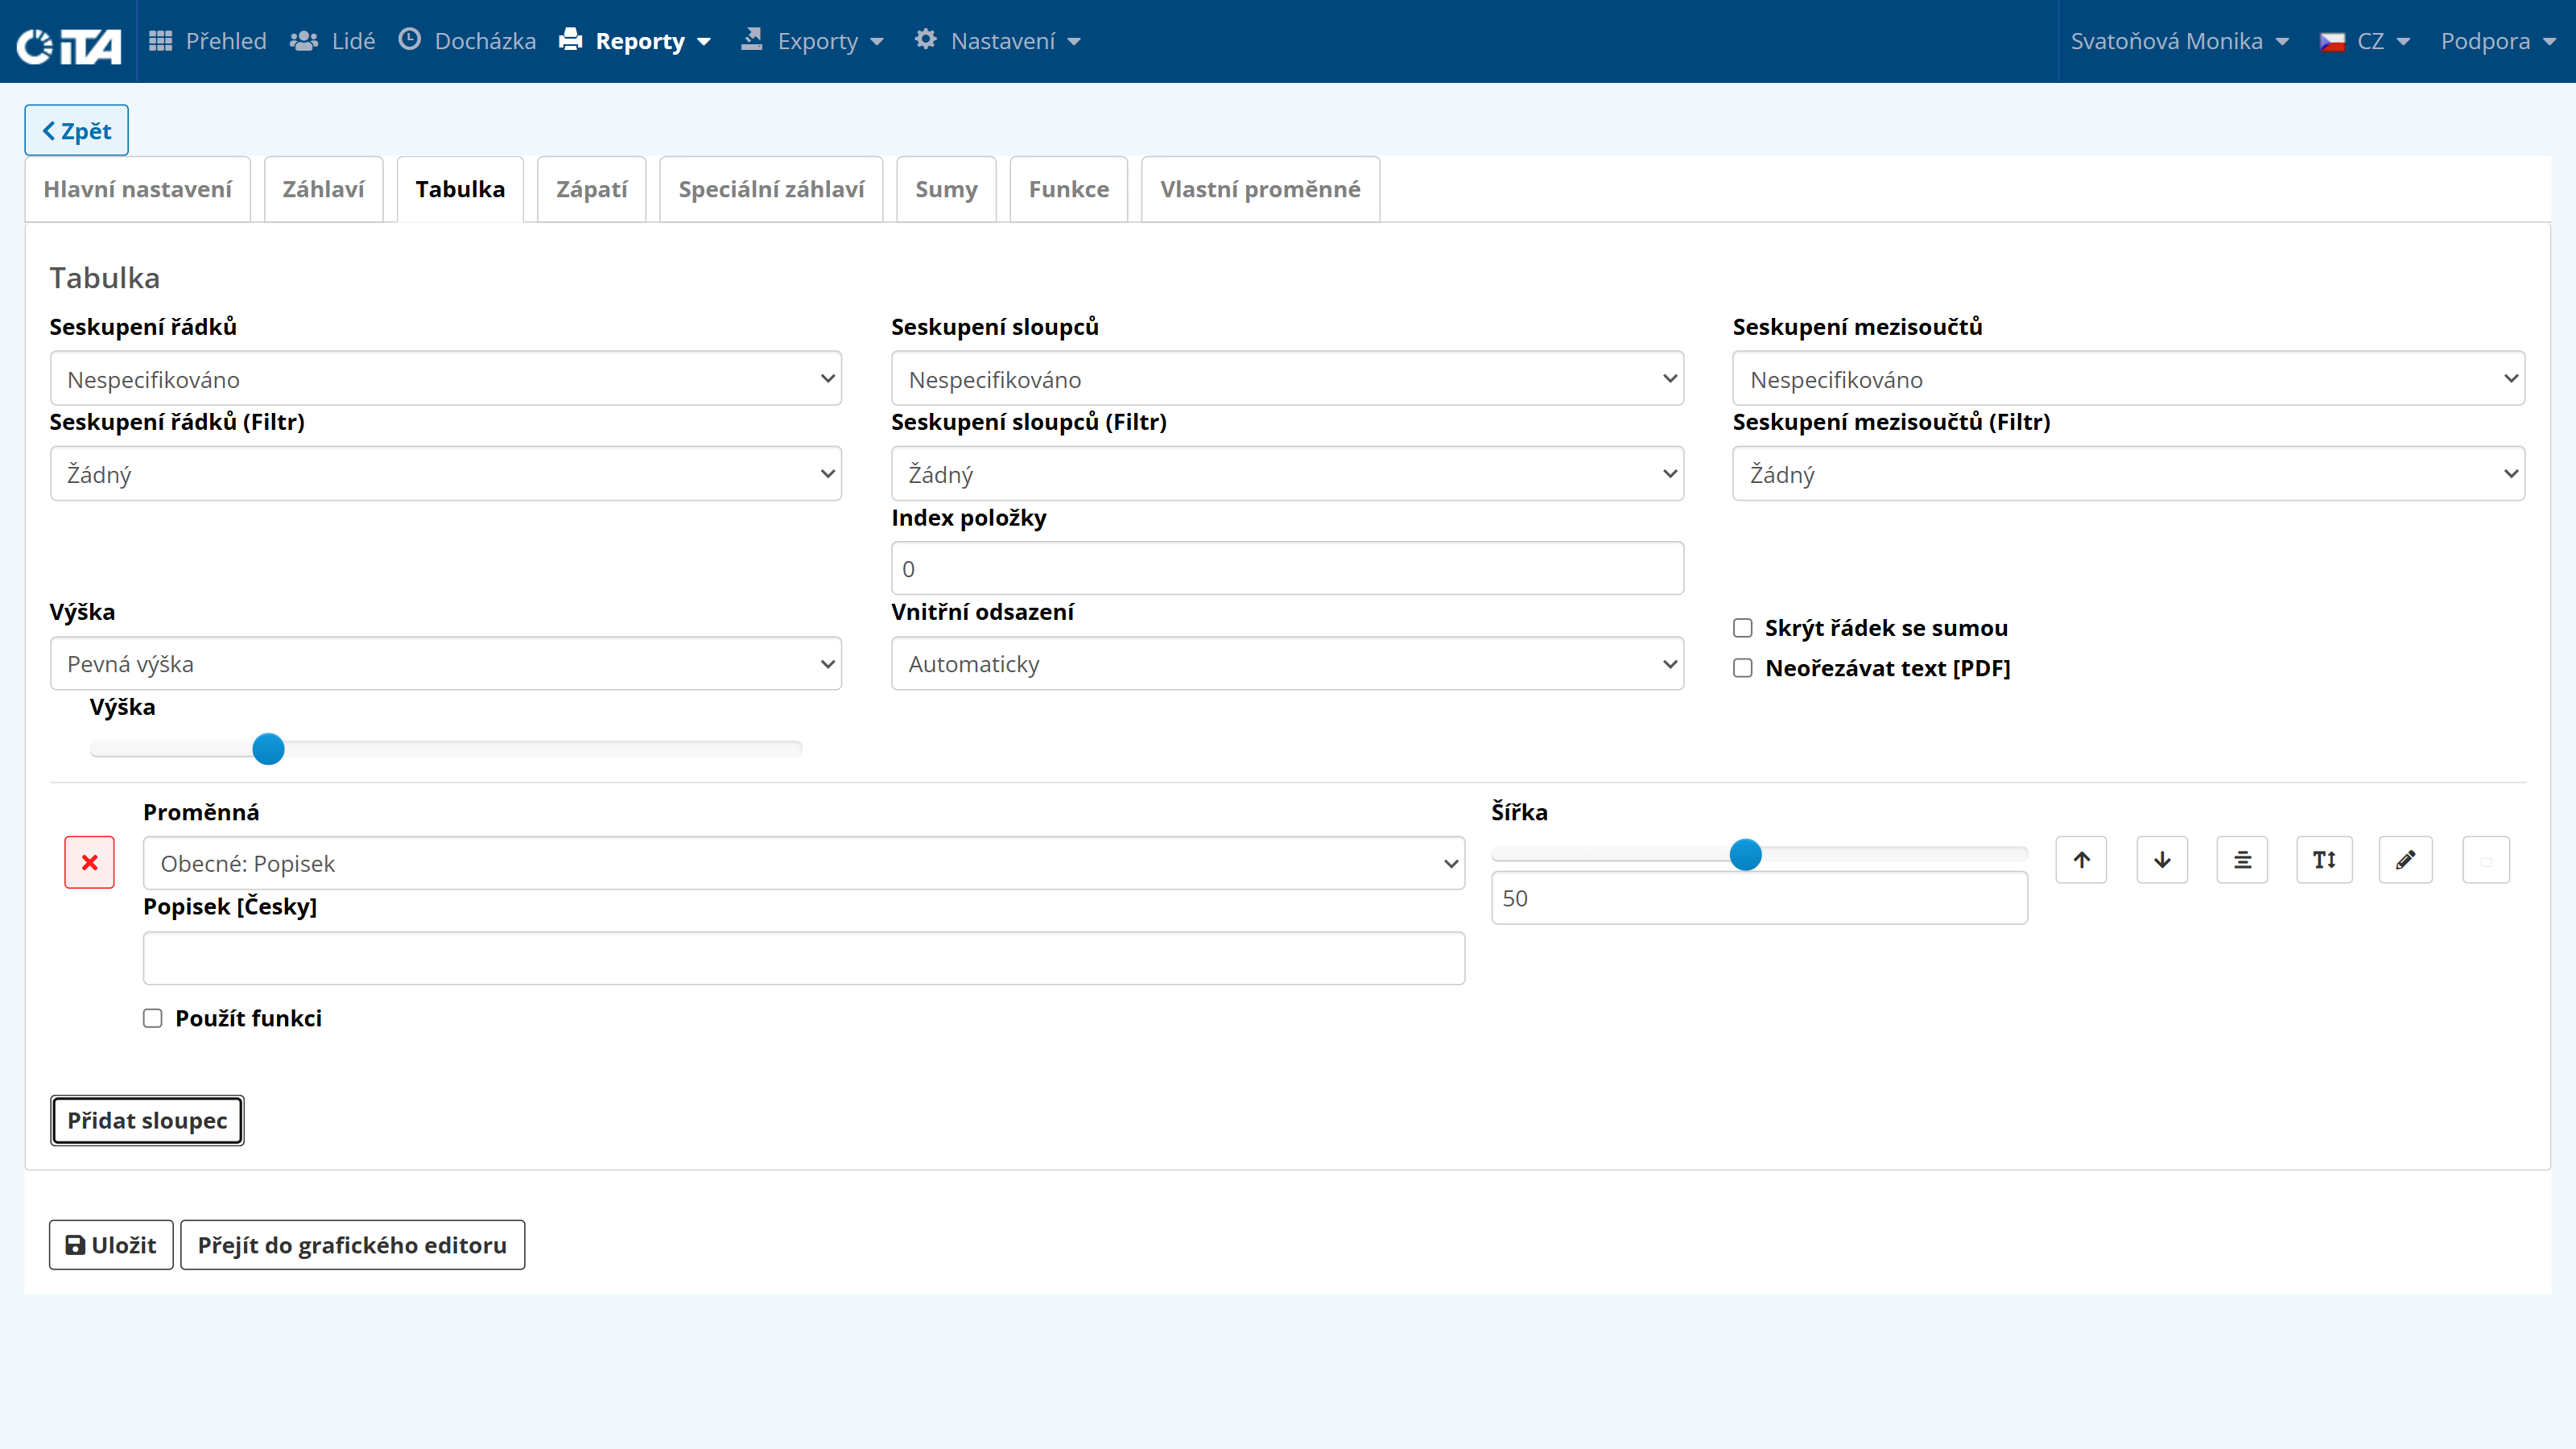
Here you can configure grouping by rows and columns, subtotal grouping (e.g. by week, by employee group…), and edit the height and padding. The “Hide sum row” and “Do not crop text [PDF]” options are also available.
The variables here are similar to those in the header, again divided into the groups Interval, General, Report, Year, Employee Group, Customer, Employee, and Record. You can also use the various supplementary options here, such as text color, highlighting, padding, and so on.
If an index field appears, it refers to an account number. You can find the account number in Settings → Time Account, Absences, Holidays, where each account has a sequence number. Enter this number in the index field.
You can now start defining your own report template.
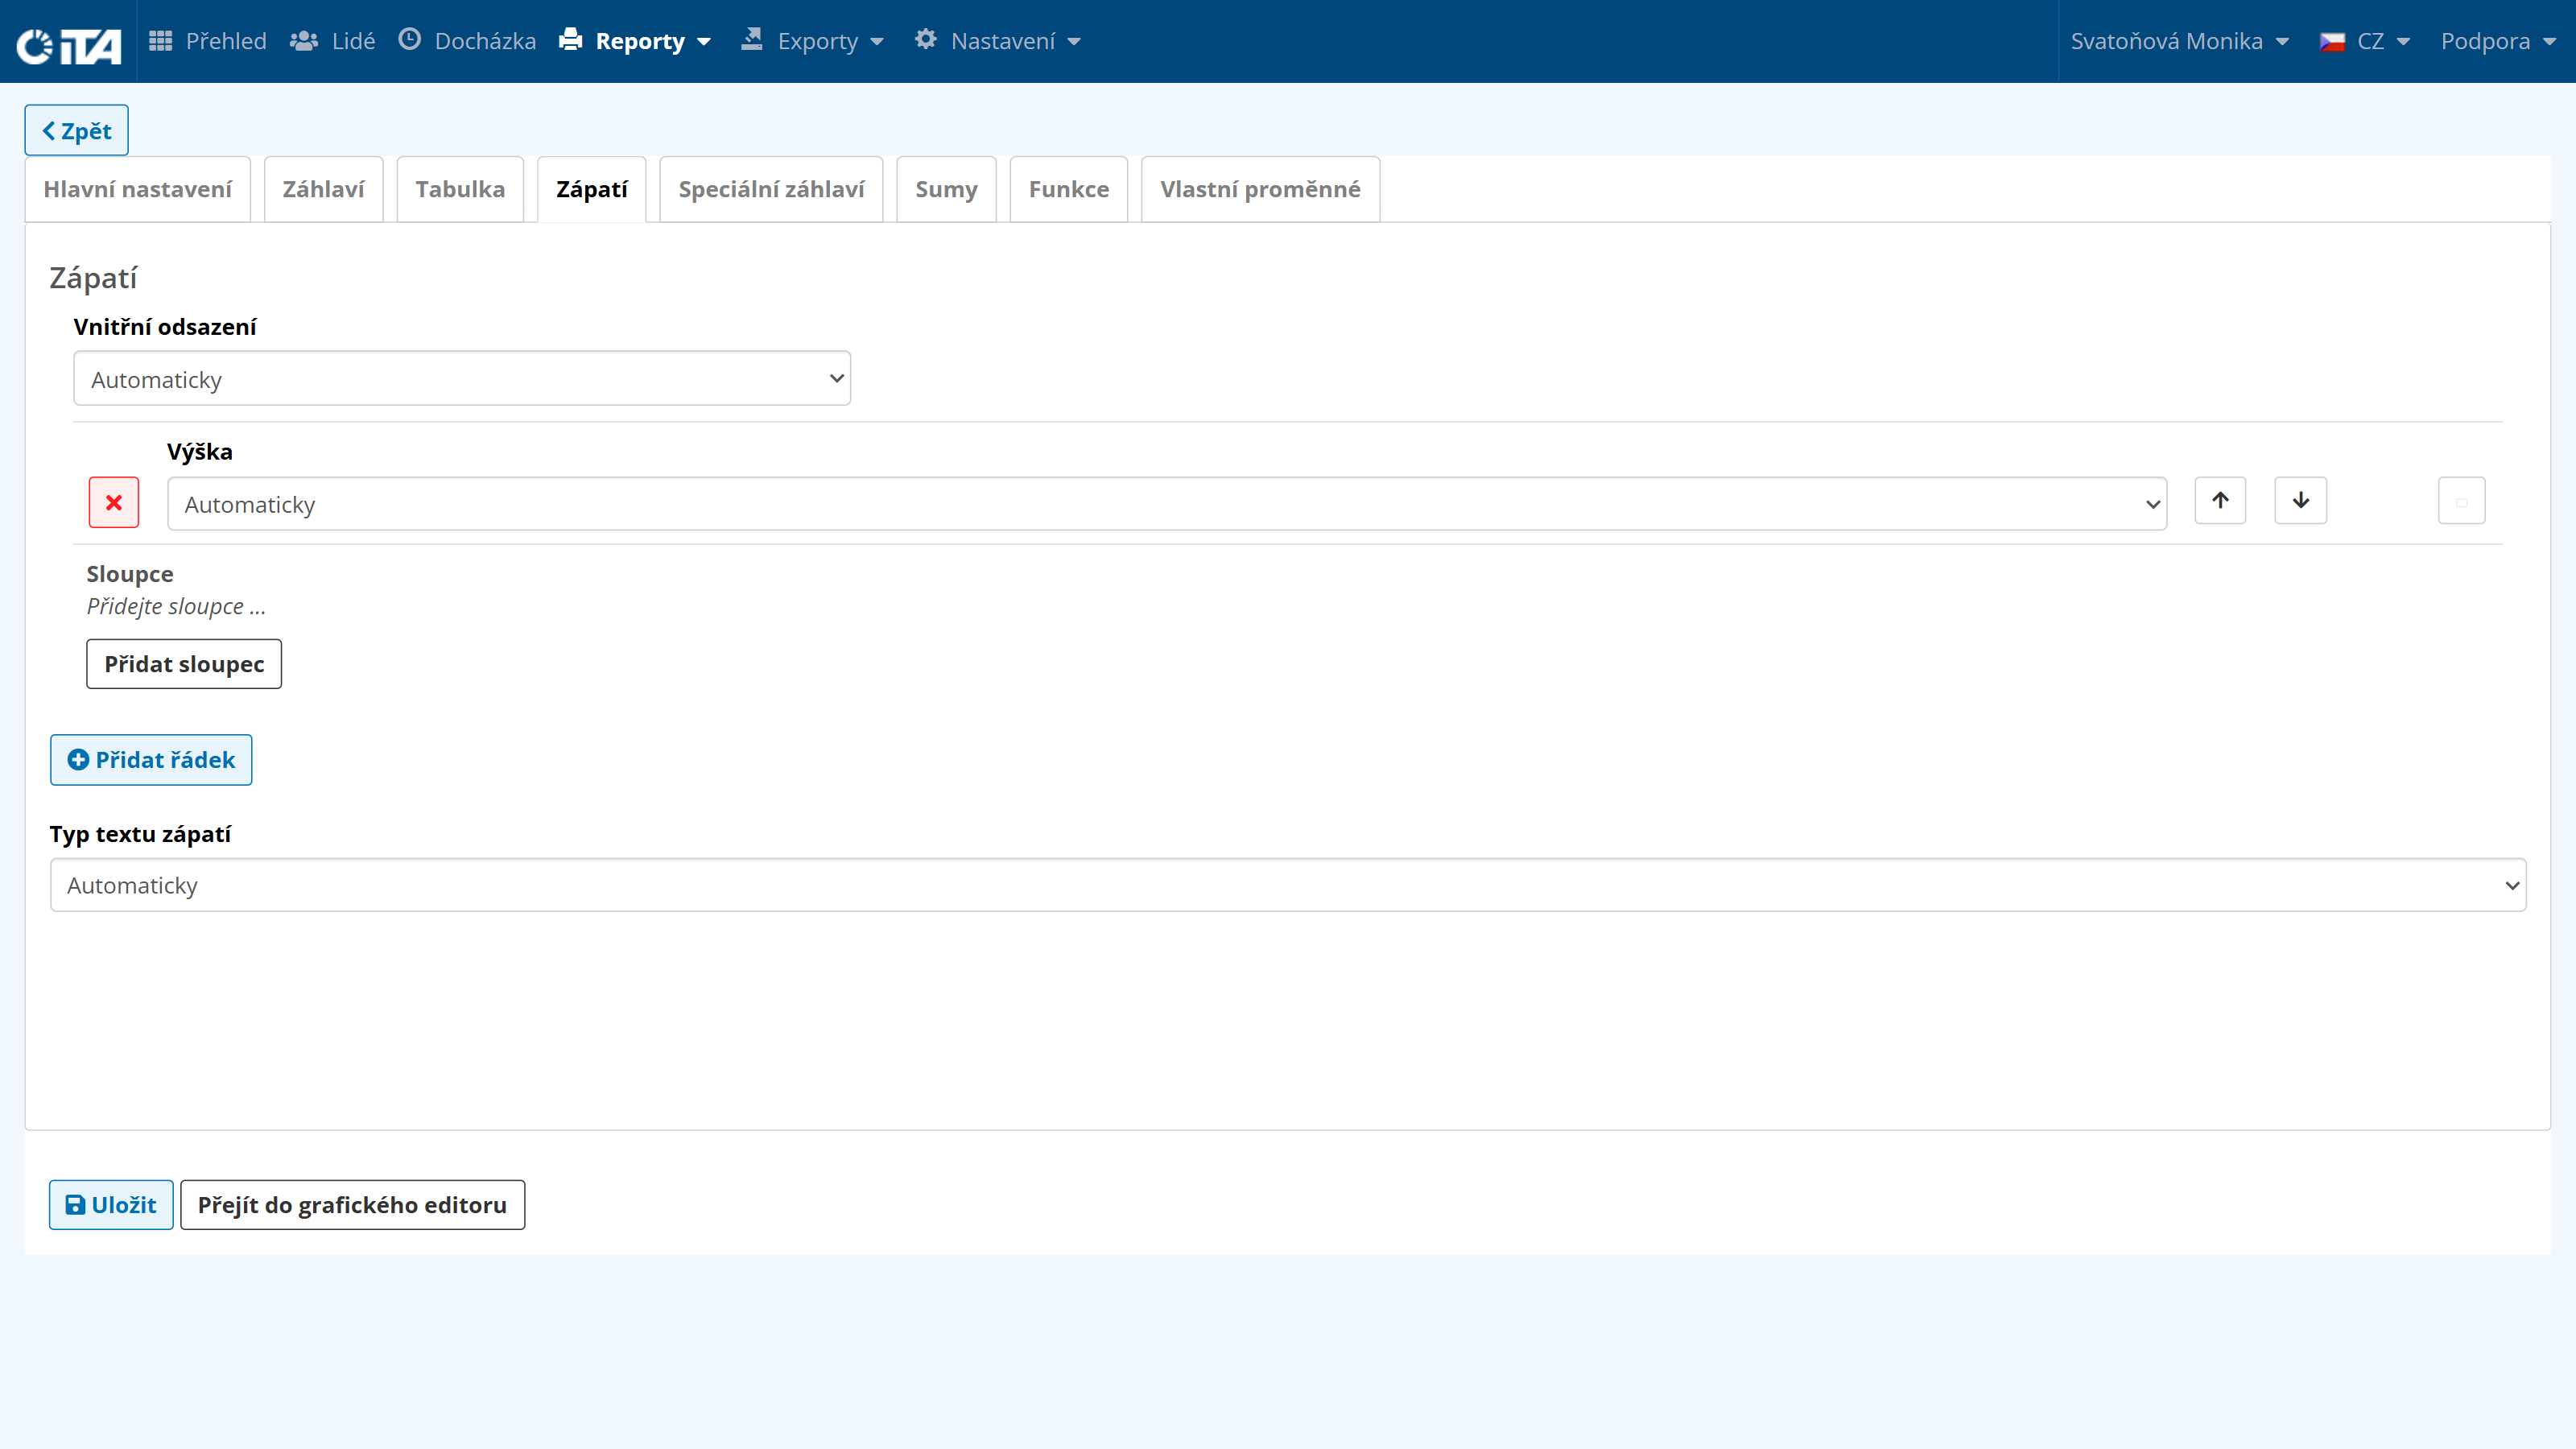
Footer#
This option is very similar to the header, but displays the information at the bottom of the page. The options are identical.
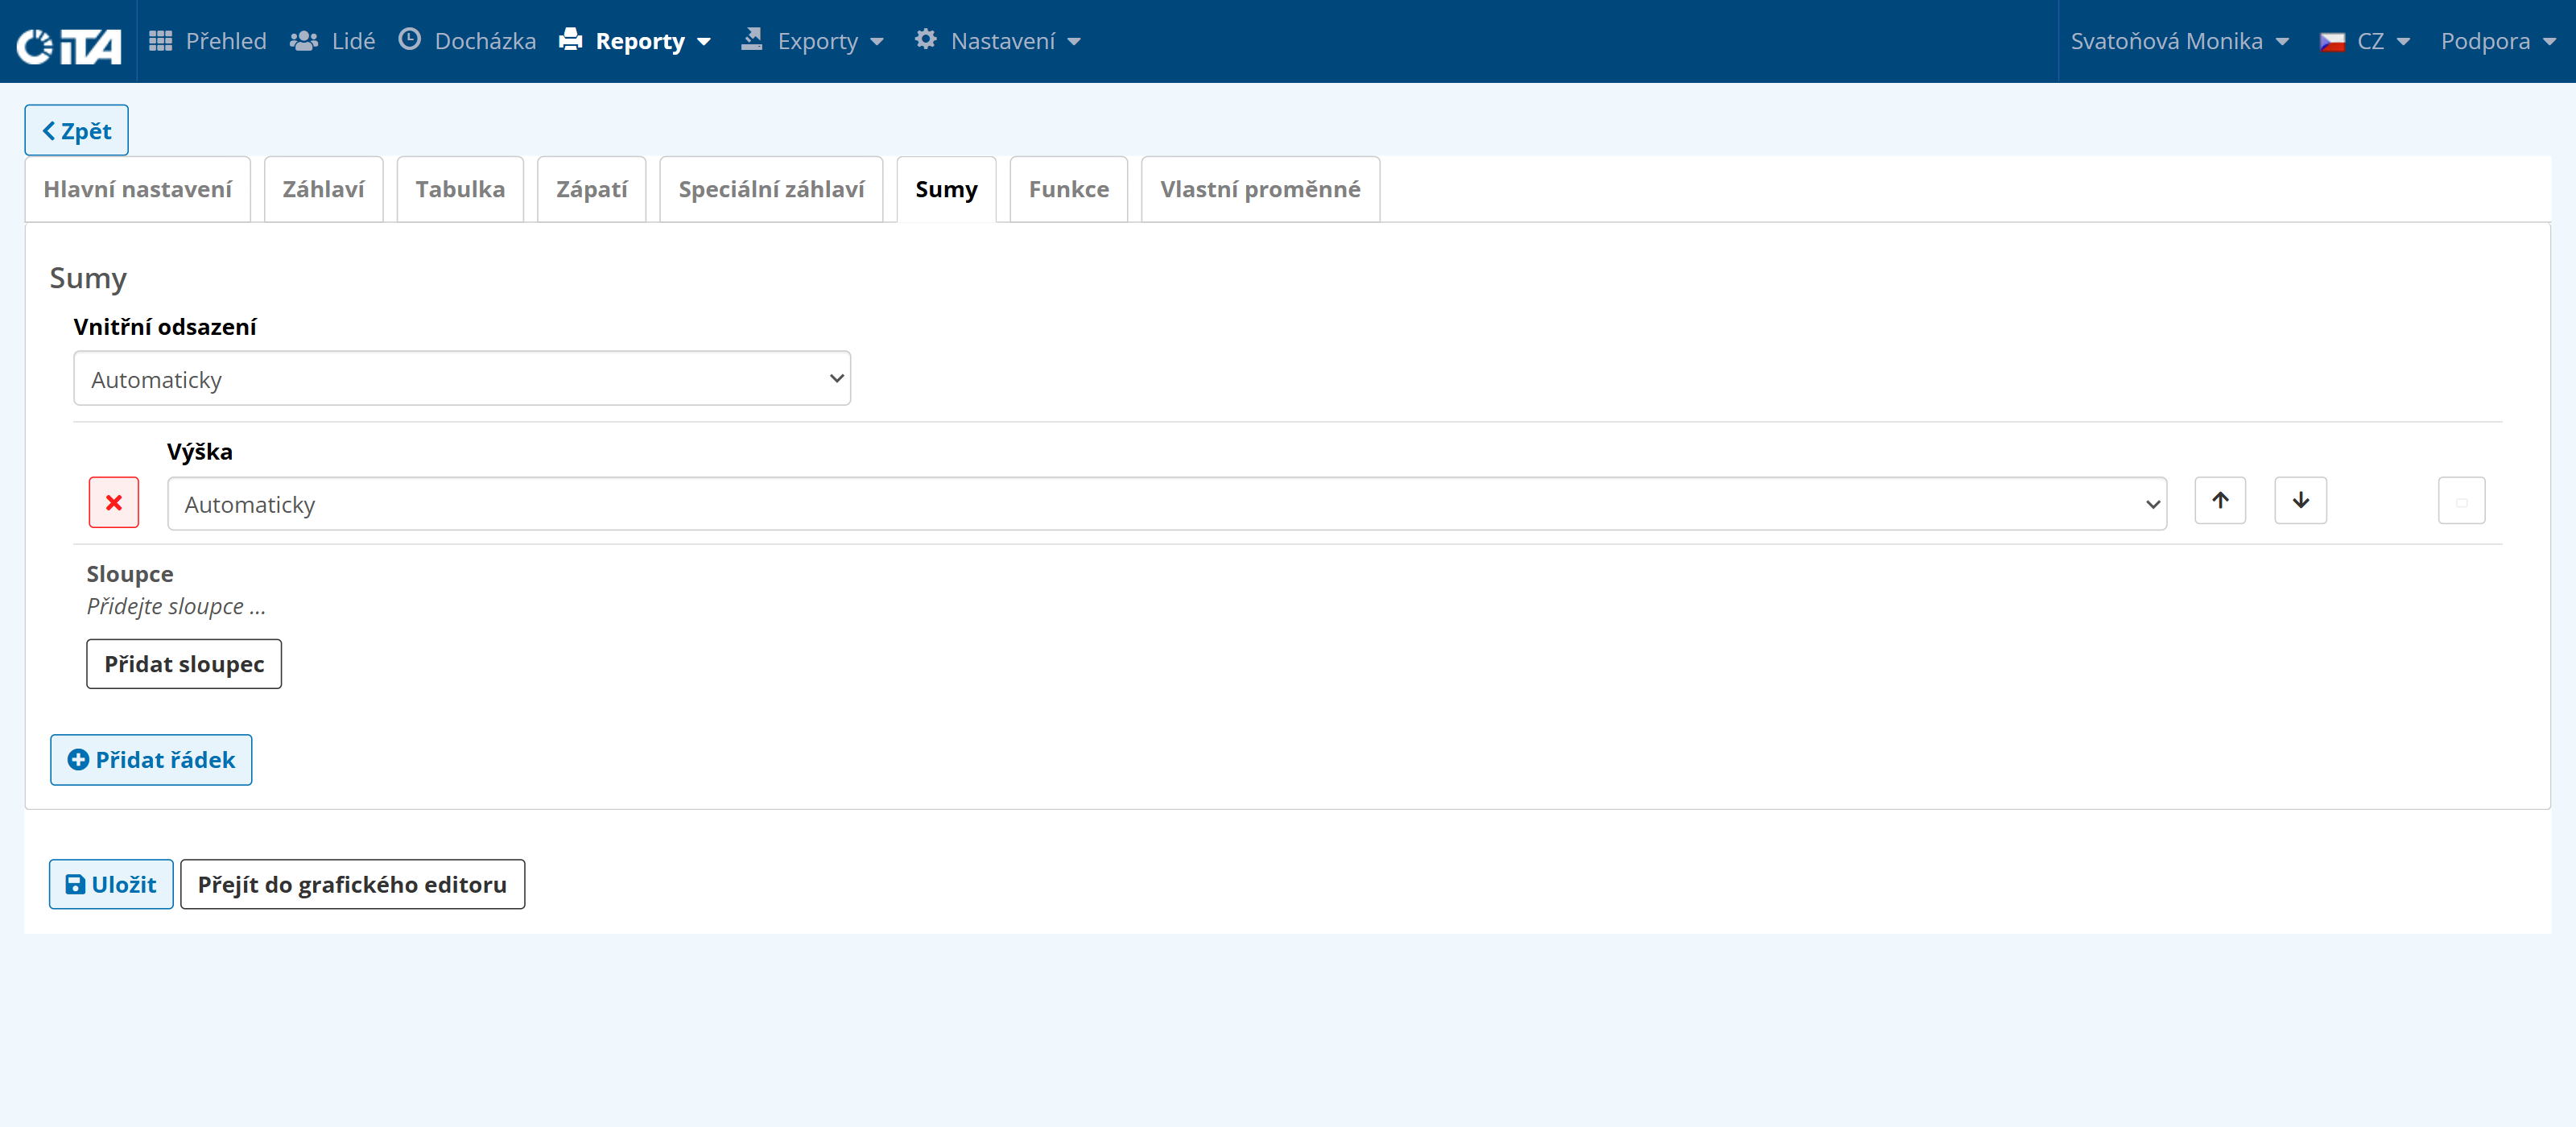
Sums#
This option allows you to display total sums. Choose which sum you want and the system calculates it and displays it on the last page of the report.
Functions#
The Functions tab lets you write your own function in JavaScript, which then processes the input and is displayed in the report.
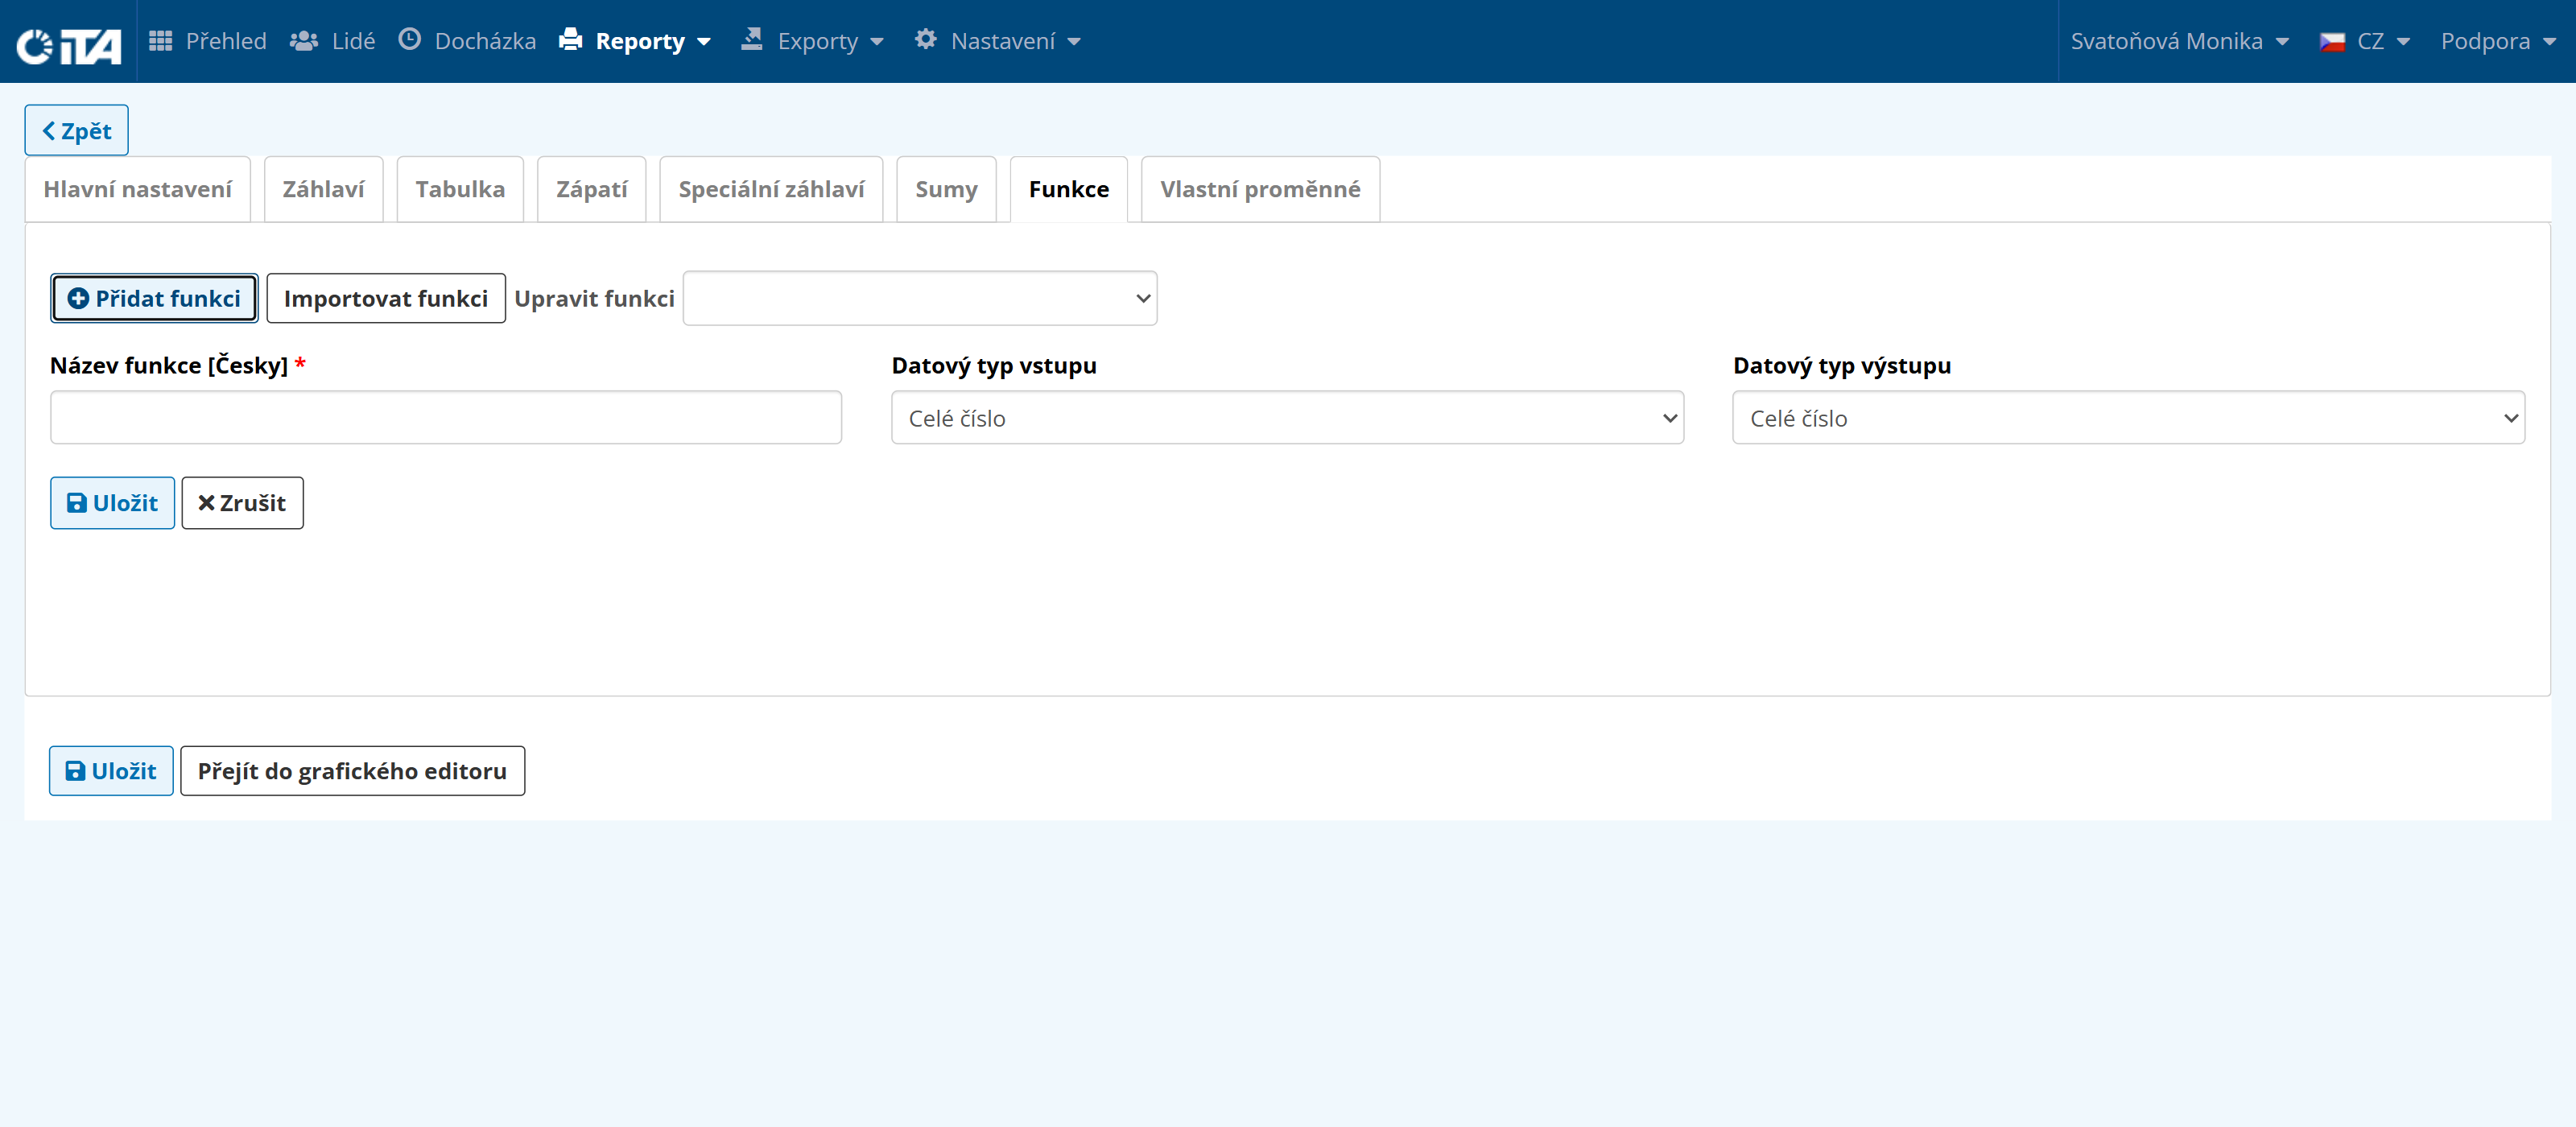
This is an advanced system feature; do not hesitate to contact us to set it up.
Custom Variables#
Lets you customize the data that the report has available at generation time.
For example: if you want to add some text after the customer name, or add a specific value to the time worked.
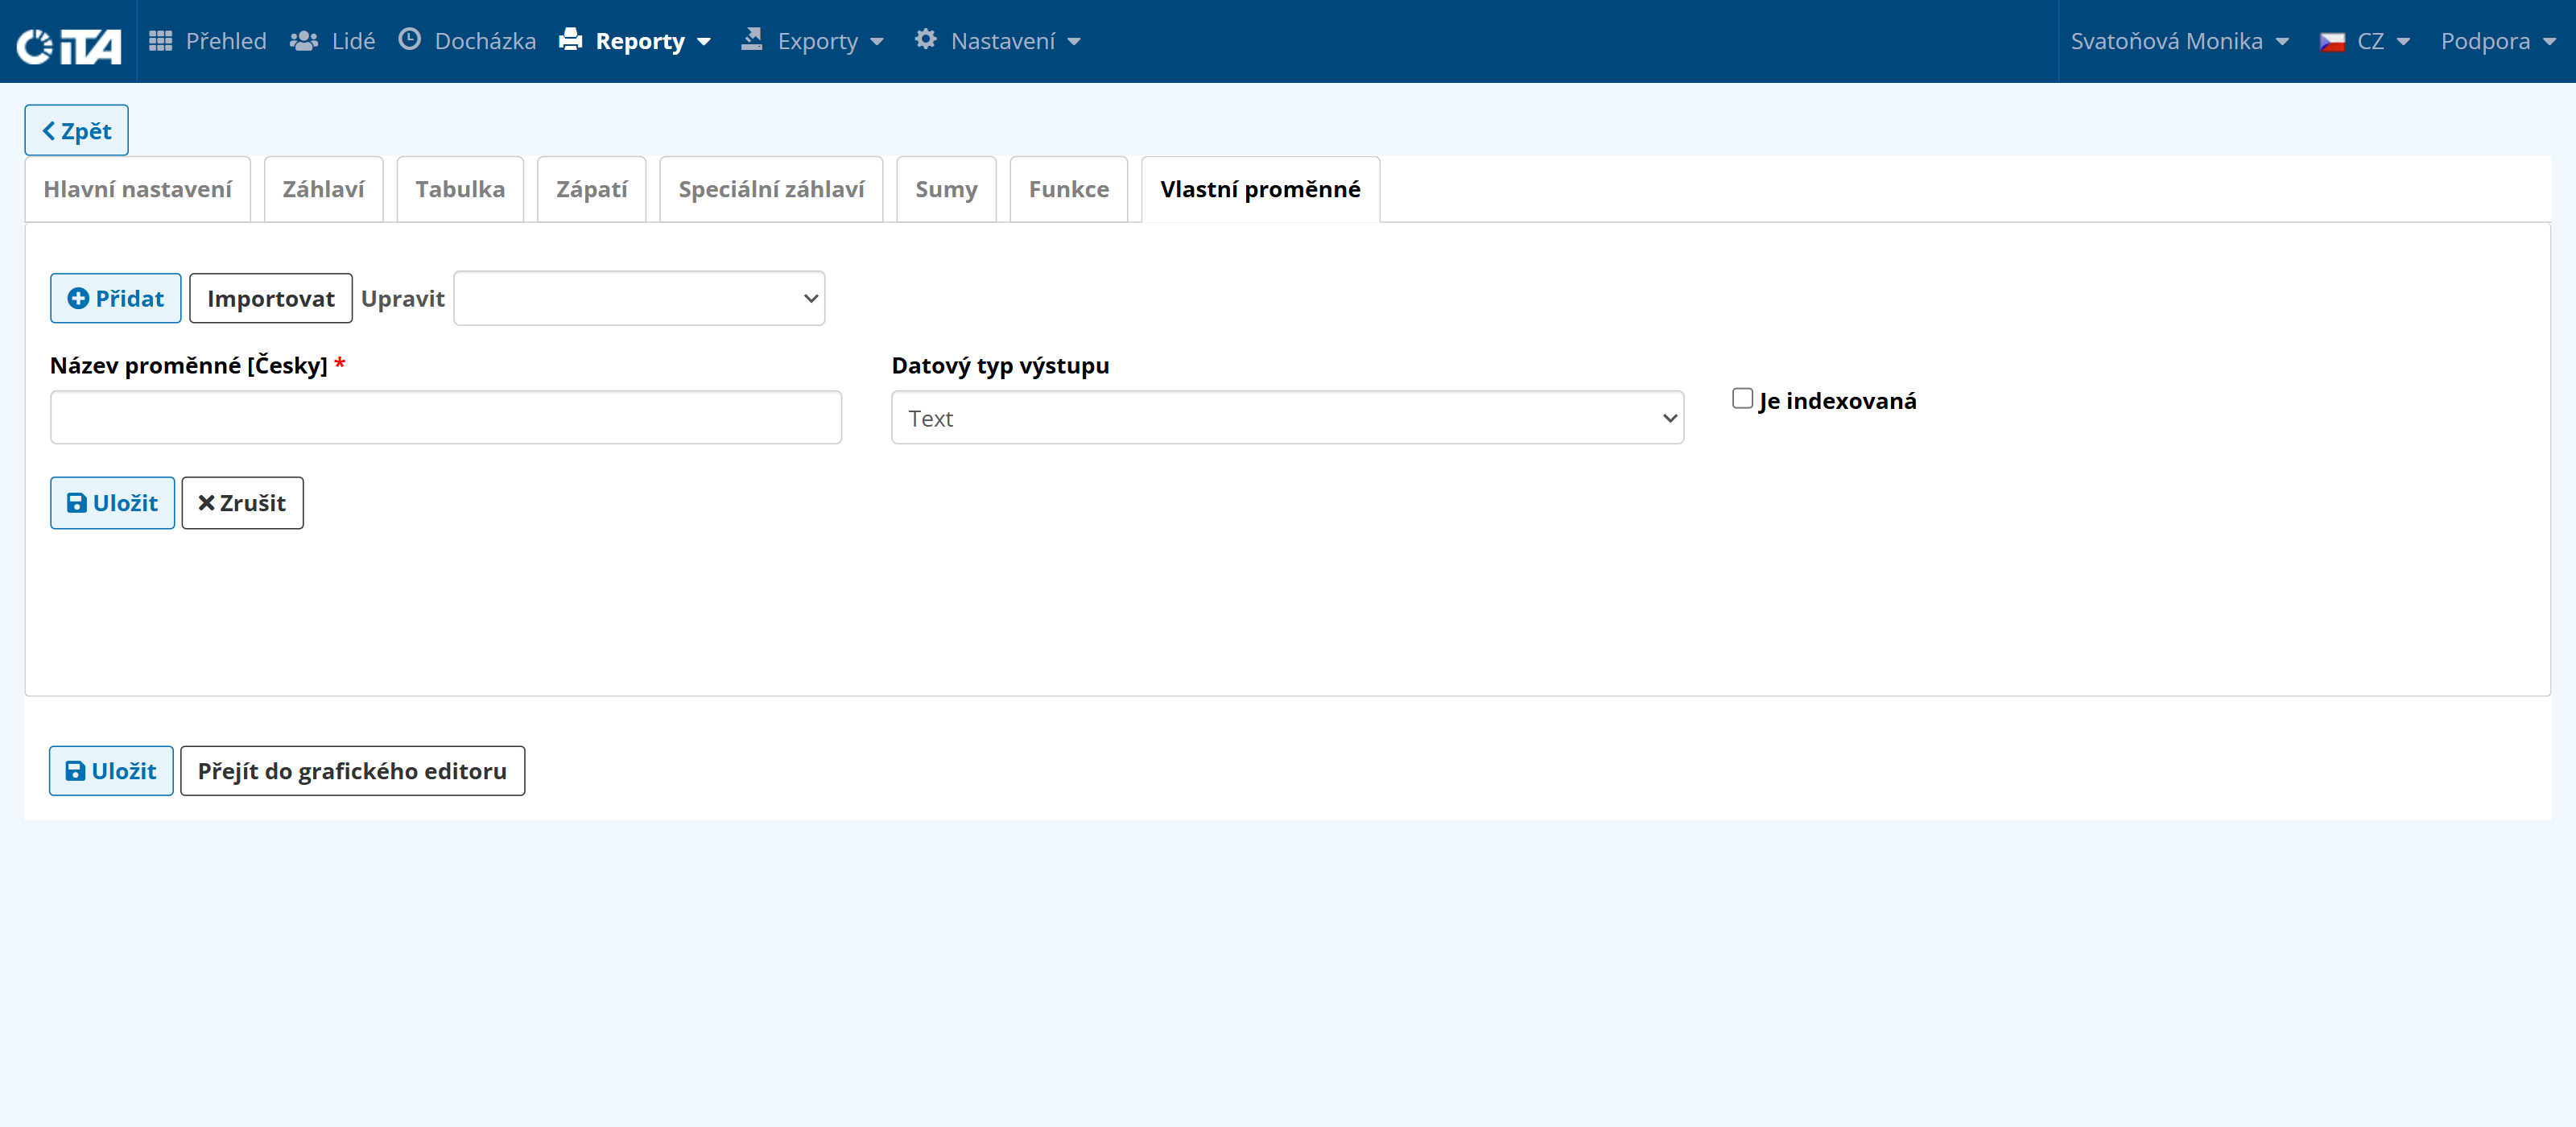
This is an advanced system feature; do not hesitate to contact us to set it up.