Time Account, Absences, Holidays#
→
Individual accounts are used to identify and sort the data generated based on work rules. In these accounts, you can, for example, track the duration of an employee’s absence and assign its reason, or categorize accumulated overtime.
1
For example:
Vacation, sick leave, doctor’s appointment, family care, night work, weekend work, …
You can configure 4 types of accounts depending on their intended purpose:
- Balance:
a general type that can be positive or negative
- Absence:
for tracking employees’ absences; always negative
- Overtime:
for counting overtime
- Reporting:
for reporting purposes — this account only provides information and monitors a specific fact. For example, who worked how much during the night work or weekend period, etc.
When creating accounts, carefully consider which facts you want to track for your employees so that no required account is missing later when configuring the rules.
The system provides predefined accounts:
- Balance:
a system account required for attendance tracking
- Vacation:
a system account required for attendance tracking
- Home Office:
absence account
- Doctor’s Appointment:
absence account
- Sick Leave:
absence account
- Family Care:
absence account
- Overtime:
overtime account
- Business Trip:
absence account
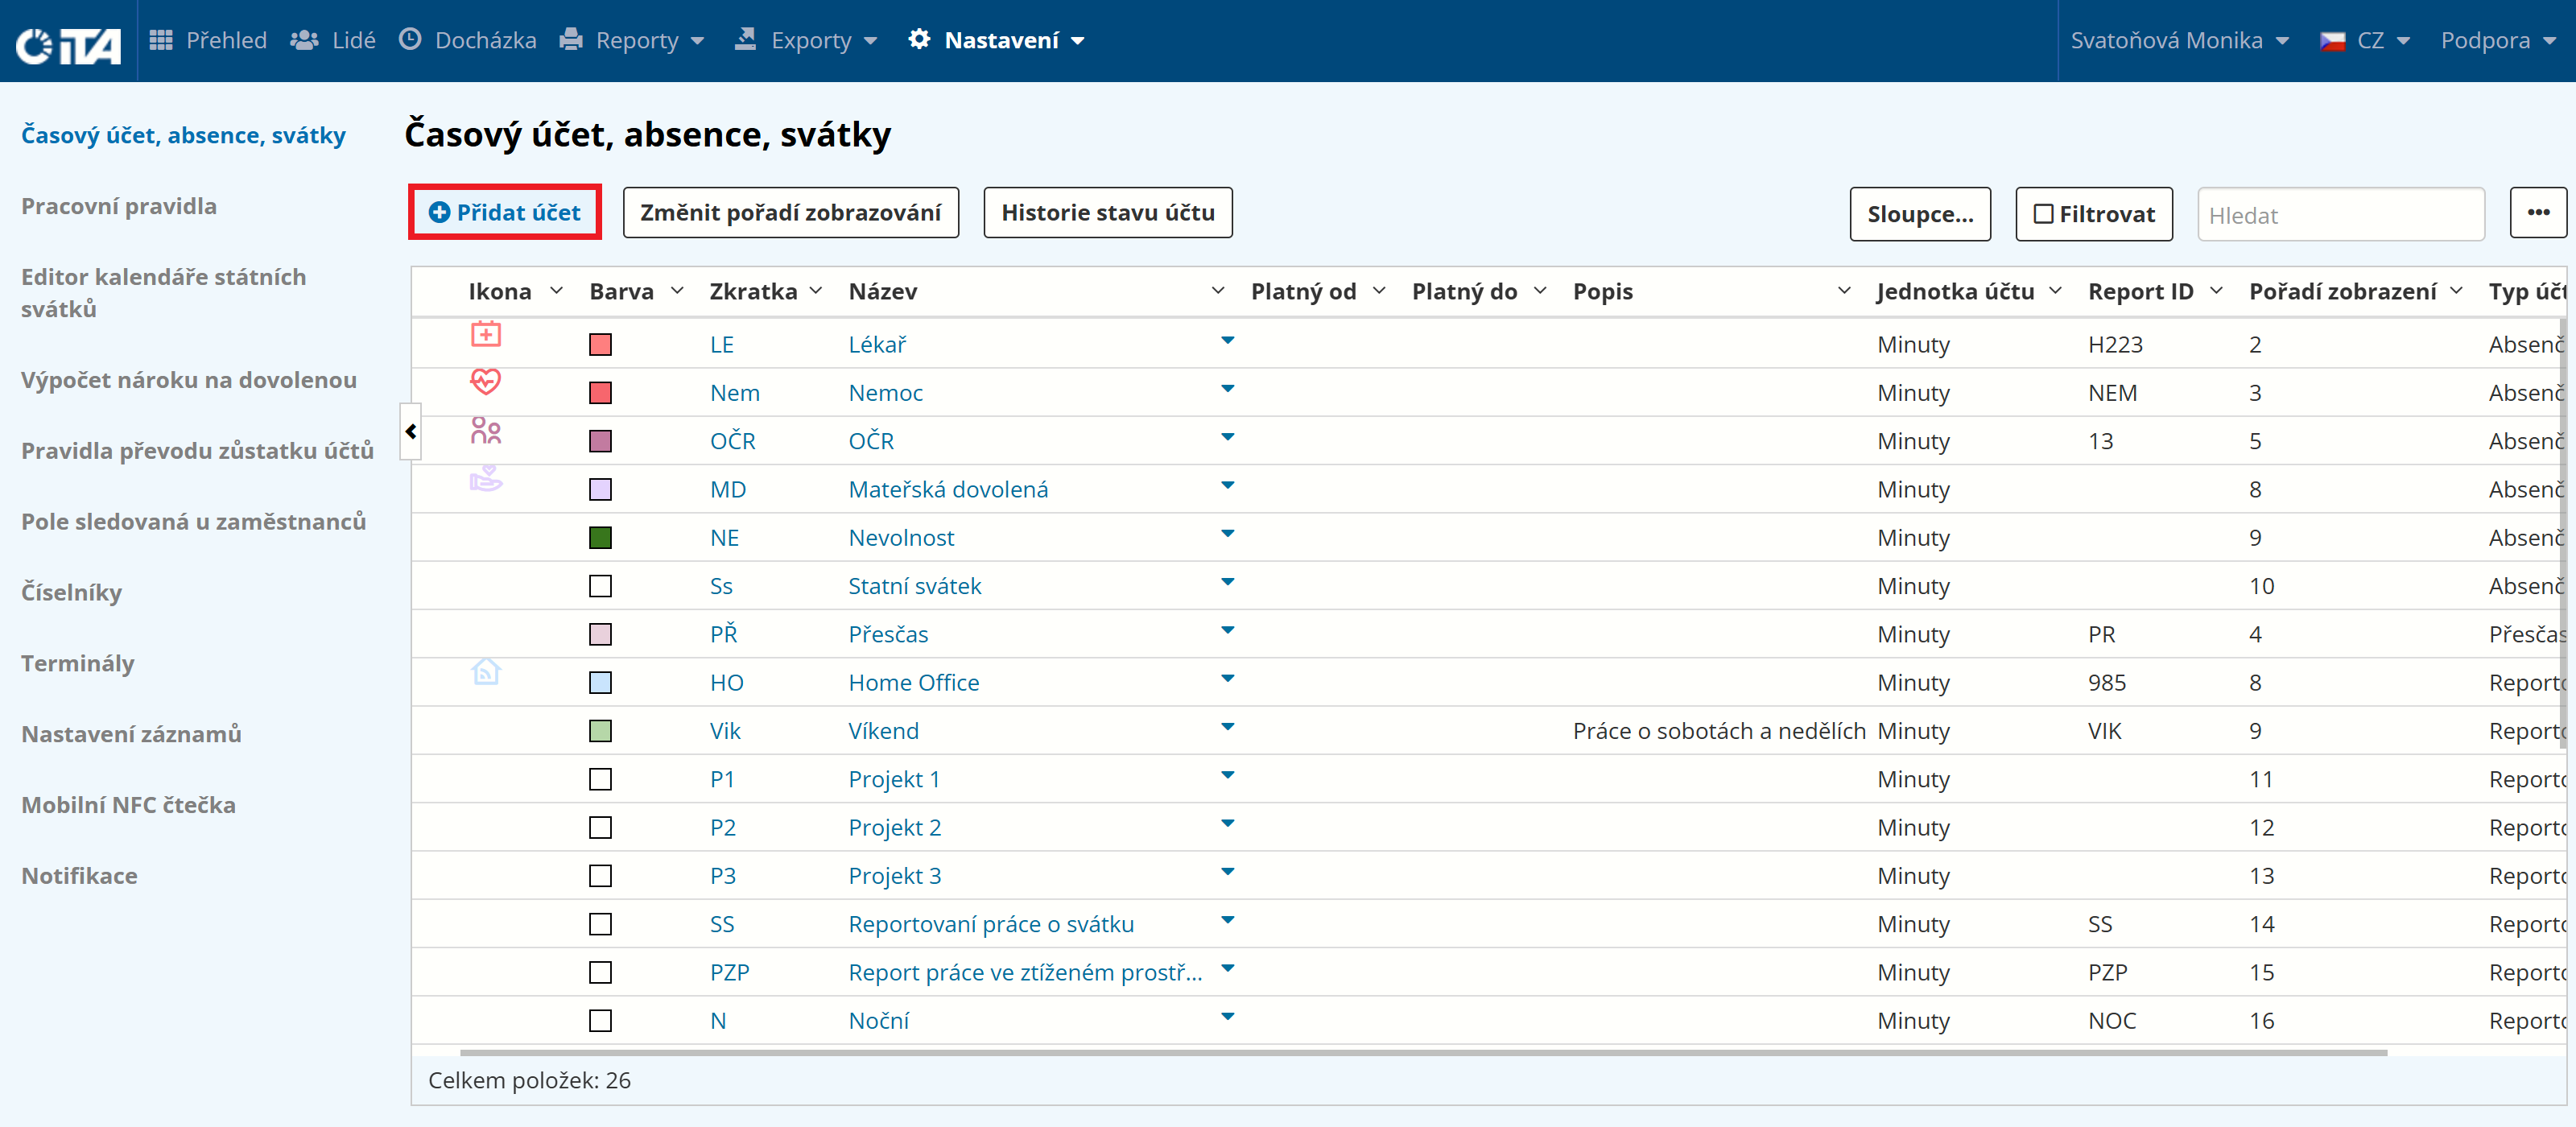
Procedure#
Click Add Account:
Fill in the data:
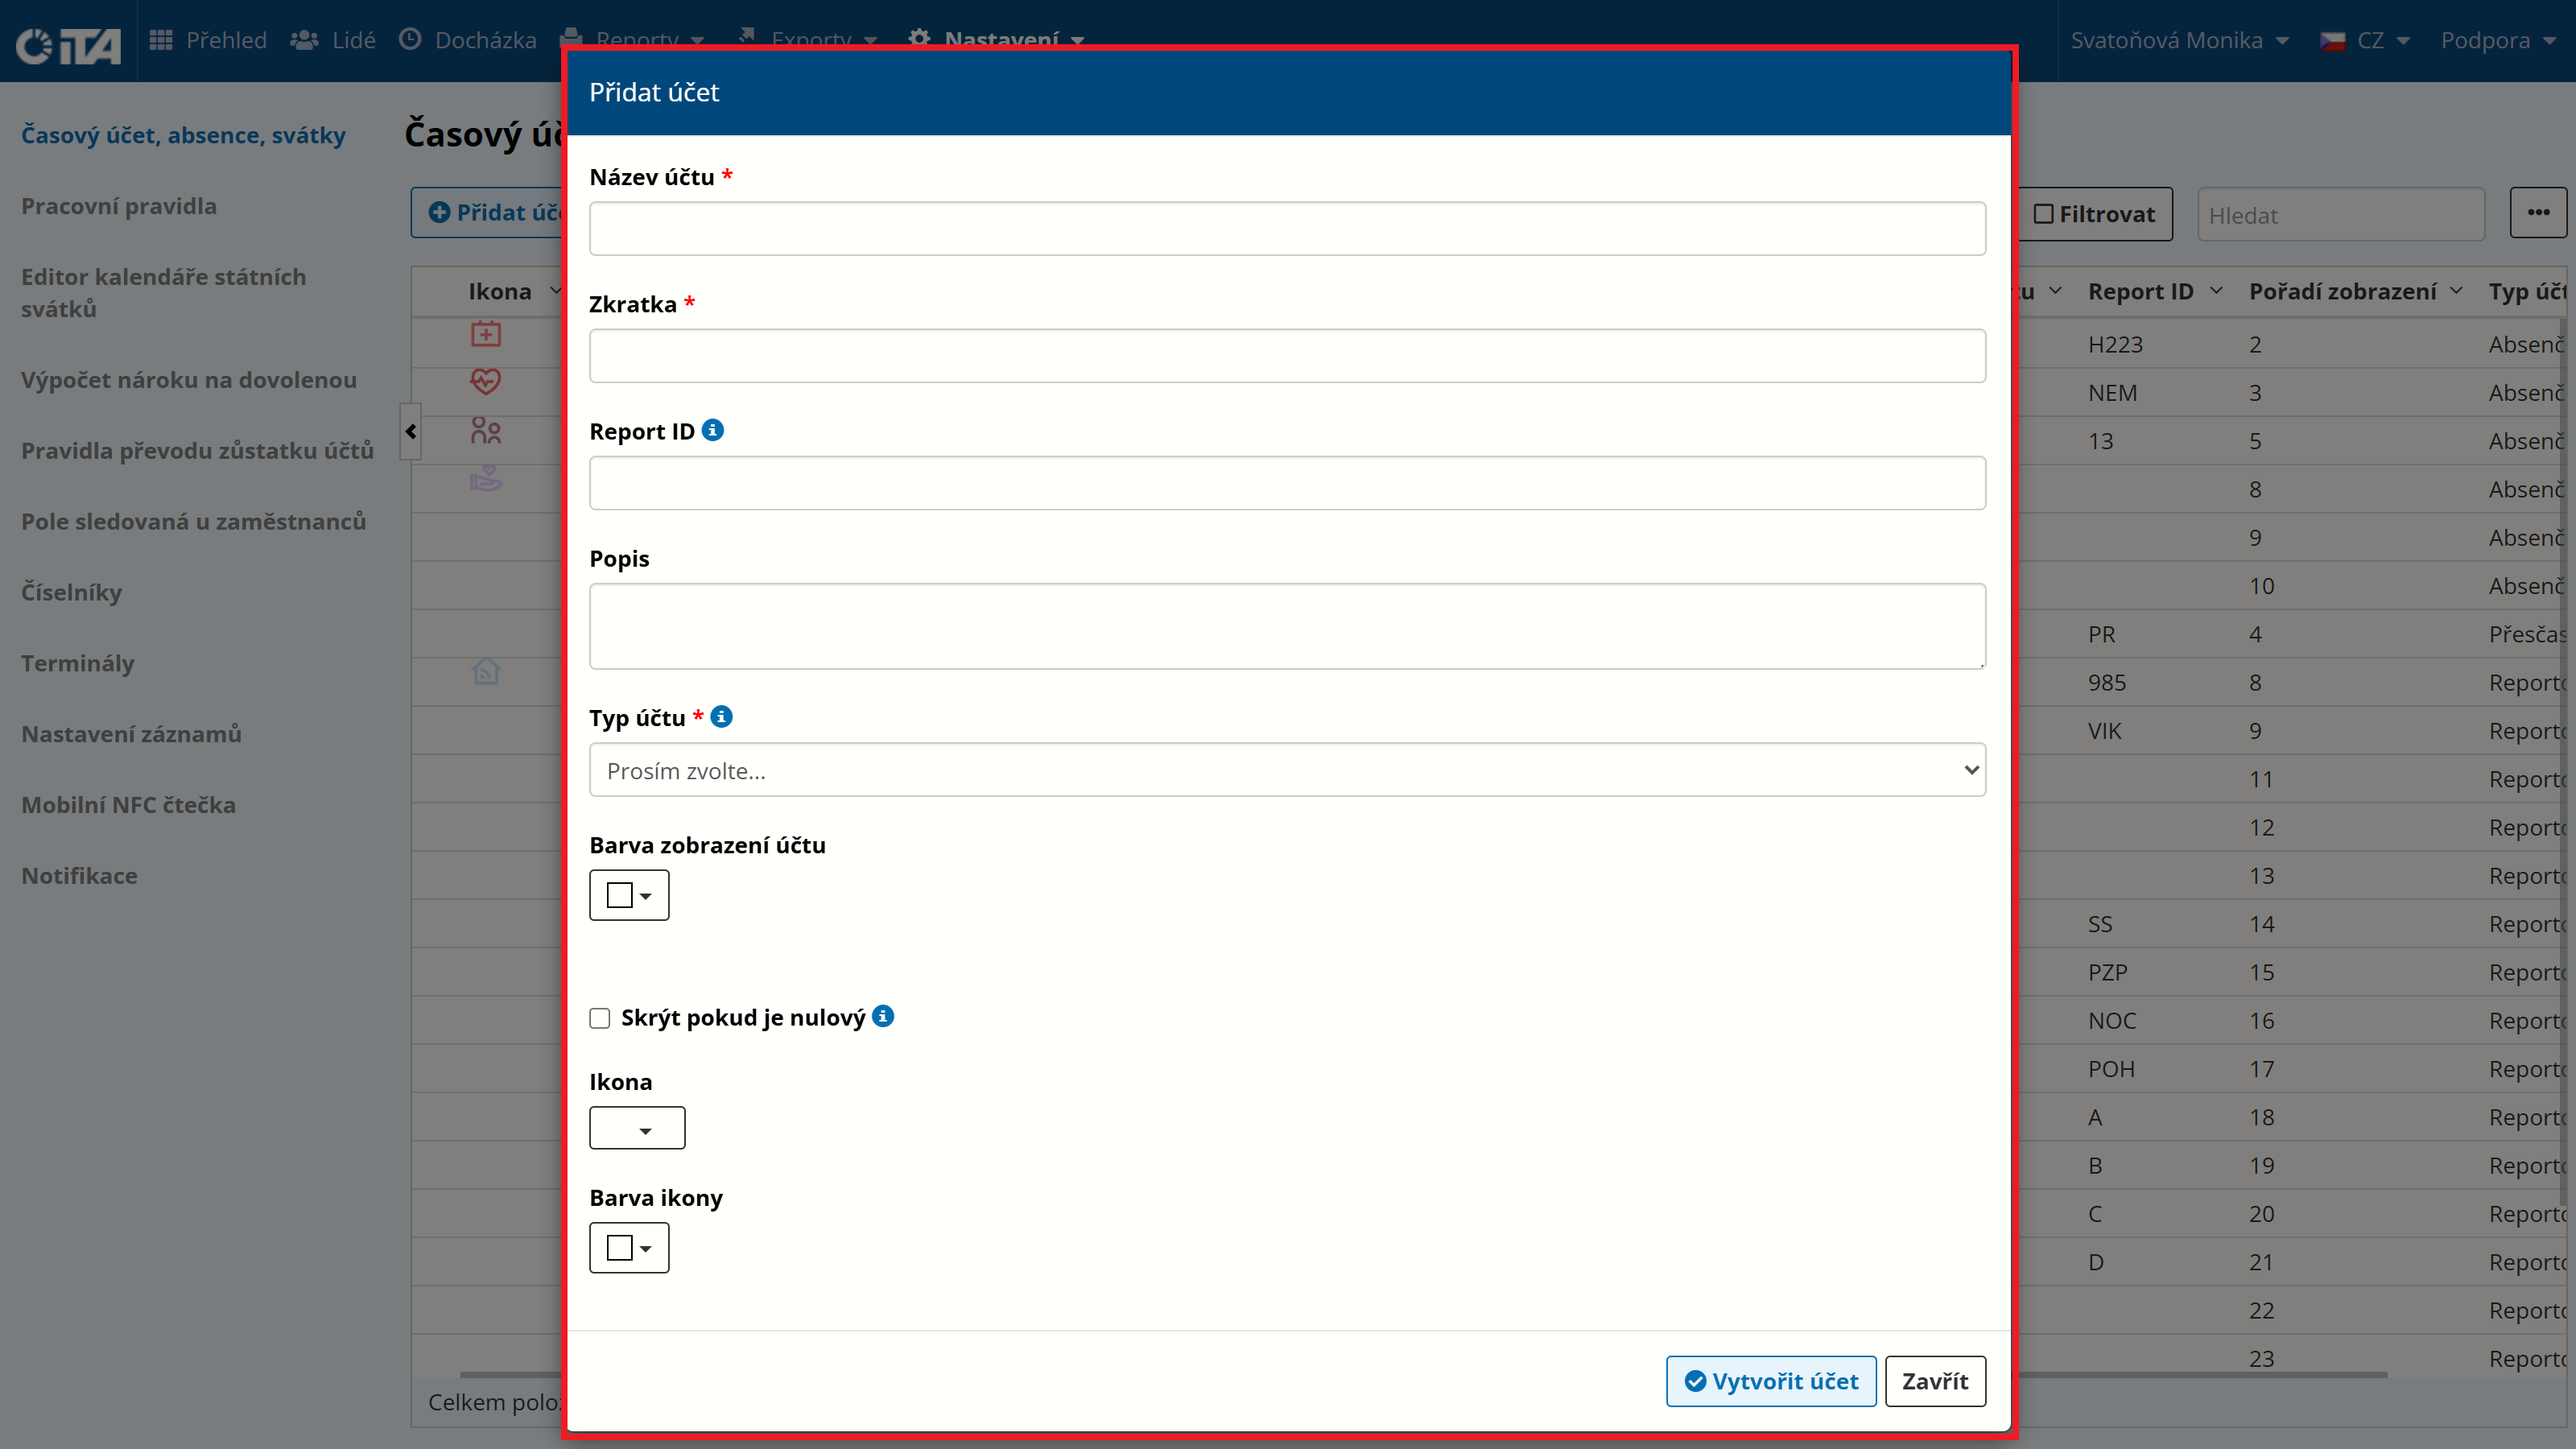
Click Create Account.
Fields#
- Account name *:
we recommend a short, descriptive name (vacation, sick leave, night work, …)
- Abbreviation *:
shortened form of the name
- Public identifier:
account ID used in reports and exports
- Description:
description of the account
- Account type *:
* Balance — a general type that can be positive or negative
Absence — for tracking employees’ absences; always negative
Overtime — for counting overtime
Reporting — for tracking time spent during specified intervals
- Account display color:
sets the account color. This color is used in the attendance calendar to clearly distinguish alerts within individual days.

- Hide if zero:
if the account is zero and unchanged, it is hidden in the modules.
- Icon:
account icon
The following icons are available:
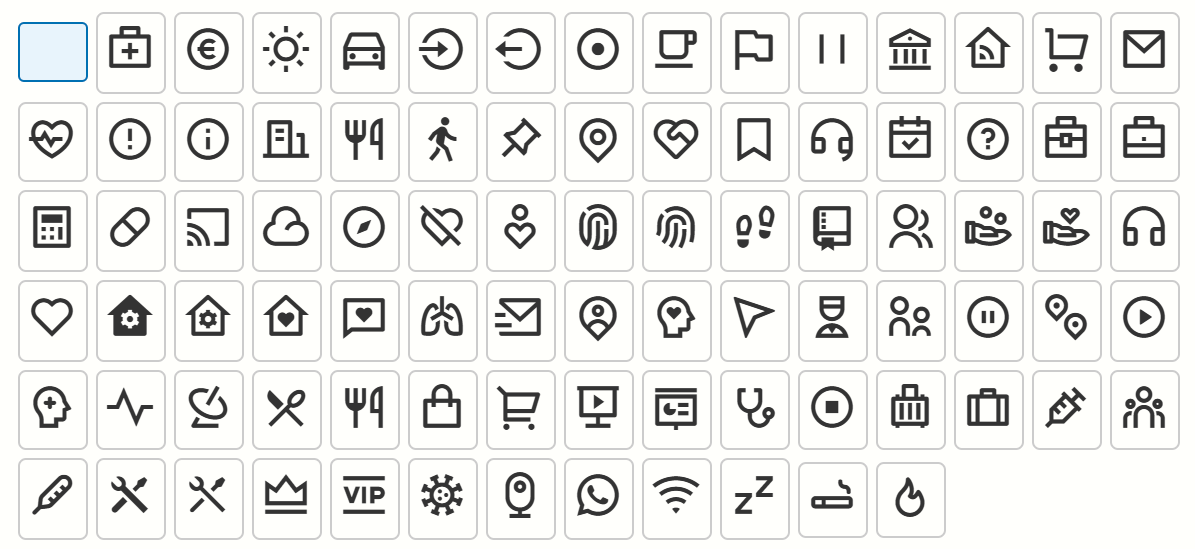
- Icon color:
sets the icon color
Note
Fields marked with * are required.
Account List#
In the displayed list of time accounts, you can deactivate, delete, or view the history of any account.
When an account is deactivated, it remains functional for the employees and rules where it has already been used, but is no longer shown in the selection menu when configuring further rules.
Deleting accounts (not recommended) affects already-calculated attendance, which is then recalculated; some already-configured rules may also stop working.
You can customize the order in which the accounts are displayed.
Click Change Display Order.
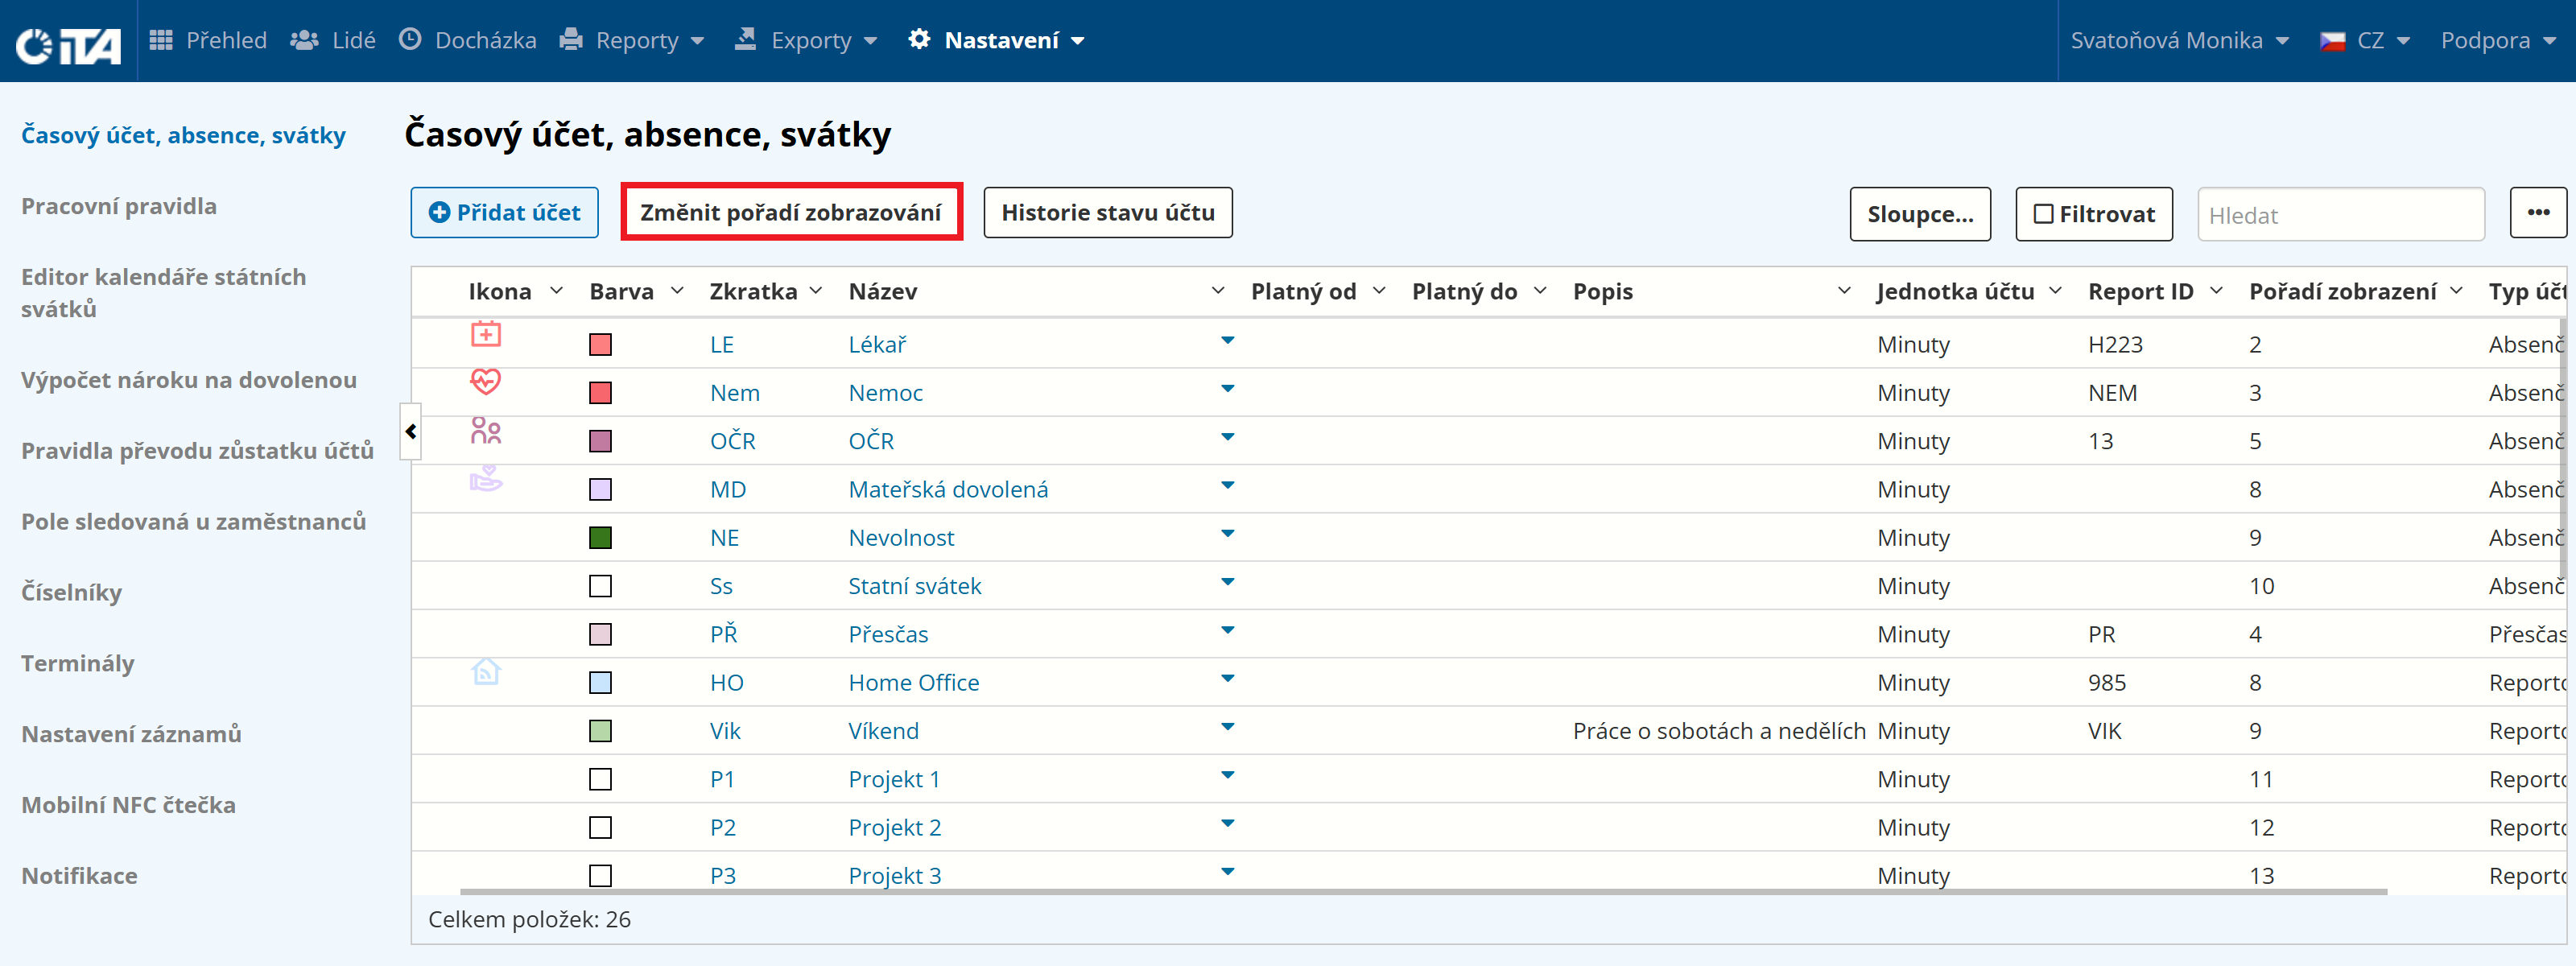
Use the up arrow or down arrow to adjust the position at which each account is displayed.
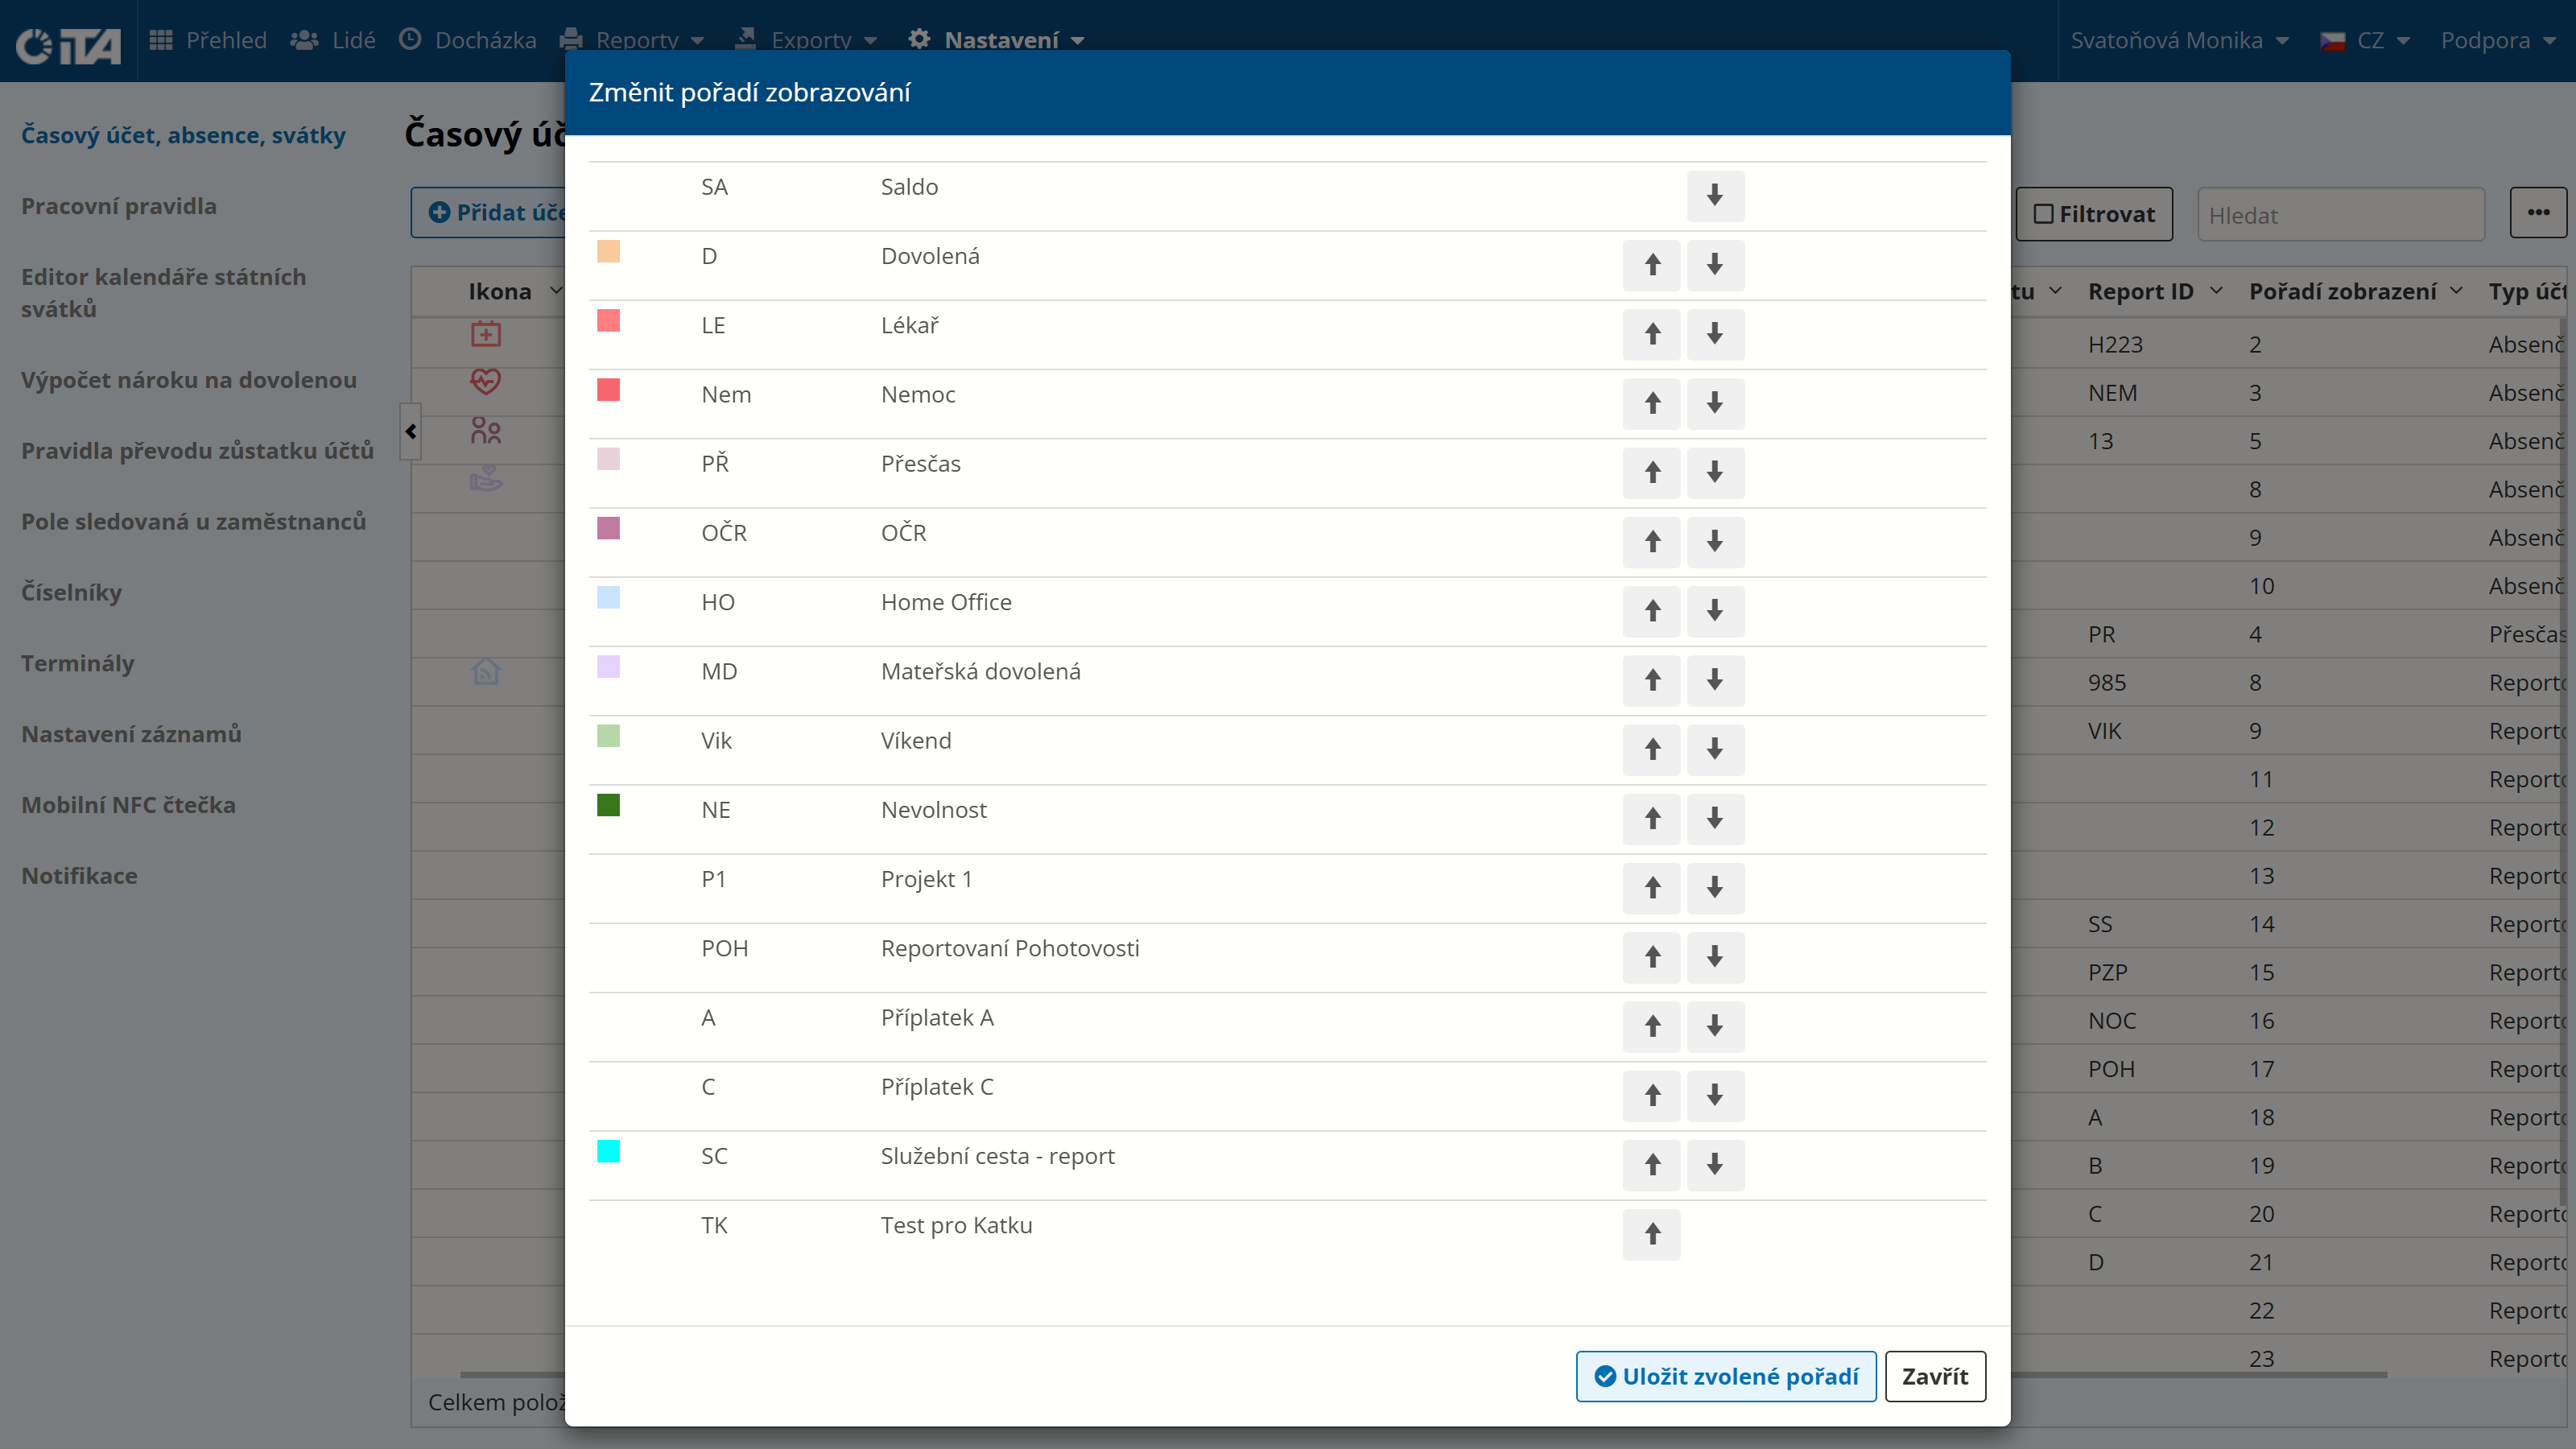
Now click Save Selected Order, and then click the “Display Order” column.
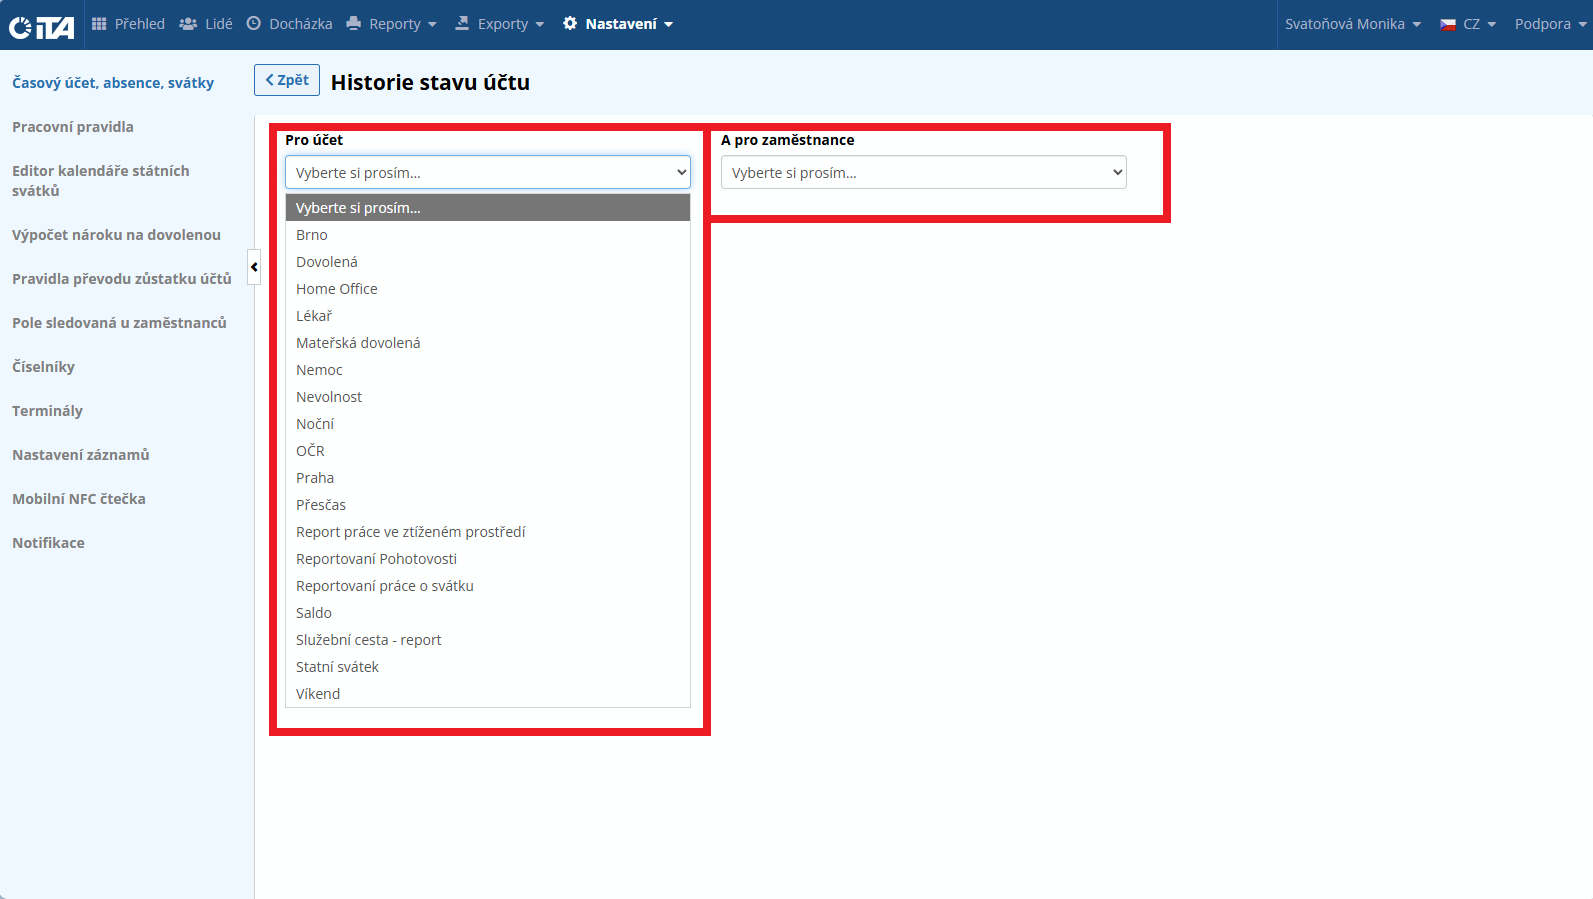
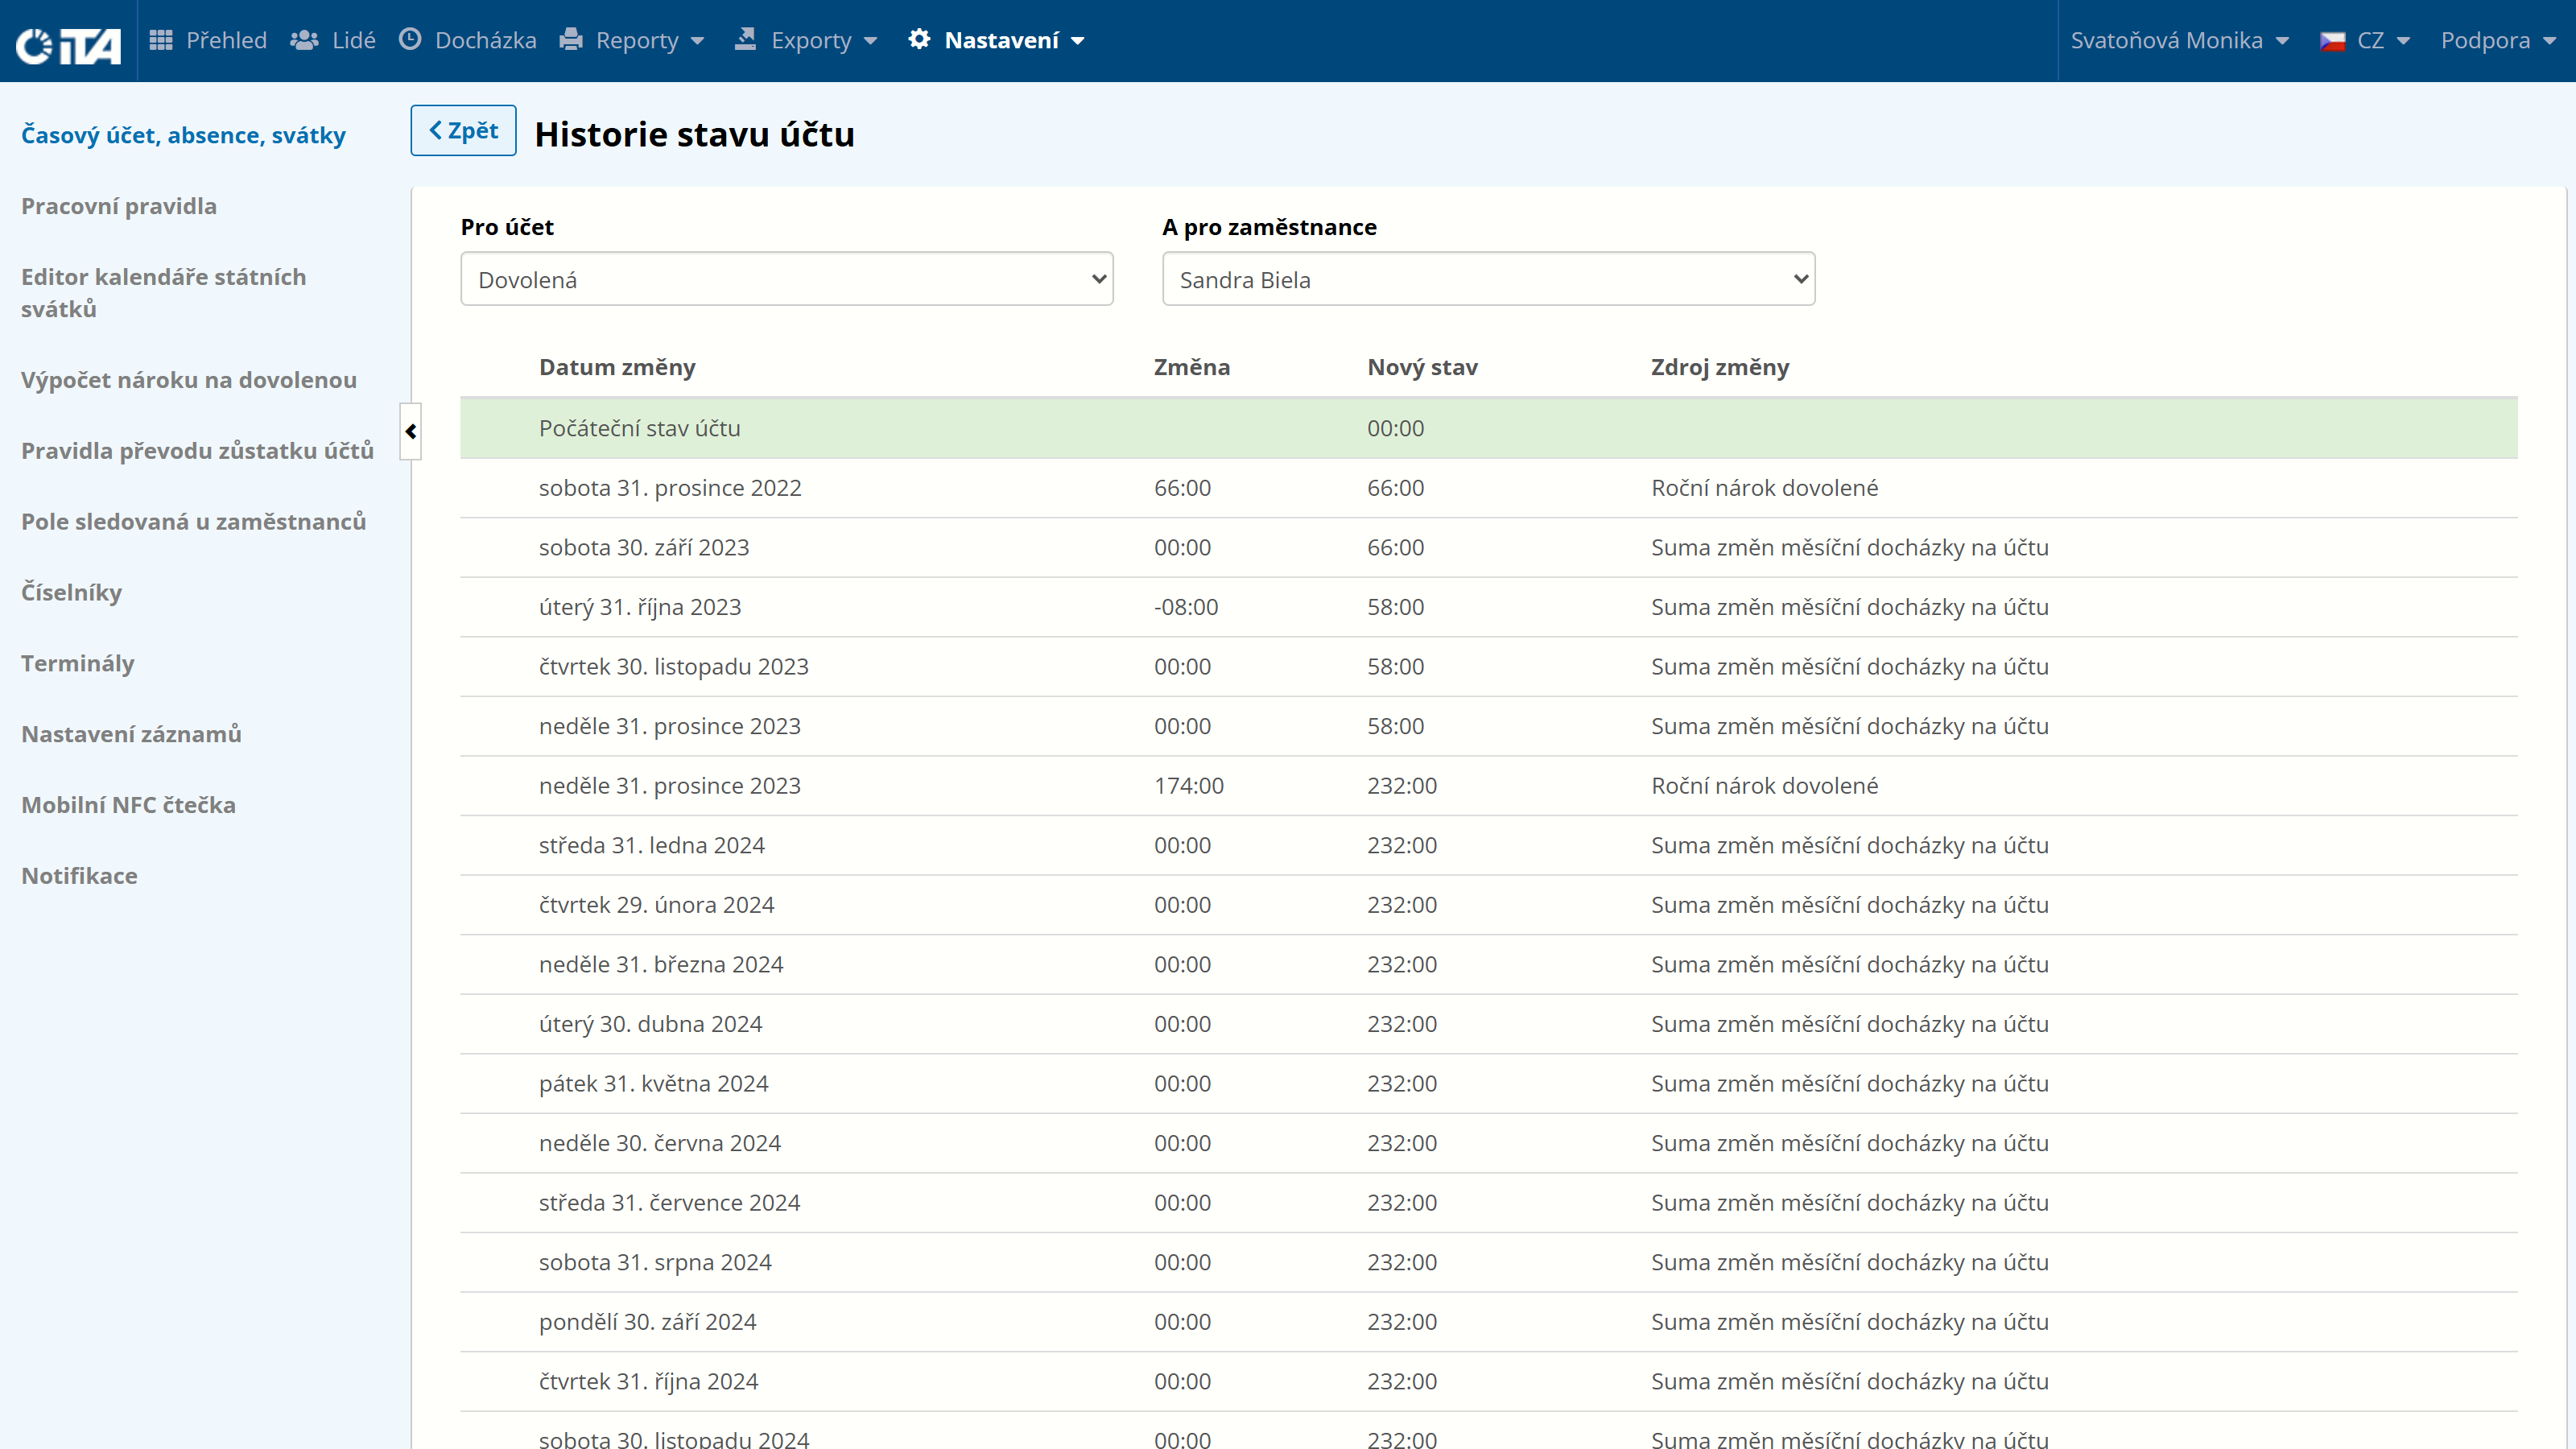
Account State History#
Here you can review all the changes that have occurred on the selected account for a selected employee.
Simply choose the account and the employee for whom you want to display the history.