Record Settings#
→
This is where you add and edit the records that will be displayed on your terminal, in the web interface, and in the mobile app.
Caution
We do not recommend using the predefined records that are available, as they are tied specifically to the older GEN1 terminal type.
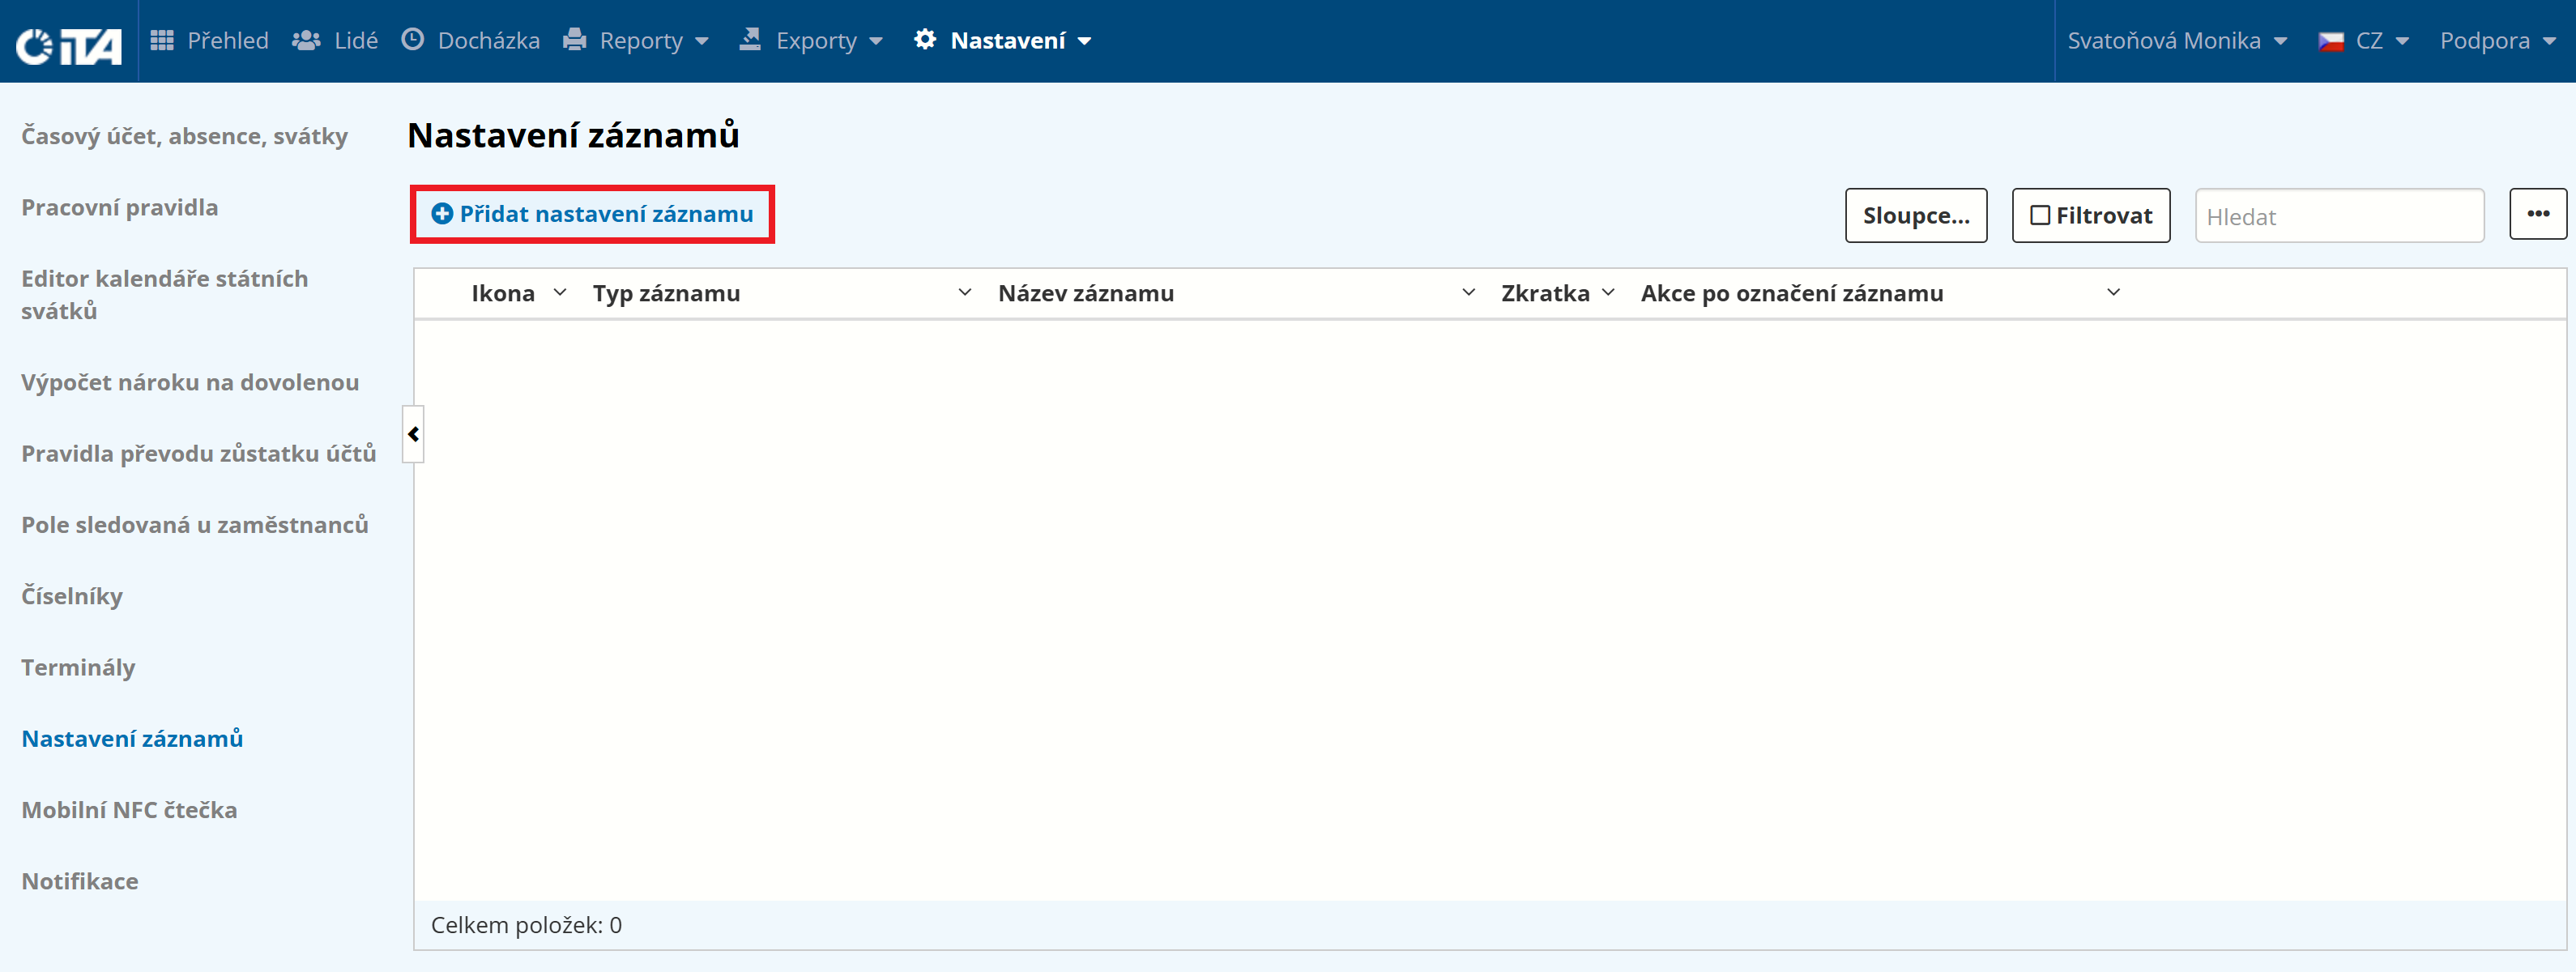
Adding a New Record#
Click Add Record Setting:
Fill in the parameters:

- Record type:
From the predefined records, use only the first 5 types (using the rest is not recommended).
Select an event (
Enter,Leave,Break,Info, orGeneric) or another record (in the list, these start withUserEvent000orUserBreakEnter000) and edit it as needed.- Record name:
The name of the record as displayed on your terminal, in the web interface, and in the mobile app.
- Name abbreviation:
A shortened form of the record name (e.g. Sick Leave → SCK).
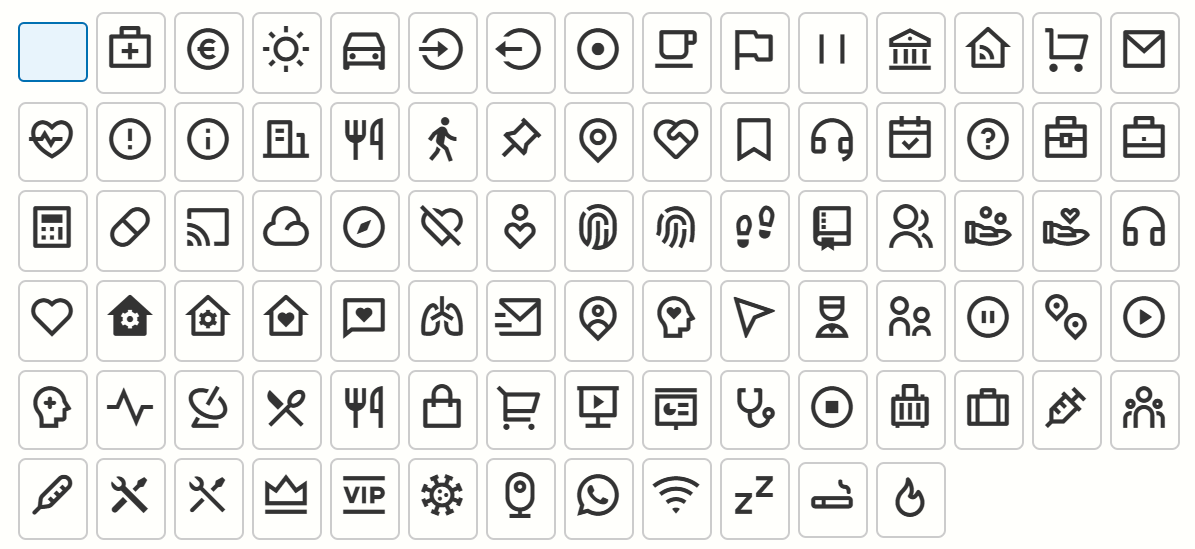
- Icon:
Record icon
The following icons are available:
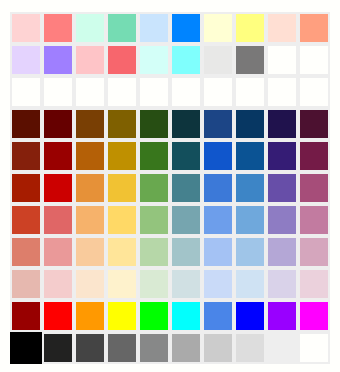
- Icon color:
Sets the icon color
- Action performed upon selection:
Available options:
No action
Create a record with a time offset by a defined difference — adds a record offset by the chosen time (positive or negative).
Create a record at a specified time on the given day — sets a fixed time for the added record.
Change work rule — switches to a specific work rule.
Add another record
Create a virtual record to meet the daily workload
Click Save.