Employees#
Modules
Adding a New Employee#
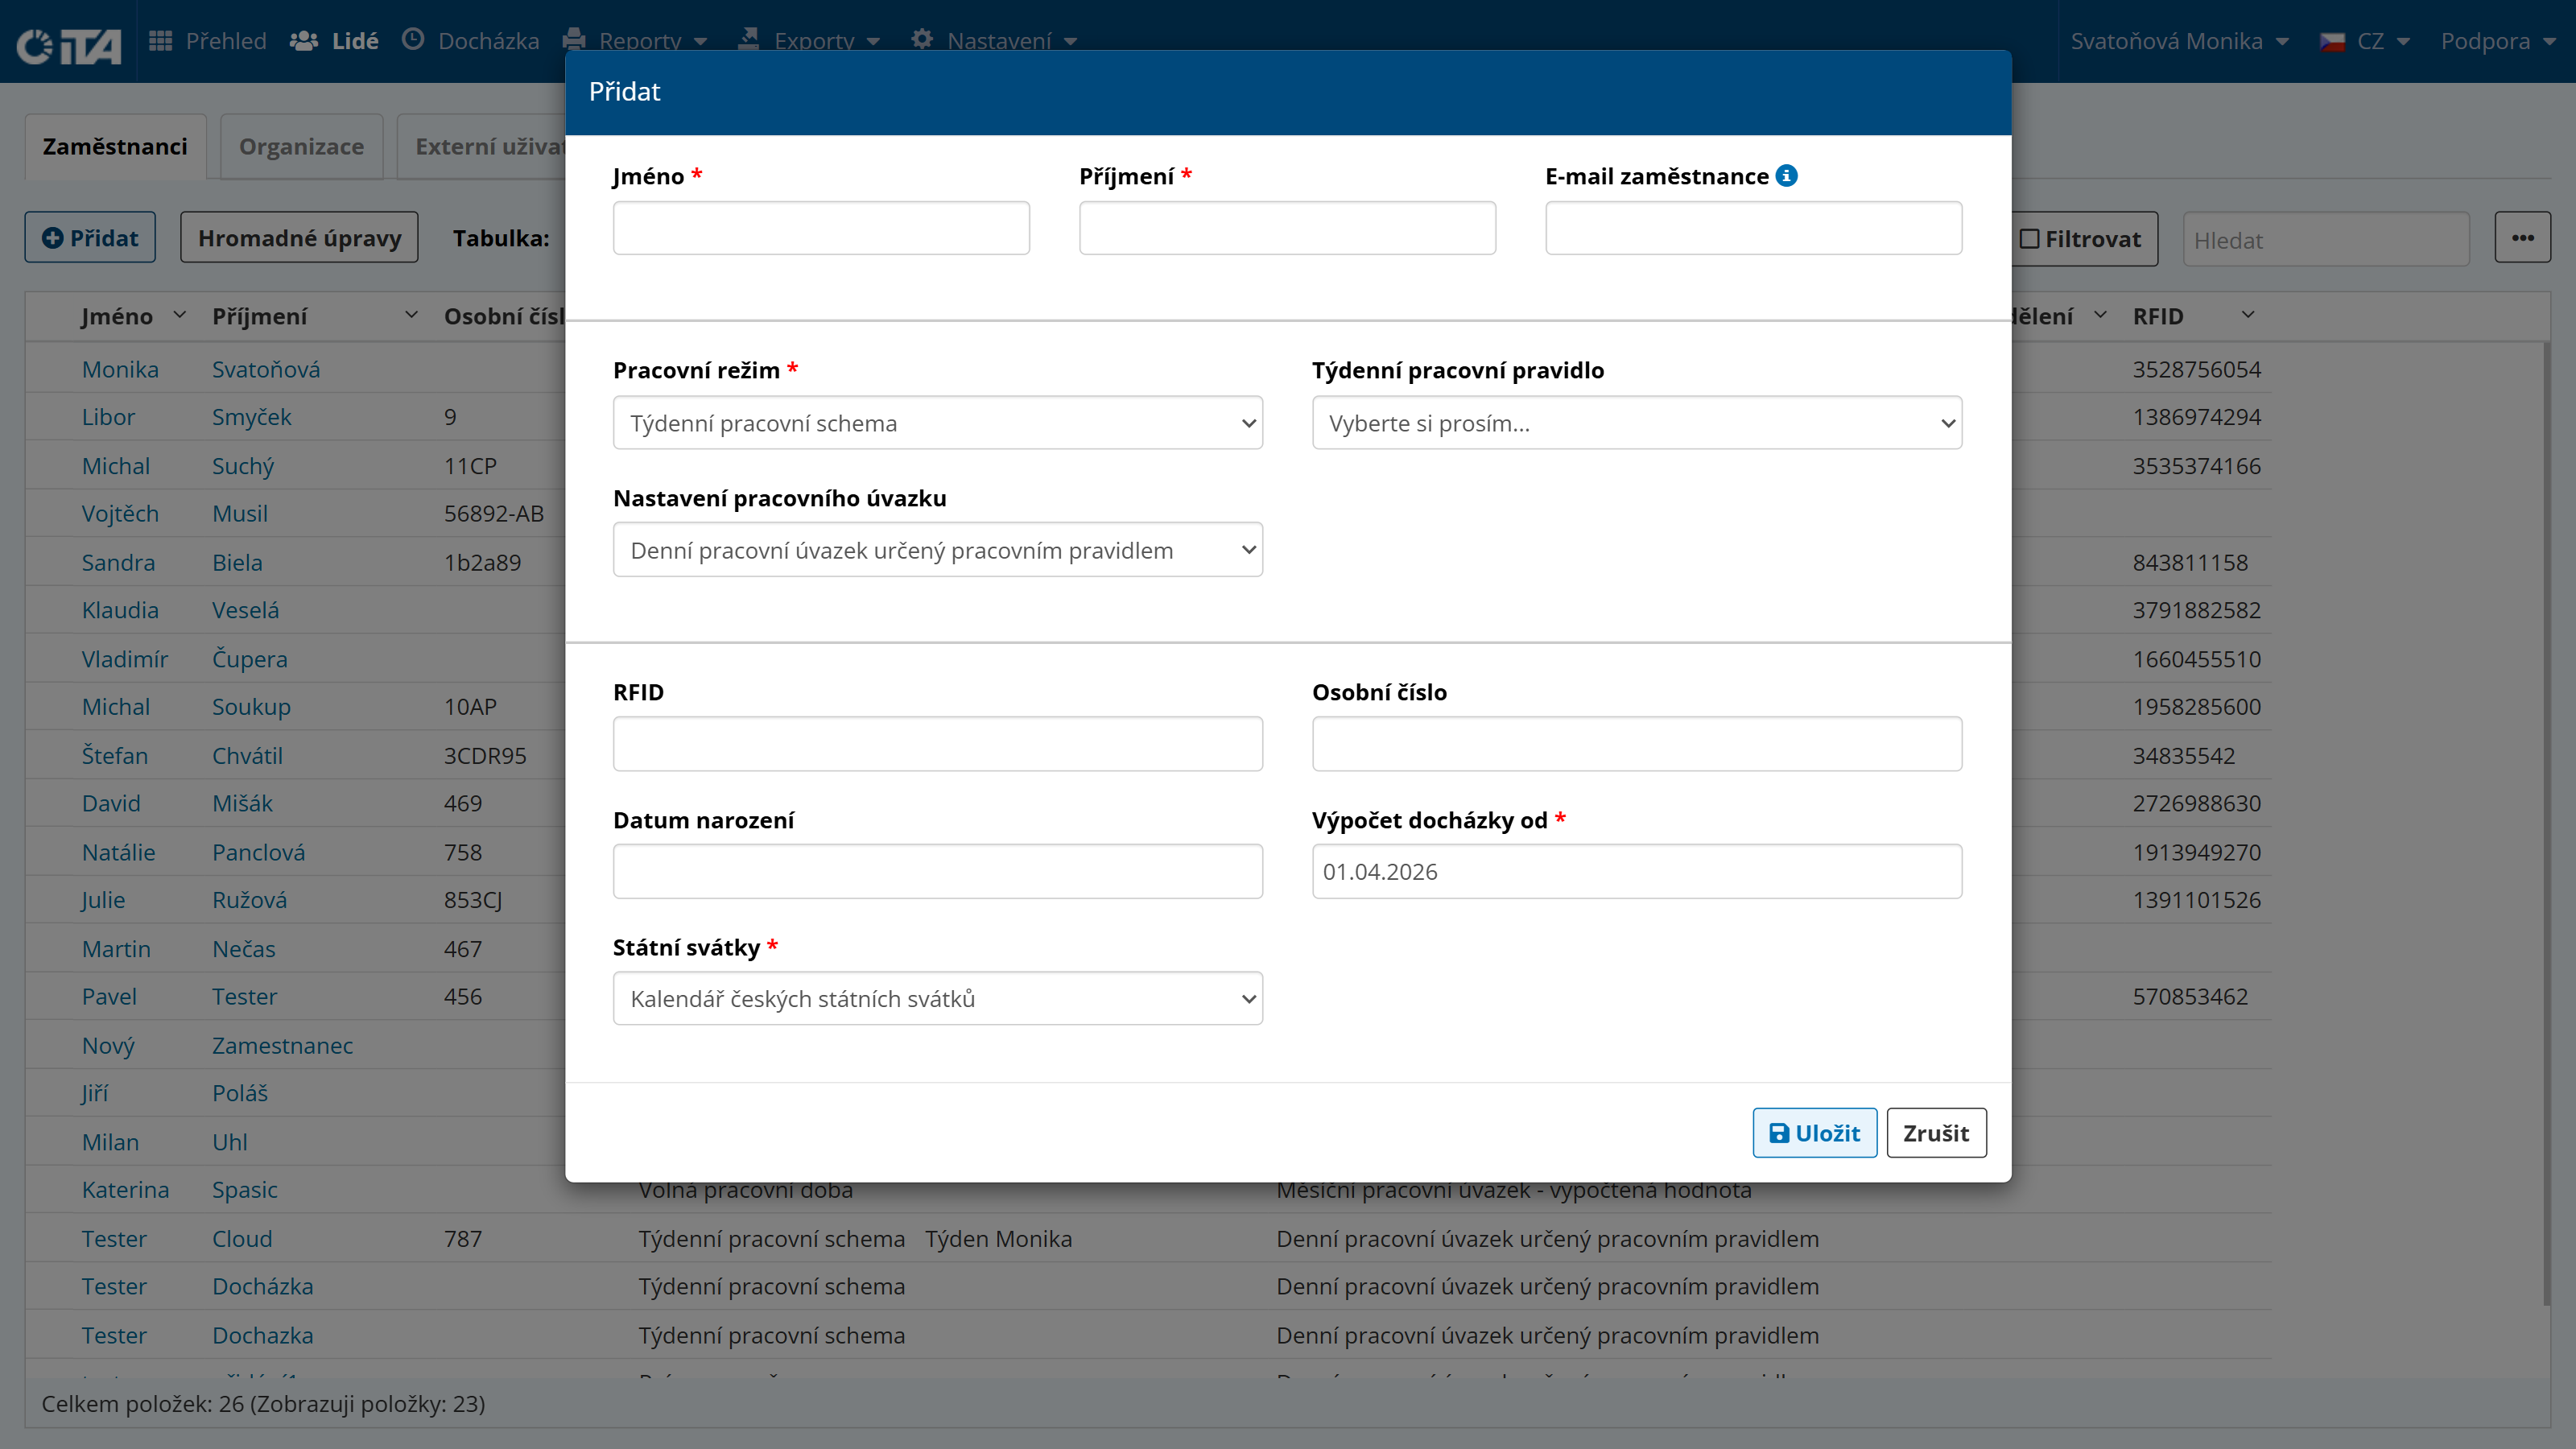
Click Add.

Fill in or select the following information:
First name *
Last name *
Employee email
Work schedule */ work rule / working hours configuration
RFID
Personnel number
Date of birth
Attendance calculation start date *
Public holidays *
1
Fields marked with * are required.
1
To find the RFID number, place a card or tag on the tag reader at the terminal and the number is shown on the display. Enter this number for the employee to whom the tag is assigned.
Copying an Employee#
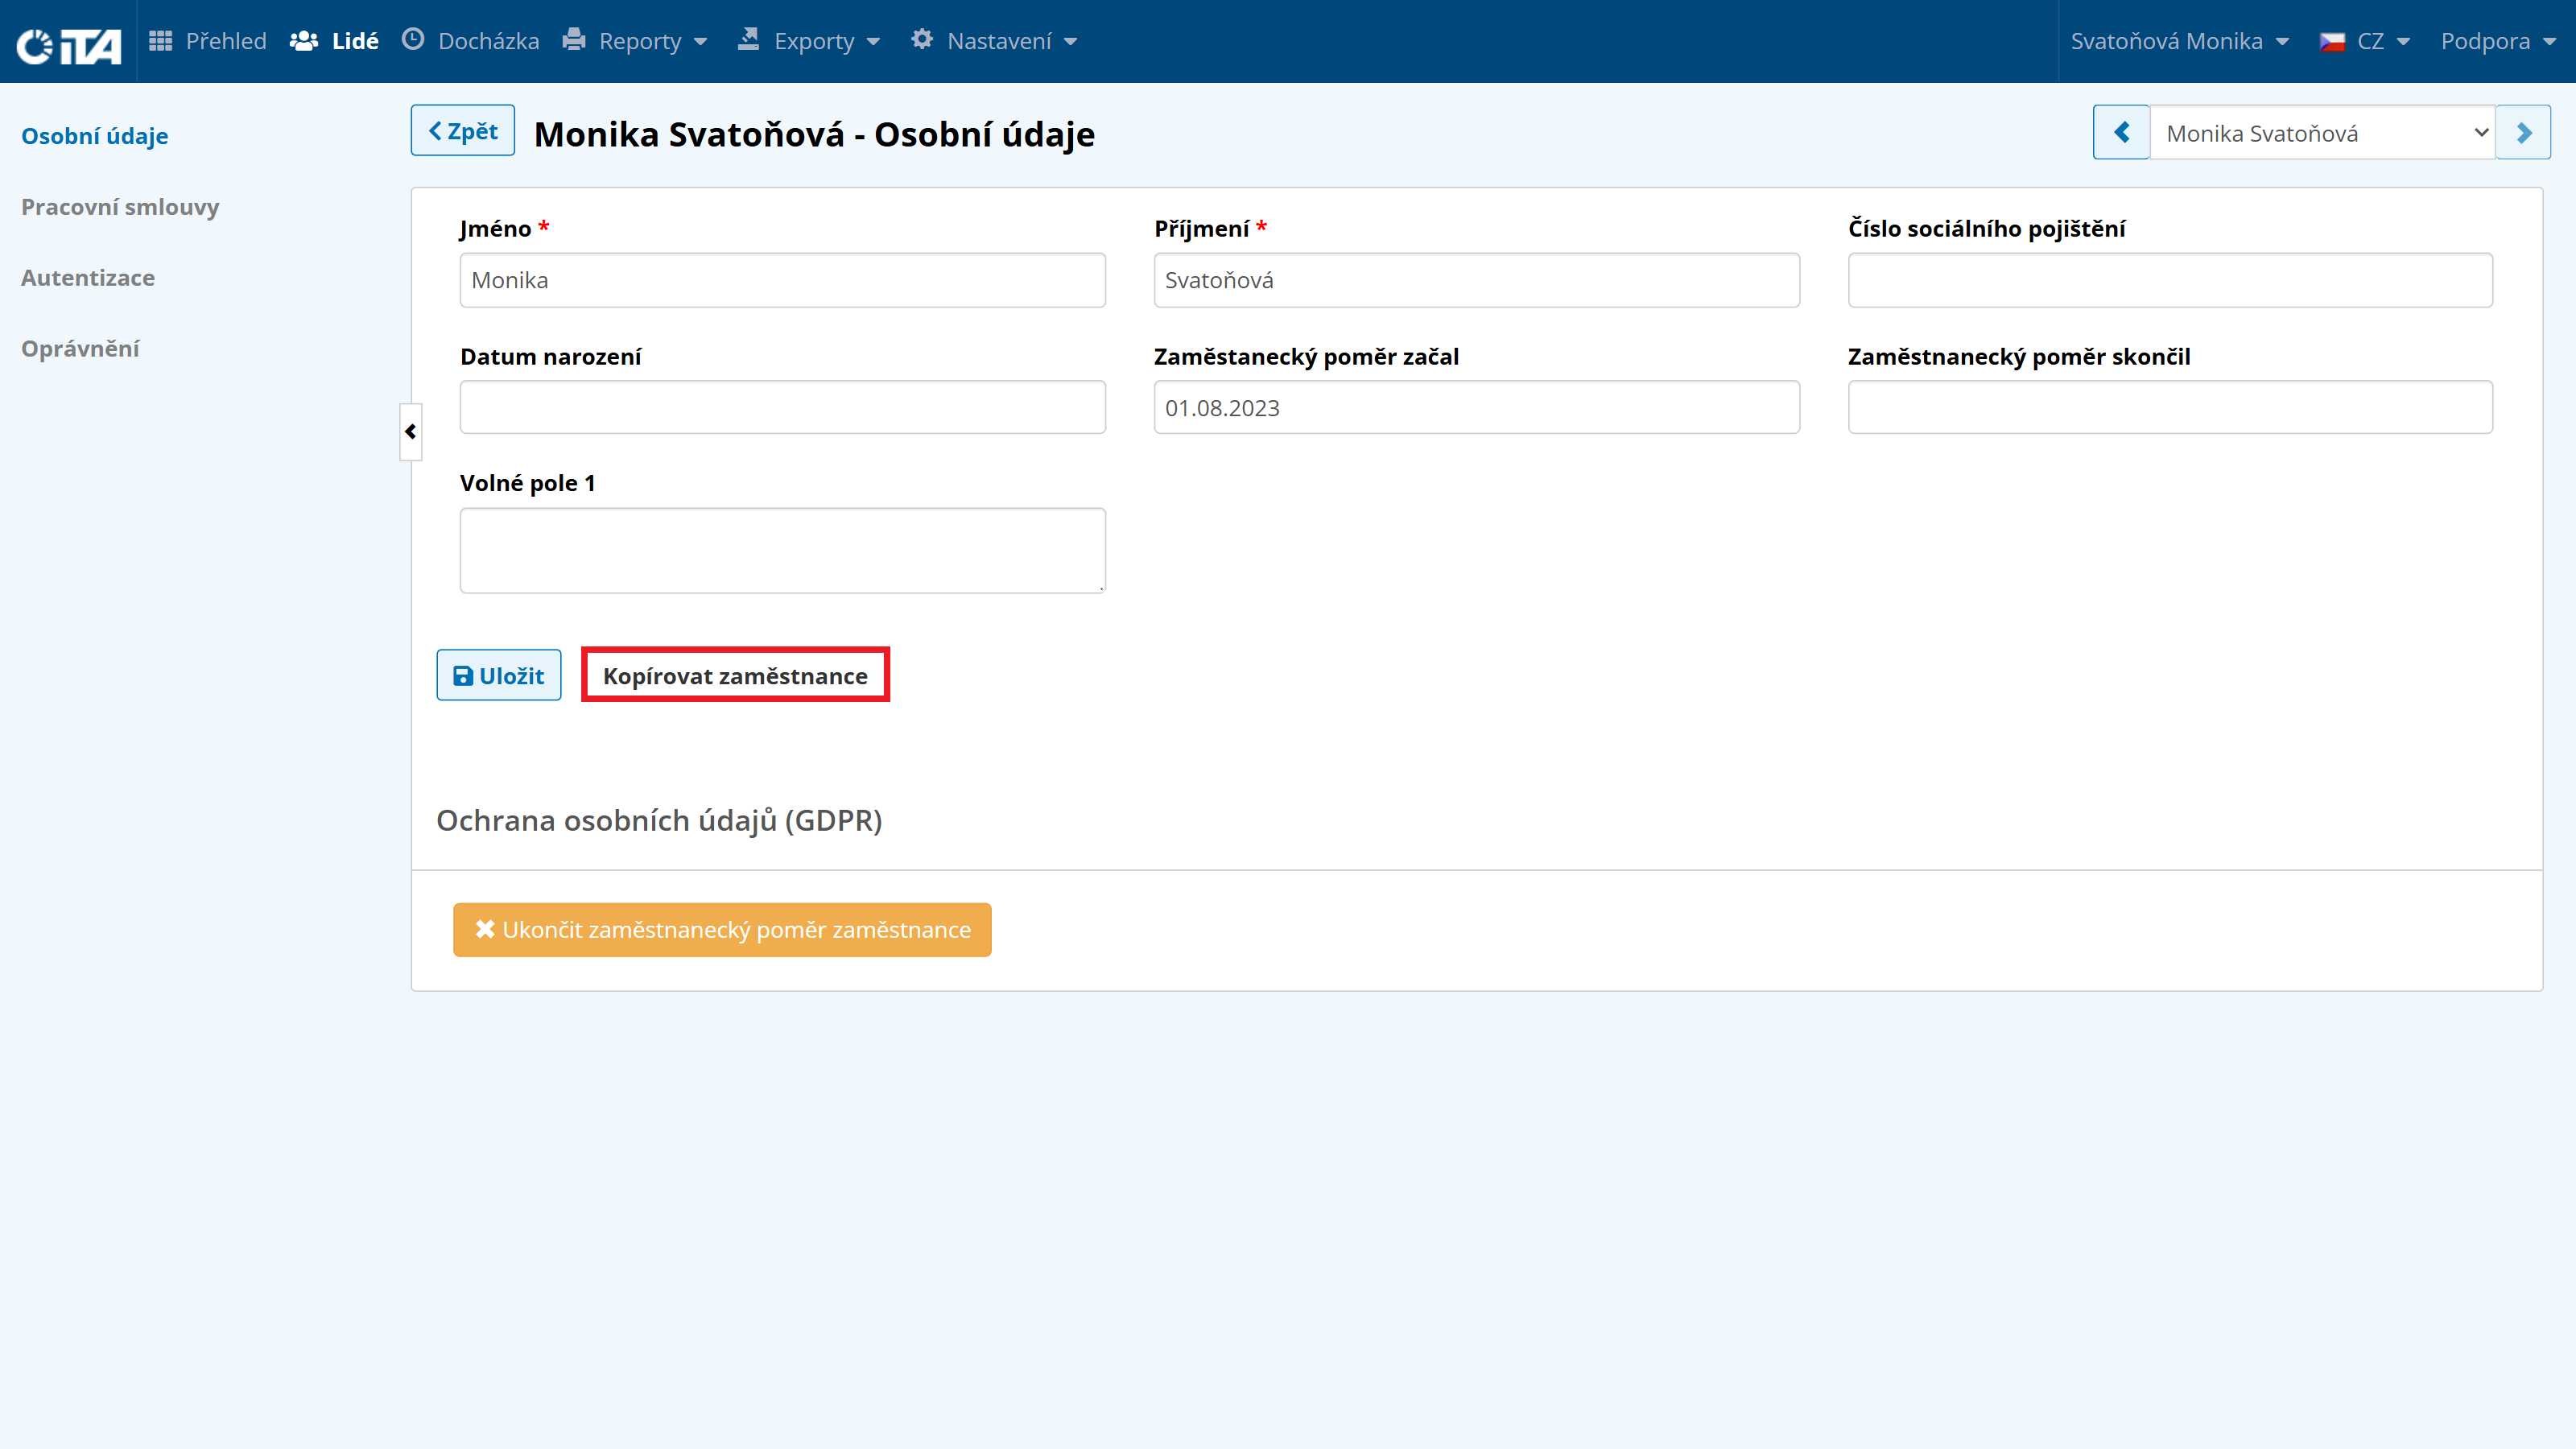
You can create a new employee by copying an existing one. This option copies basic personal data and contracts, as well as authorizations.
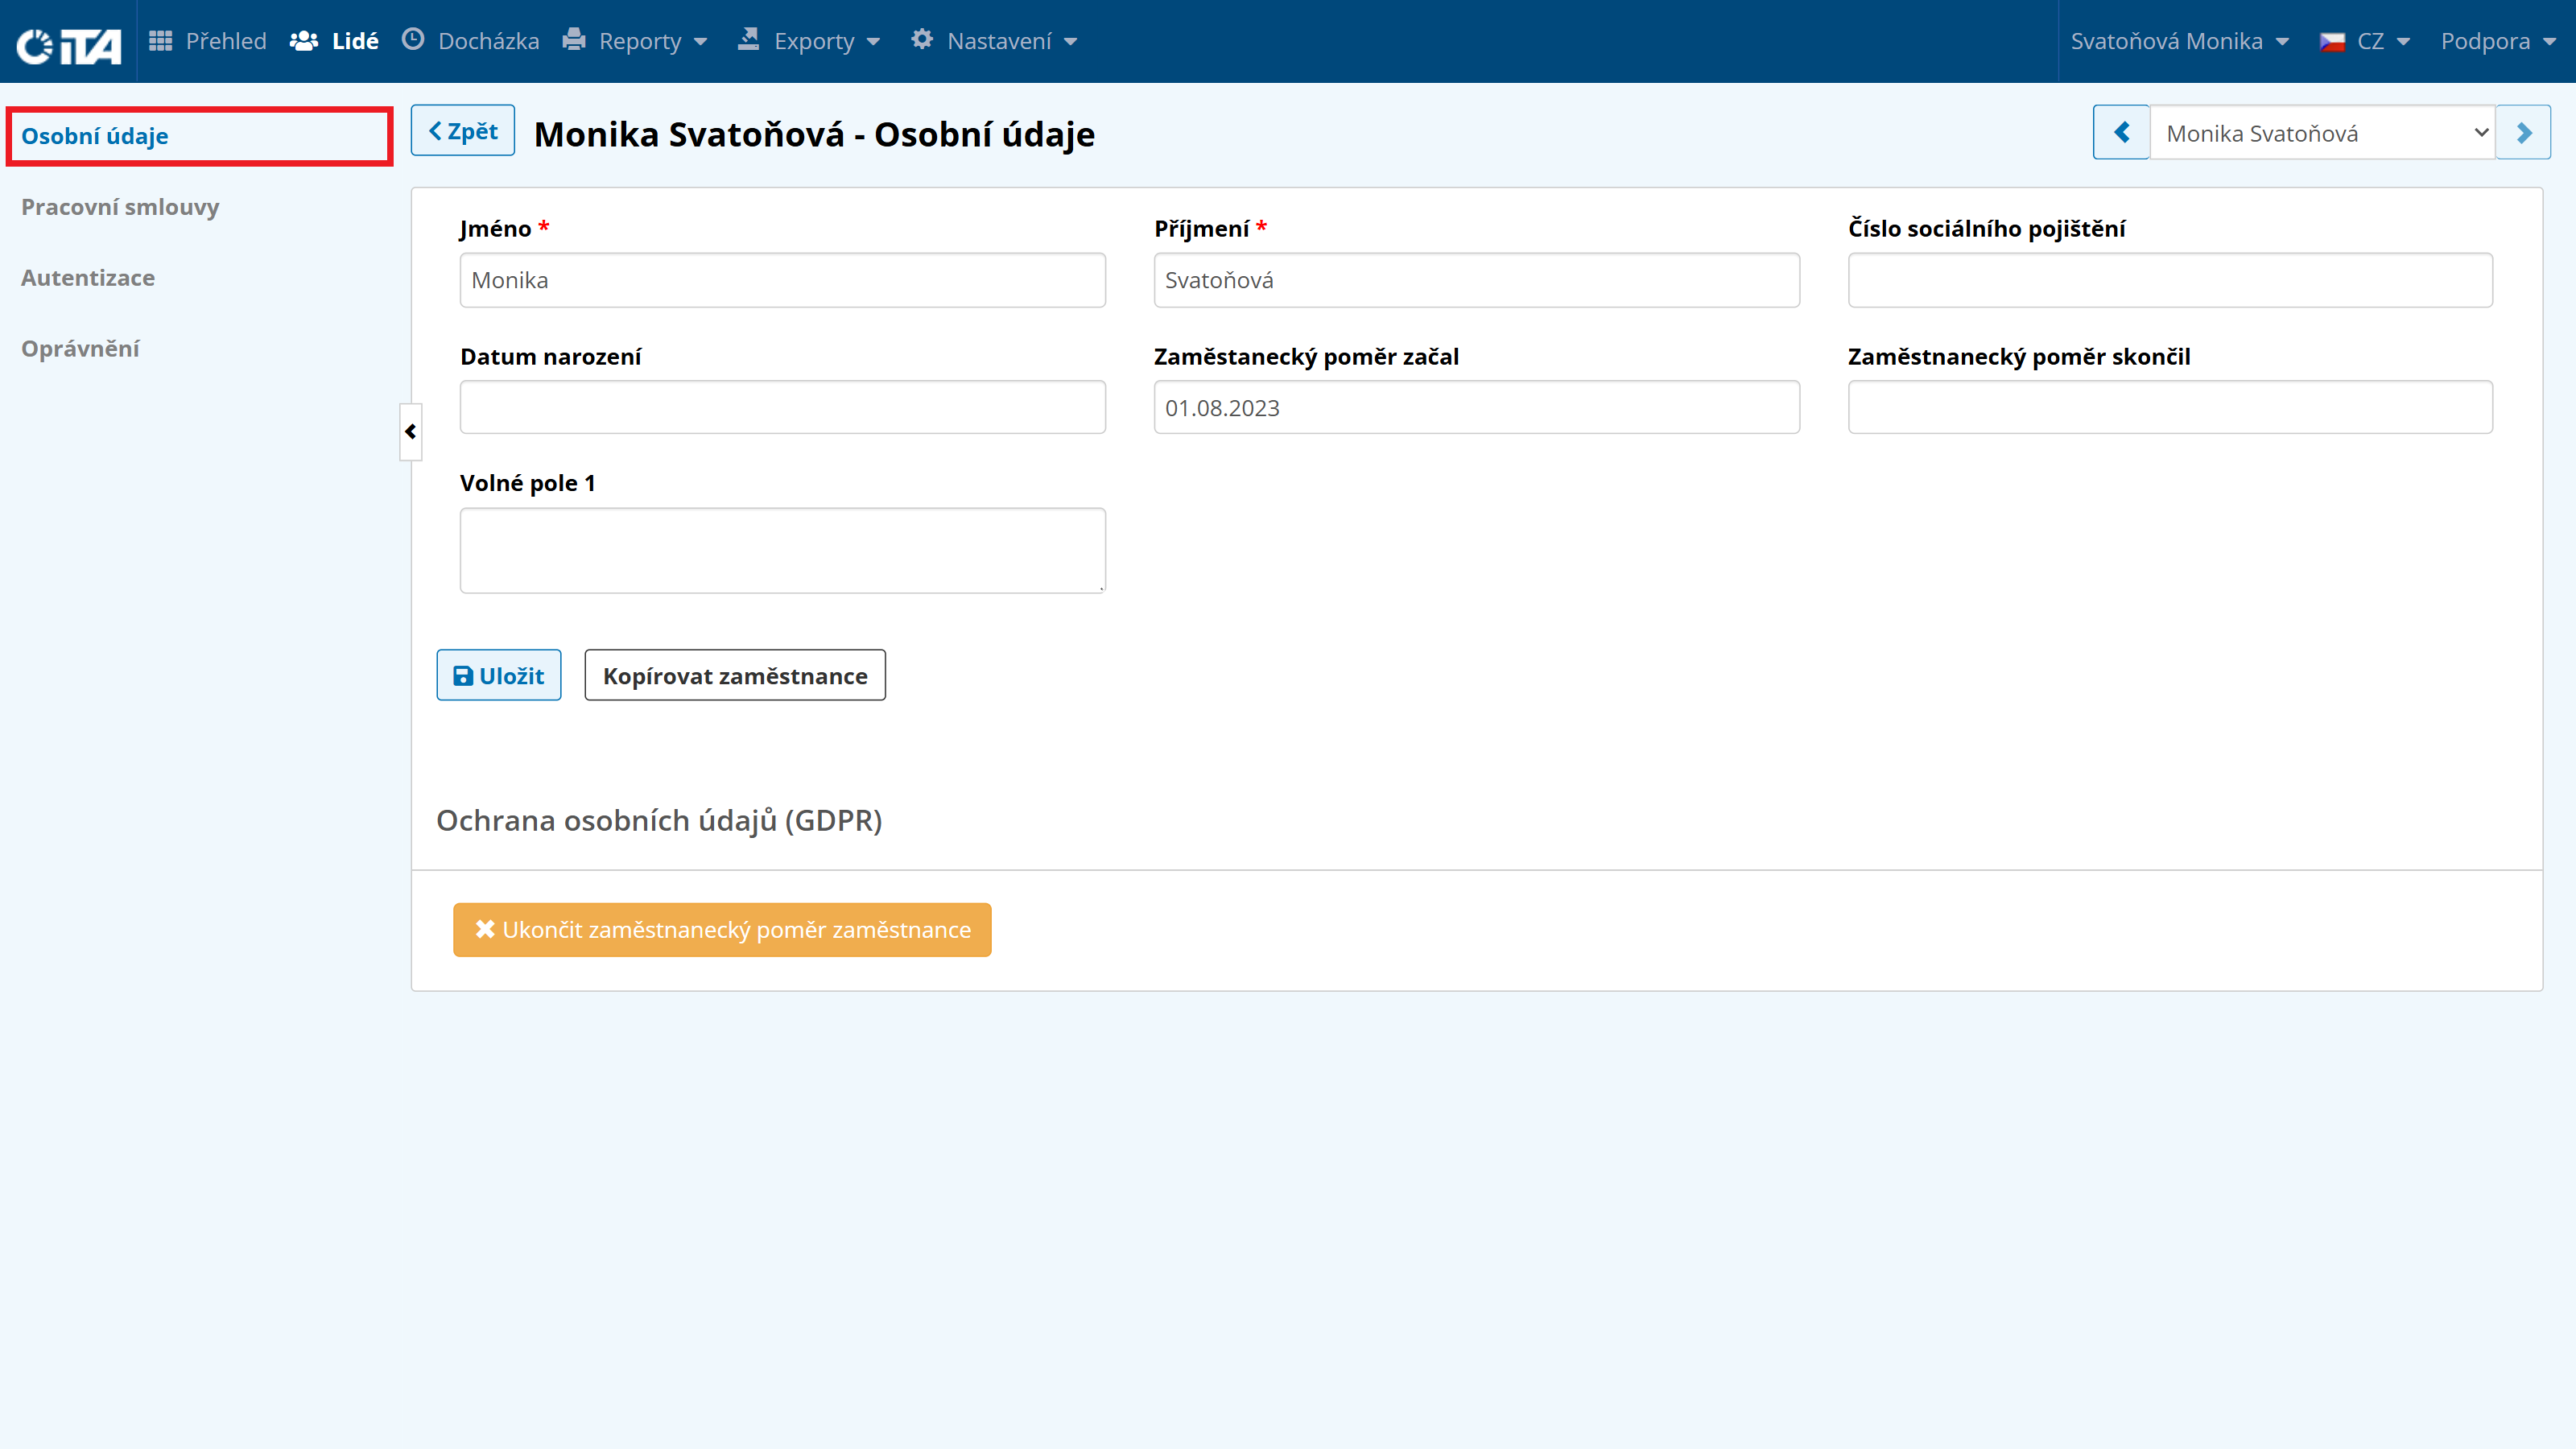
Click the employee you want to copy and open the Personal Details tab.
Click Copy Employee.
Fill in the required data.
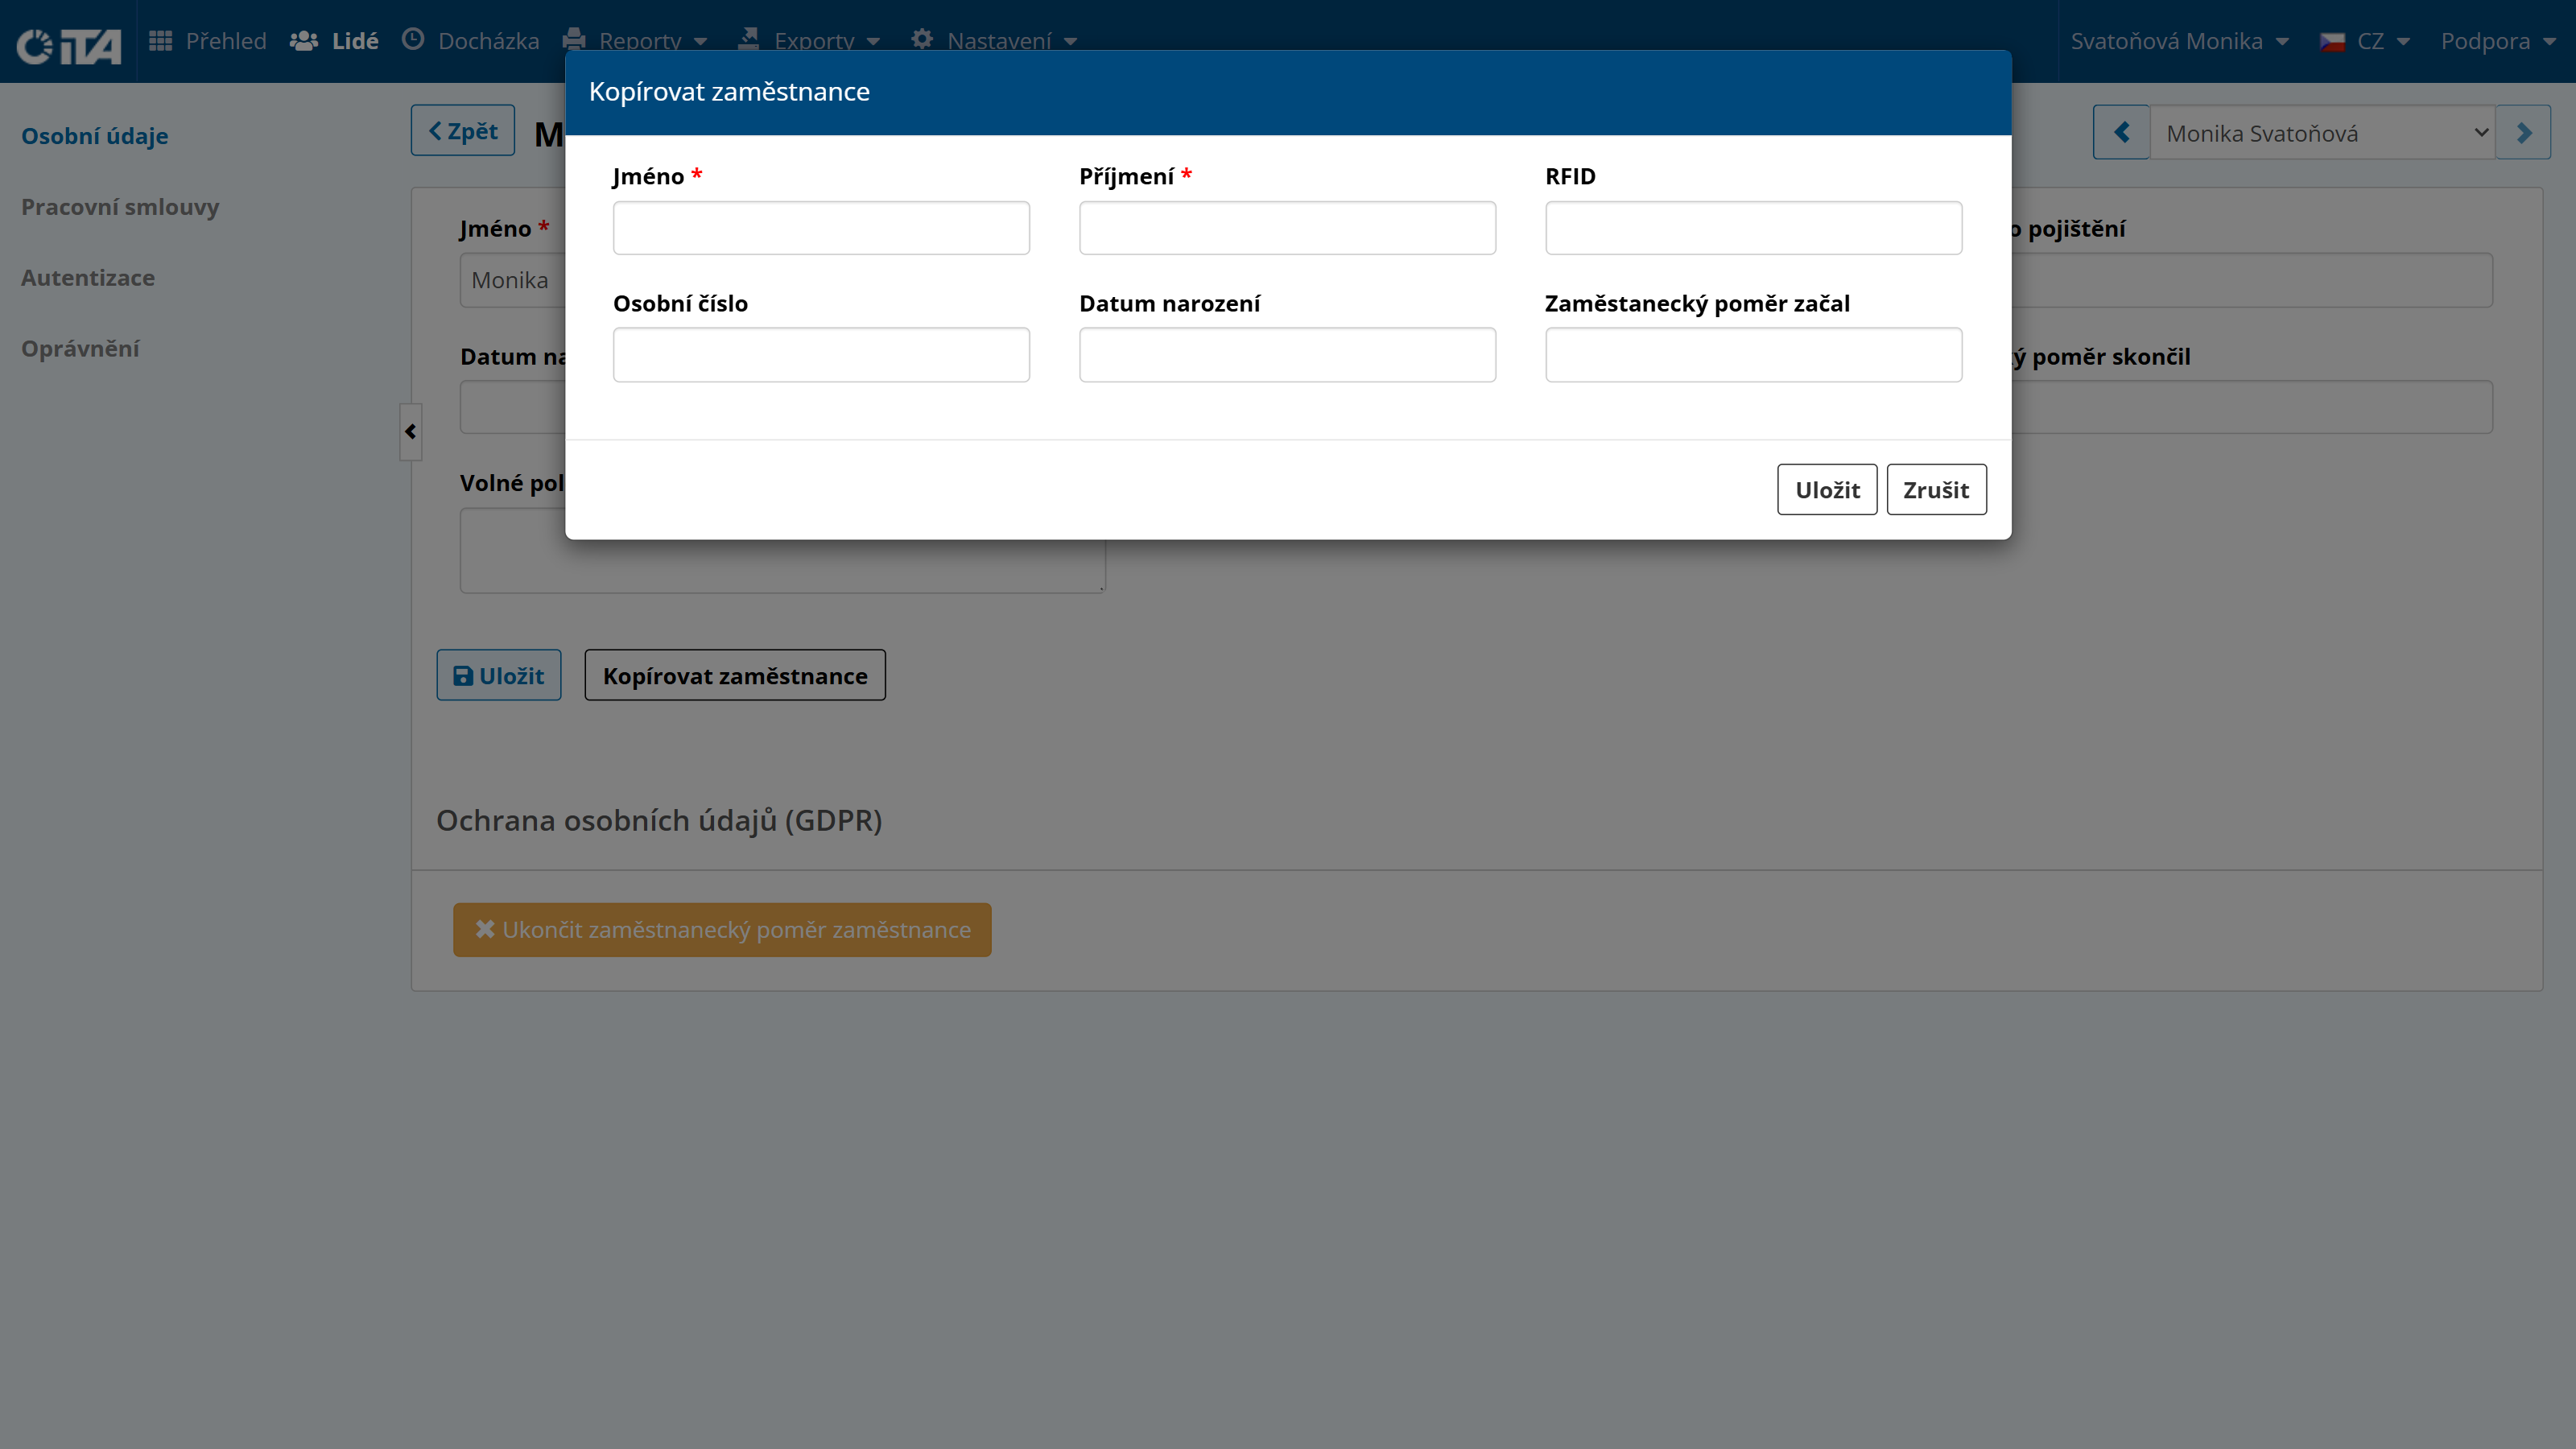
Click Save.
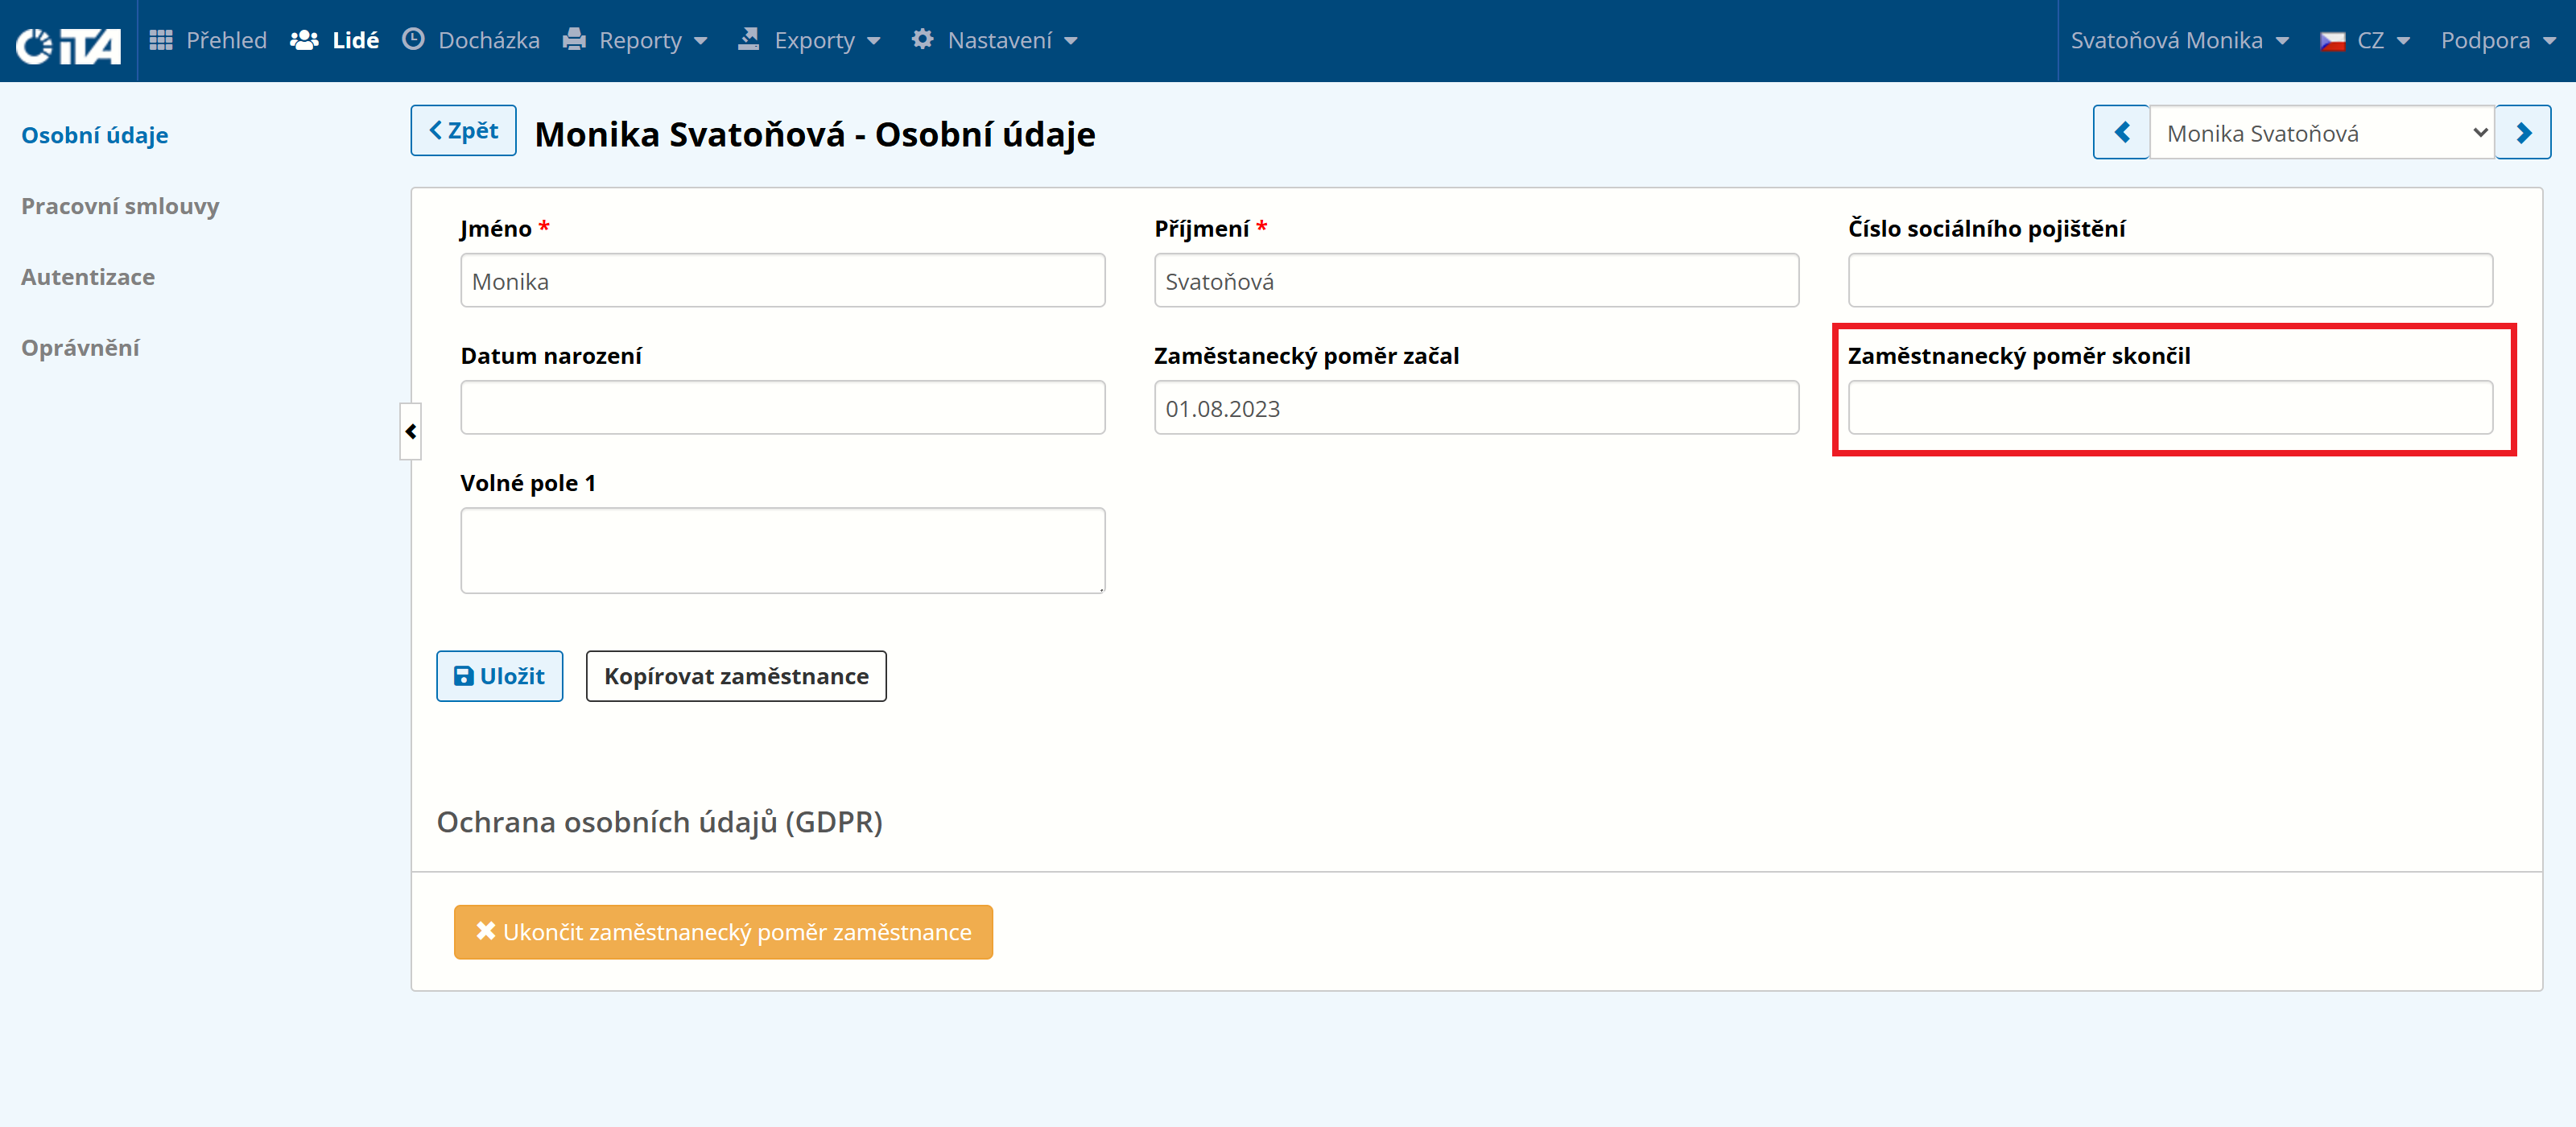
Termination of Employment#
When terminating an employment, you must enter the termination date in the employee’s contract. Enter this in the employee’s personal data, in the Employment End Date field.
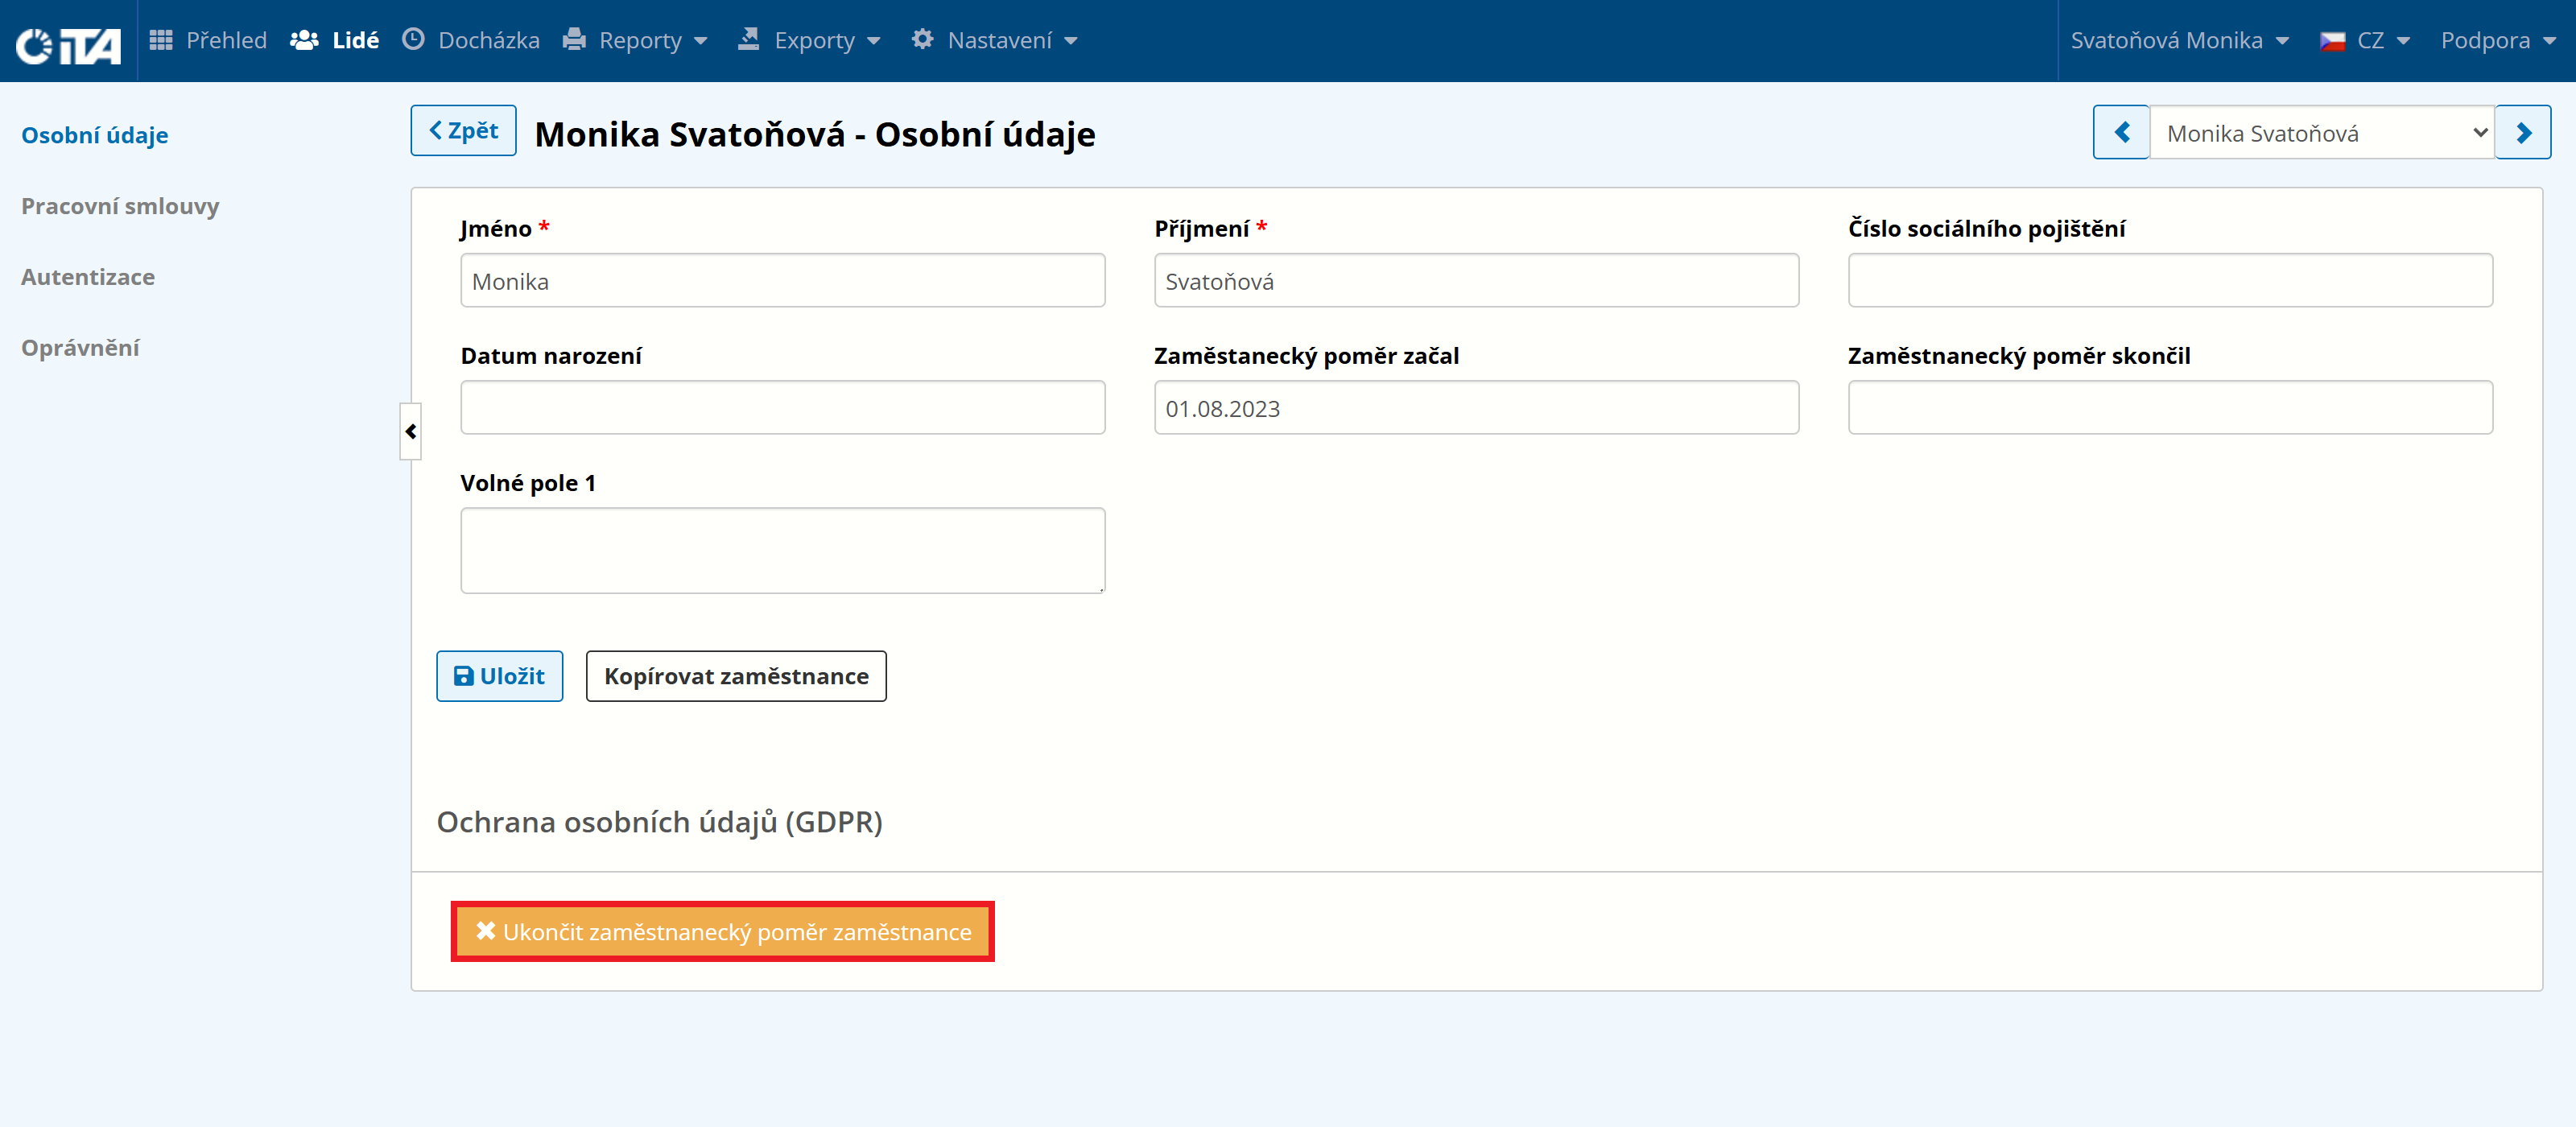
If you do not enter this information, the termination is automatically set to the date on which you perform the action via the Terminate Employment button.
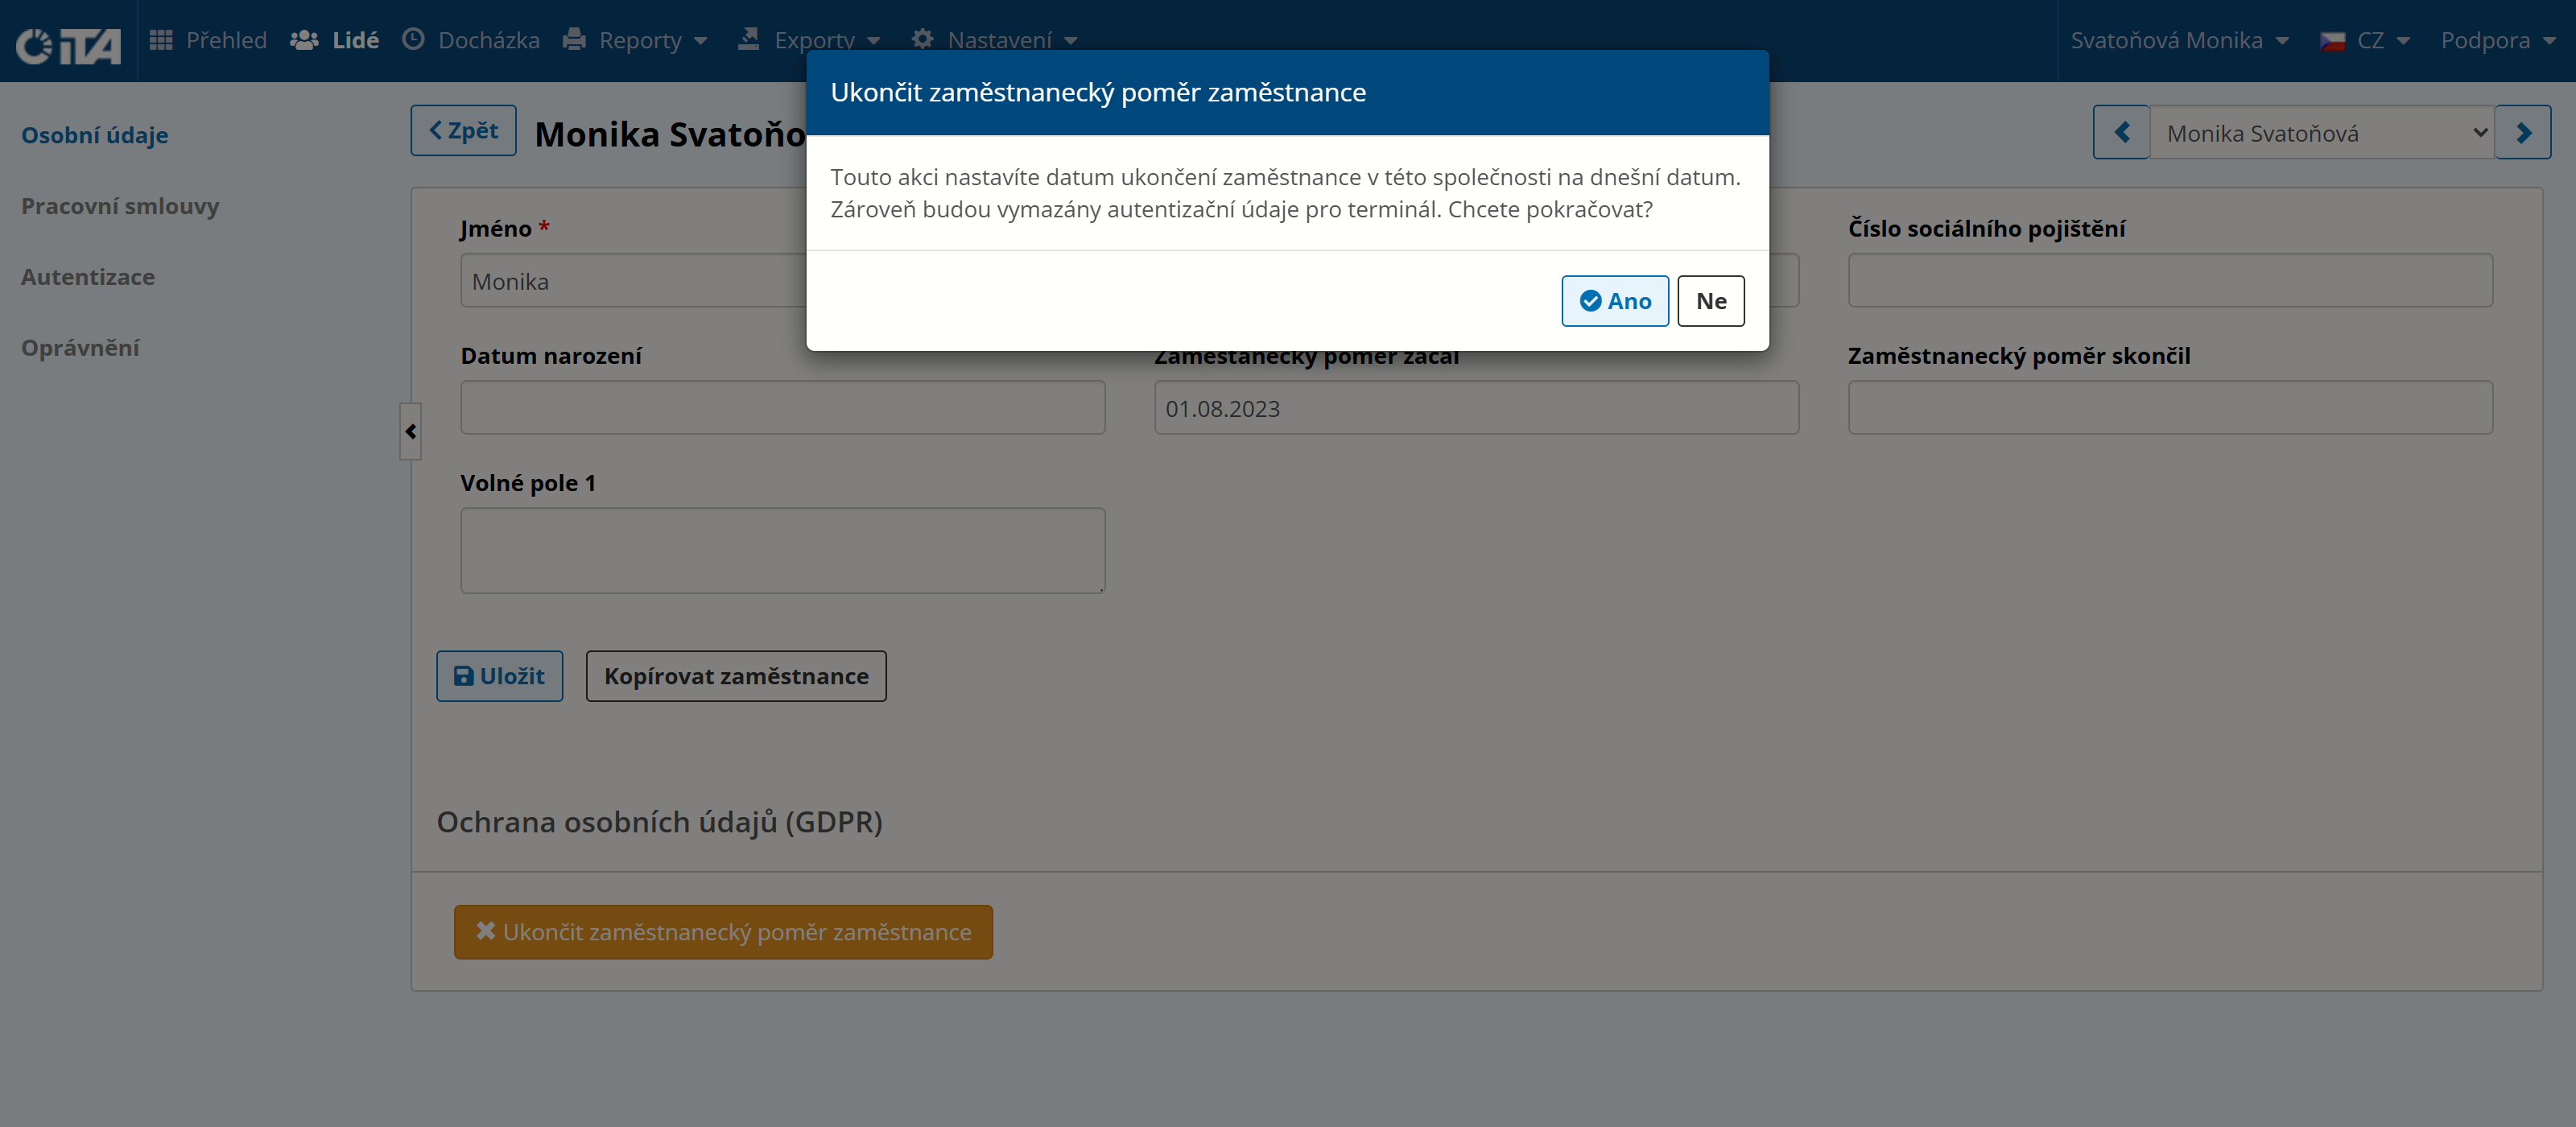
To confirm, click Yes.
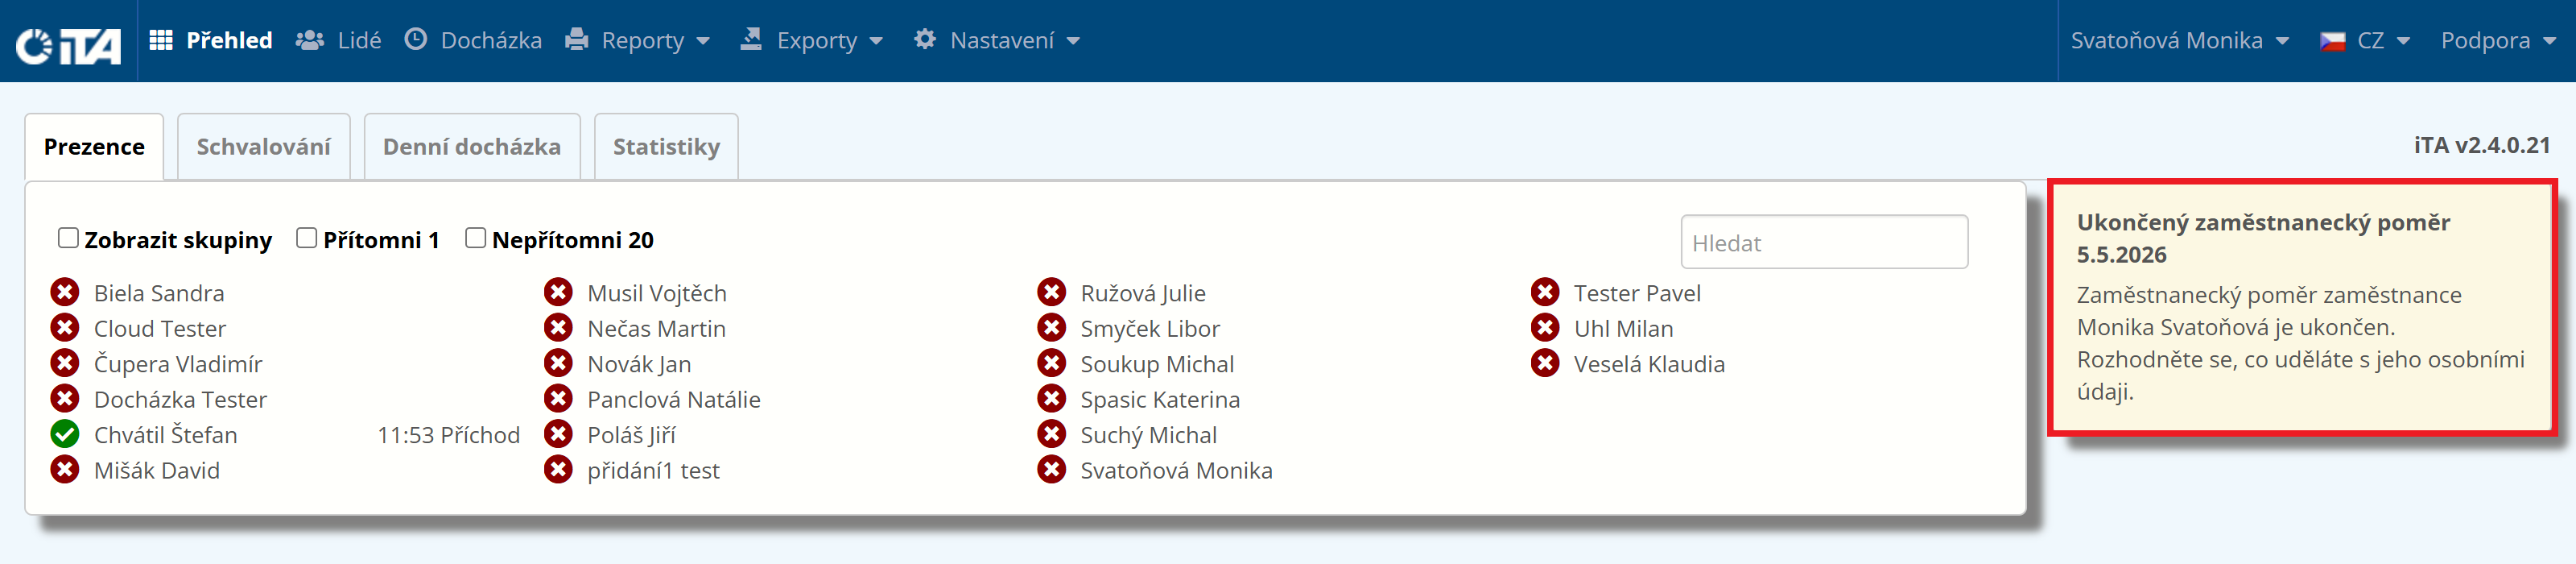
Once an employment is terminated, you must decide how the employee’s personal data will be handled. A notification on the Overview page reminds you of this.
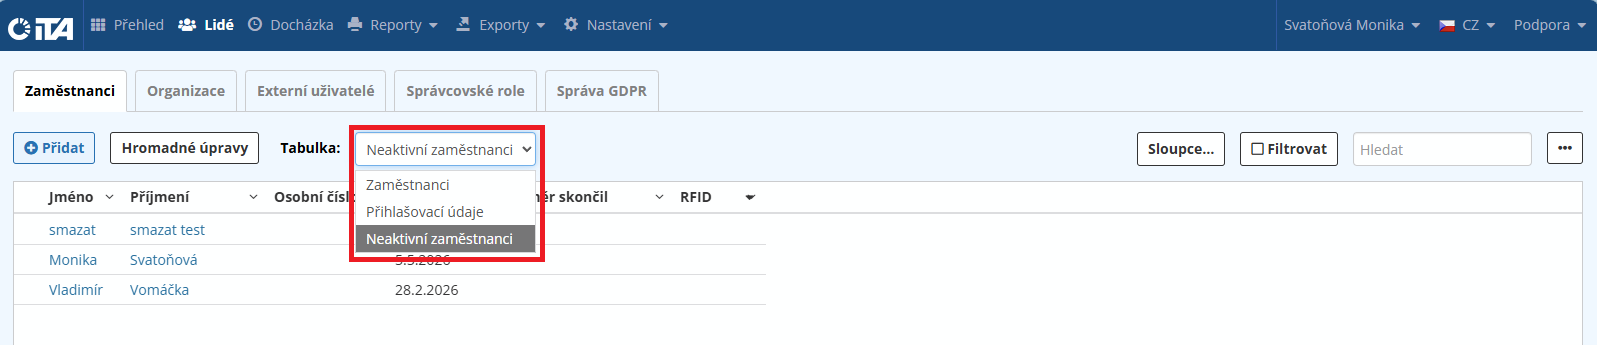
To also display employees with terminated employment, select Inactive Employees on the Employees tab.
You now have three options for handling the employee’s personal data:

- Retain Personal Data:
The employee is not deleted or anonymized, but is flagged as having consented to the retention of their personal data by the company. The employee’s name is then shown crossed out in the system.
- Anonymize Employee:
After confirmation, the employee remains in the system but their data is irreversibly anonymized. Instead of the name, a crossed-out string with asterisks is displayed.
- Delete Employee:
The employee is irreversibly and completely removed from the system.
Employee Consents to Retention of Personal Data#
The employee may decide that the company can retain their personal data.
Since it is the administrator’s responsibility to obtain this consent from the employee, iTA’s role is only to store the information that the employee has agreed to. Therefore, when you click Retain Personal Data, the system notifies the user and records who performed the change.
Anonymizing Employee Data#
Anonymization is performed so that specific data can no longer be linked to an employee and therefore the employee can no longer be identified.
This operation deletes only data that allows identification of the employee — that is, personal data such as the name and other identifying information (personnel number, date of birth, employment start date, etc.) are hidden.
All other data, in particular attendance records and account balances, remain in place, so the overall history is preserved for reporting purposes; the employee is simply no longer identifiable.
After this action is performed, the system again records who made the change and when. The employee’s personal data is now anonymous and is replaced everywhere by *** ***.
Deleting Employee Data#
This operation removes all of the employee’s data from the database, which means every row that belonged to the employee is deleted and cannot be restored.
This operation may affect the company’s overall figures — for example, the totals of account balances — because the historical data of the deleted employee is lost. If you prefer to preserve the historical balances, anonymizing the employee’s data is the preferred option.
Returning a Tag (Keyring Fob, Card) and Reusing It#
After an employee whose employment has been terminated returns their tag, it can be assigned to another employee. Delete the RFID number assigned to the original employee. Edit this in the Authentication tab, in the RFID field. The number is then free and can be assigned to another user.