Administrator Roles#
In addition to the system’s built-in roles, you can define new roles that match the specific requirements of your company. For example, you can define a role for an external user who should only be able to view the system without being able to make changes.
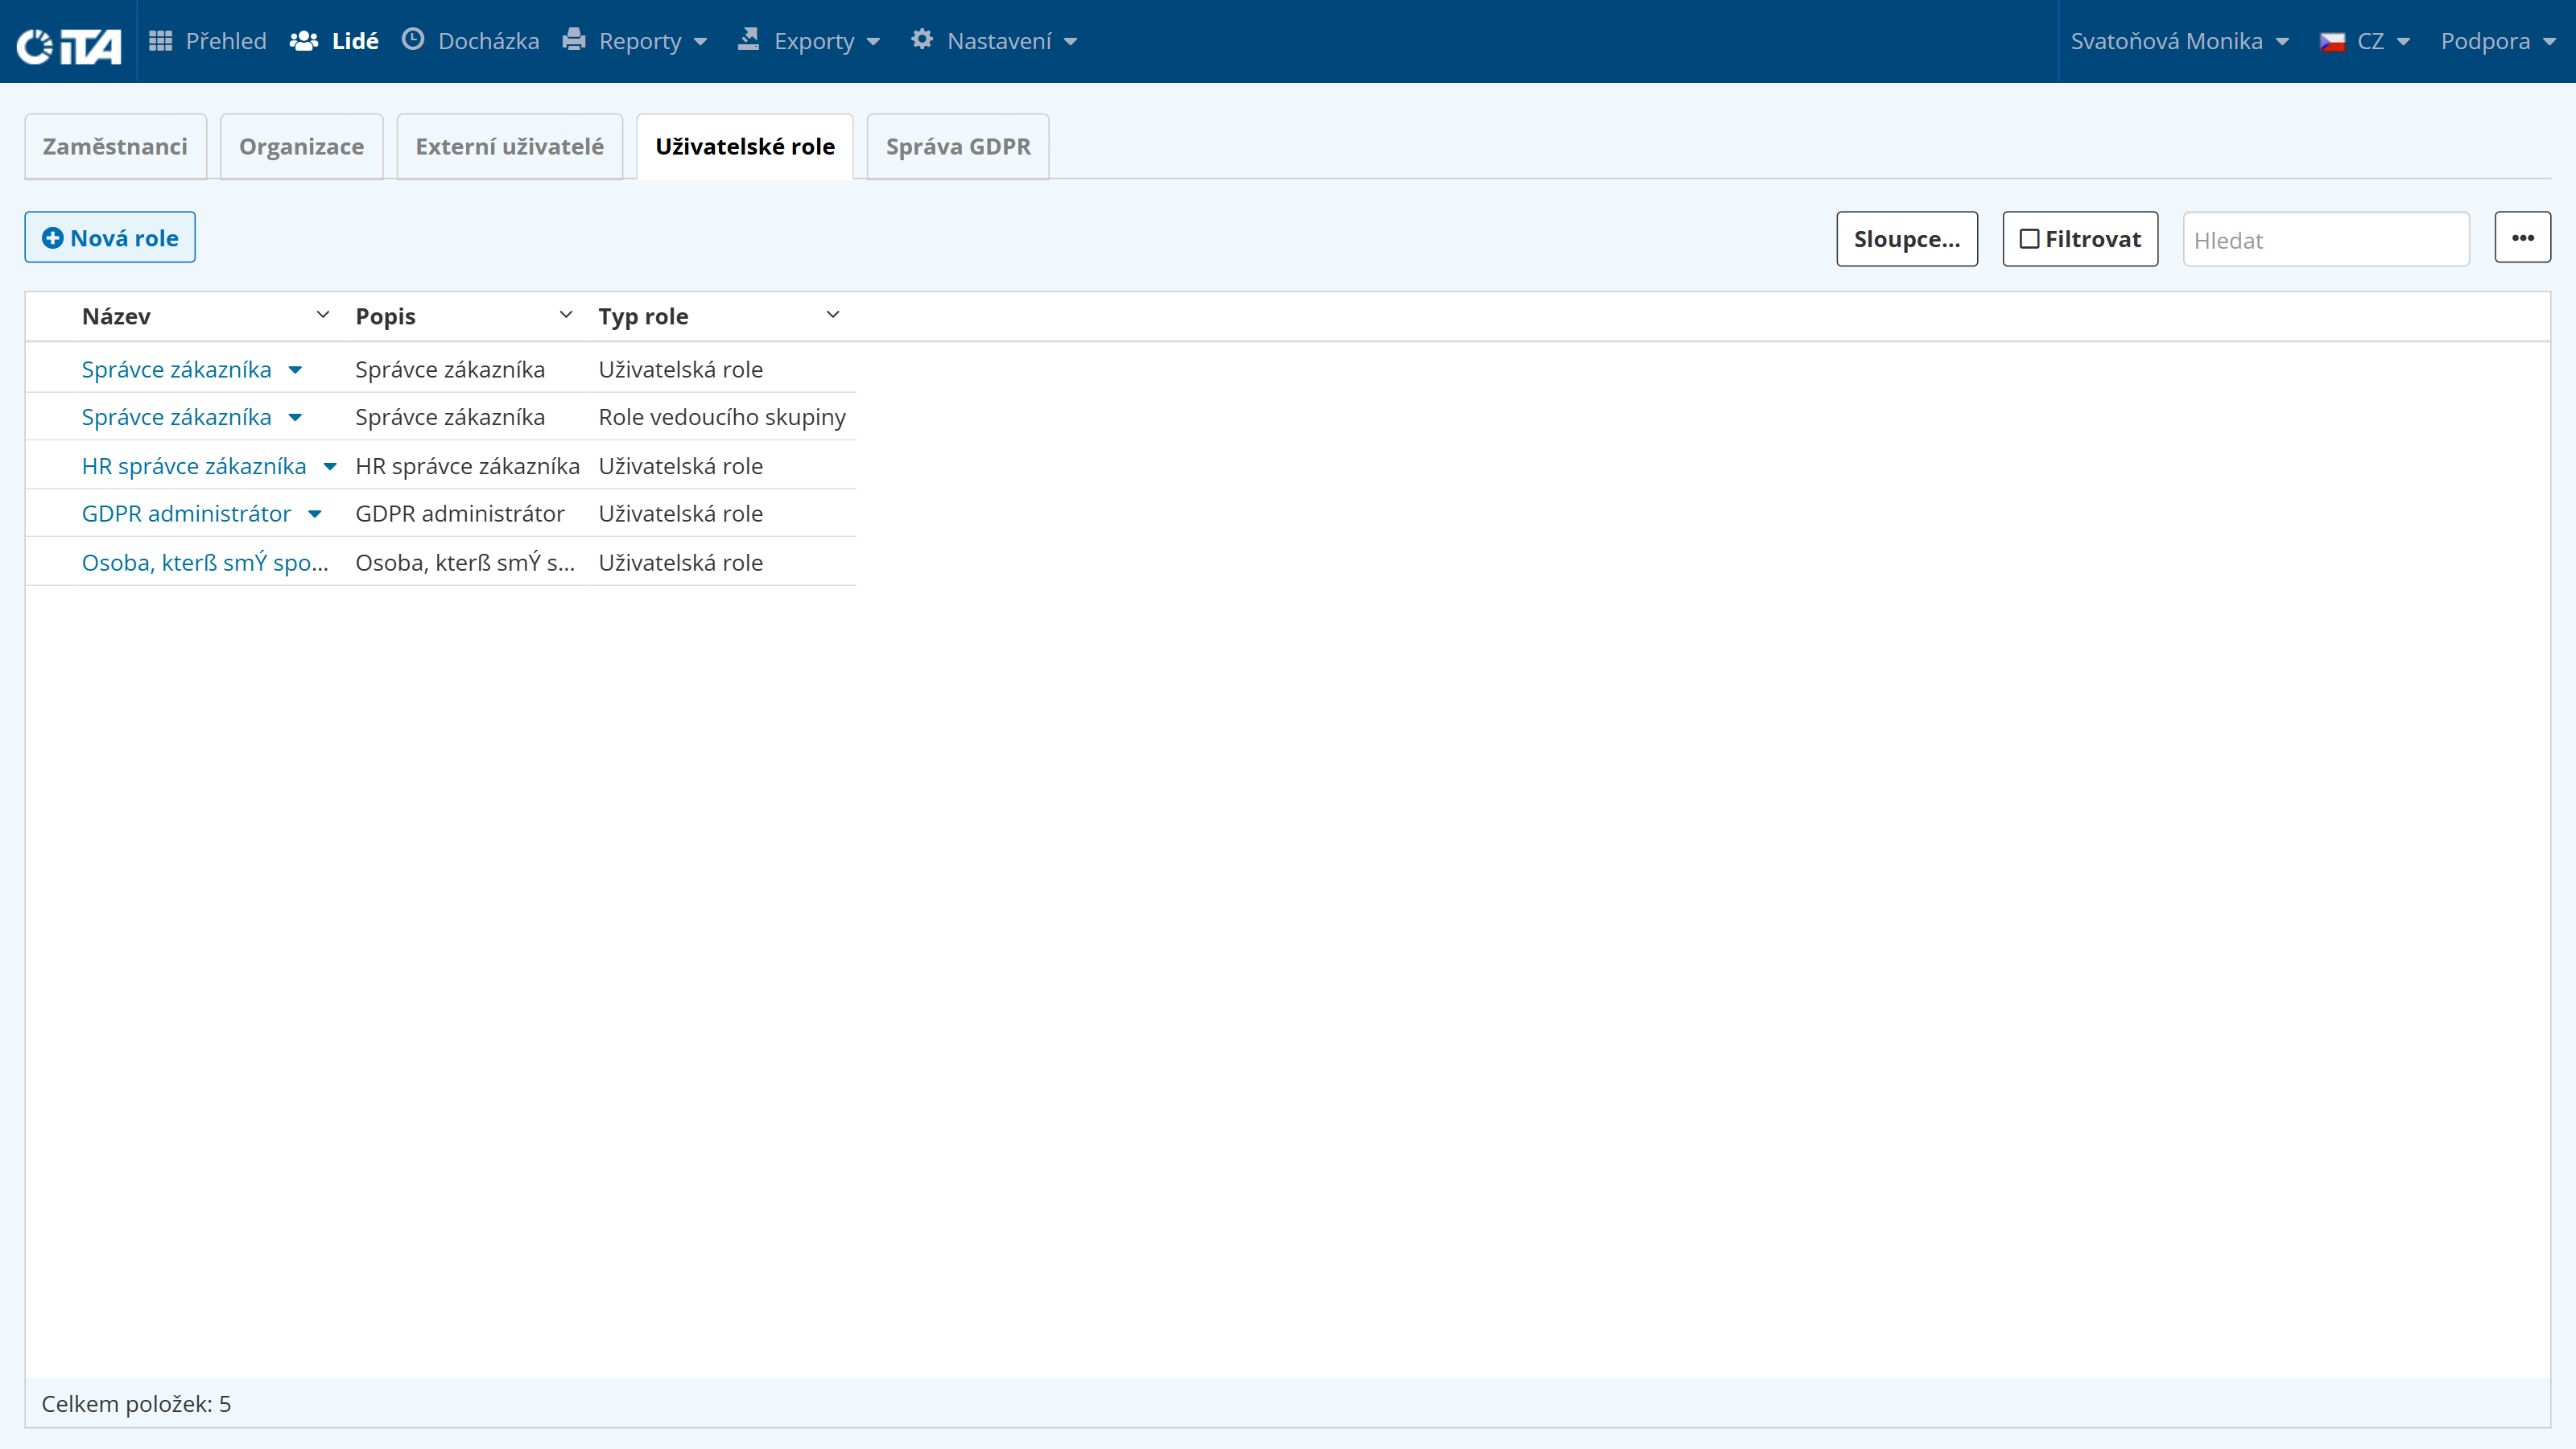
Adding a New Role#
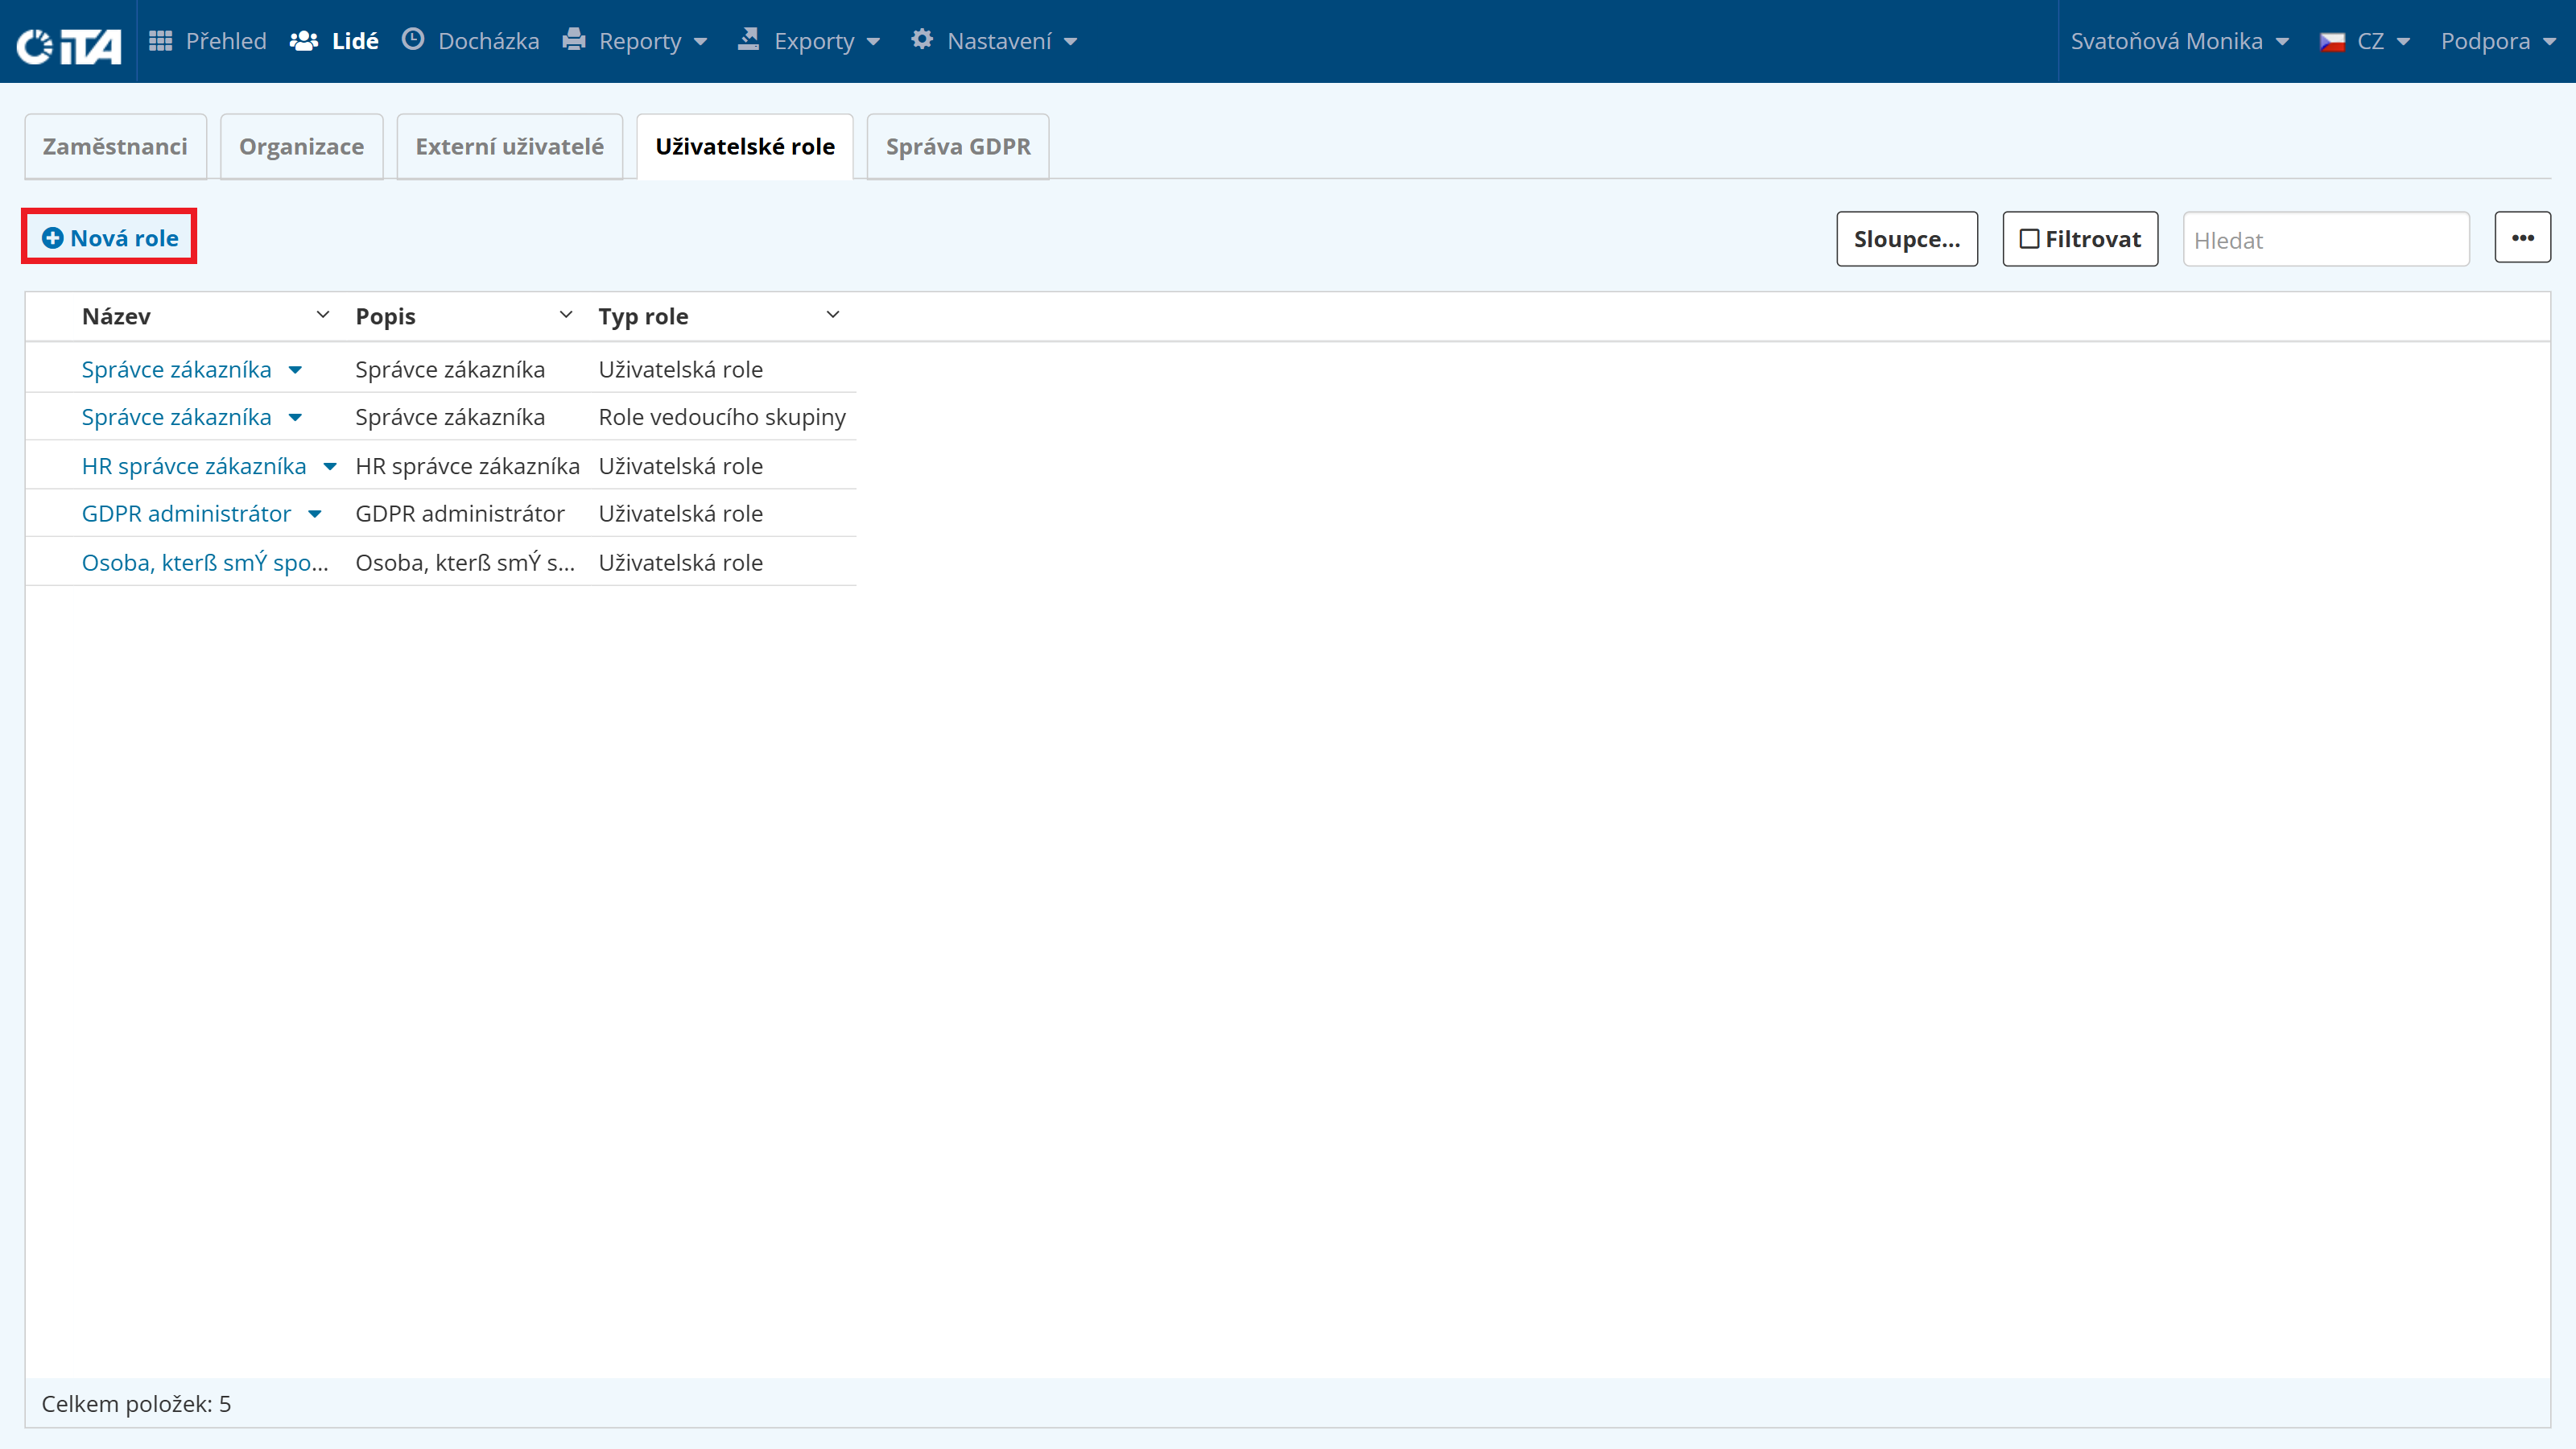
Click New Role:
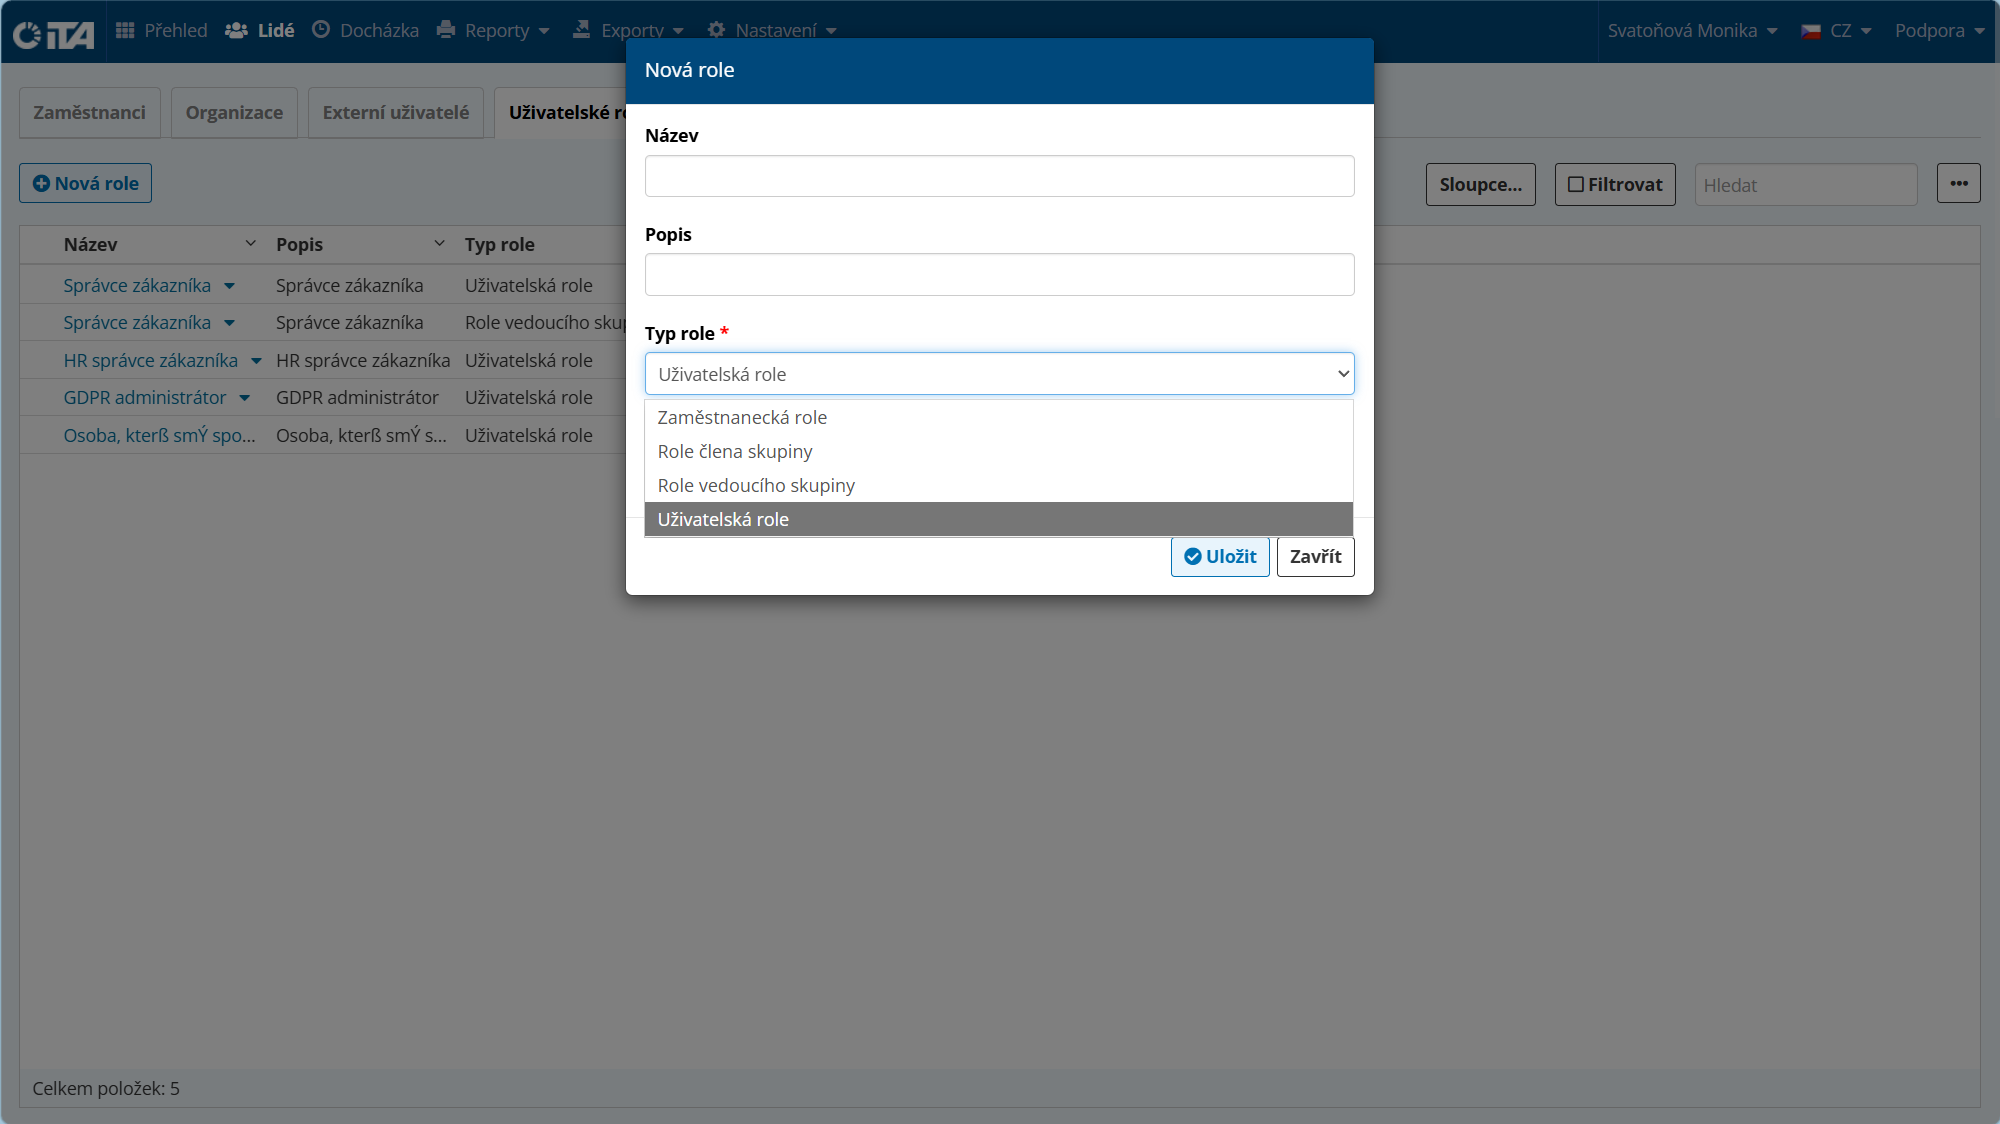
Enter the role name, description, and role type:
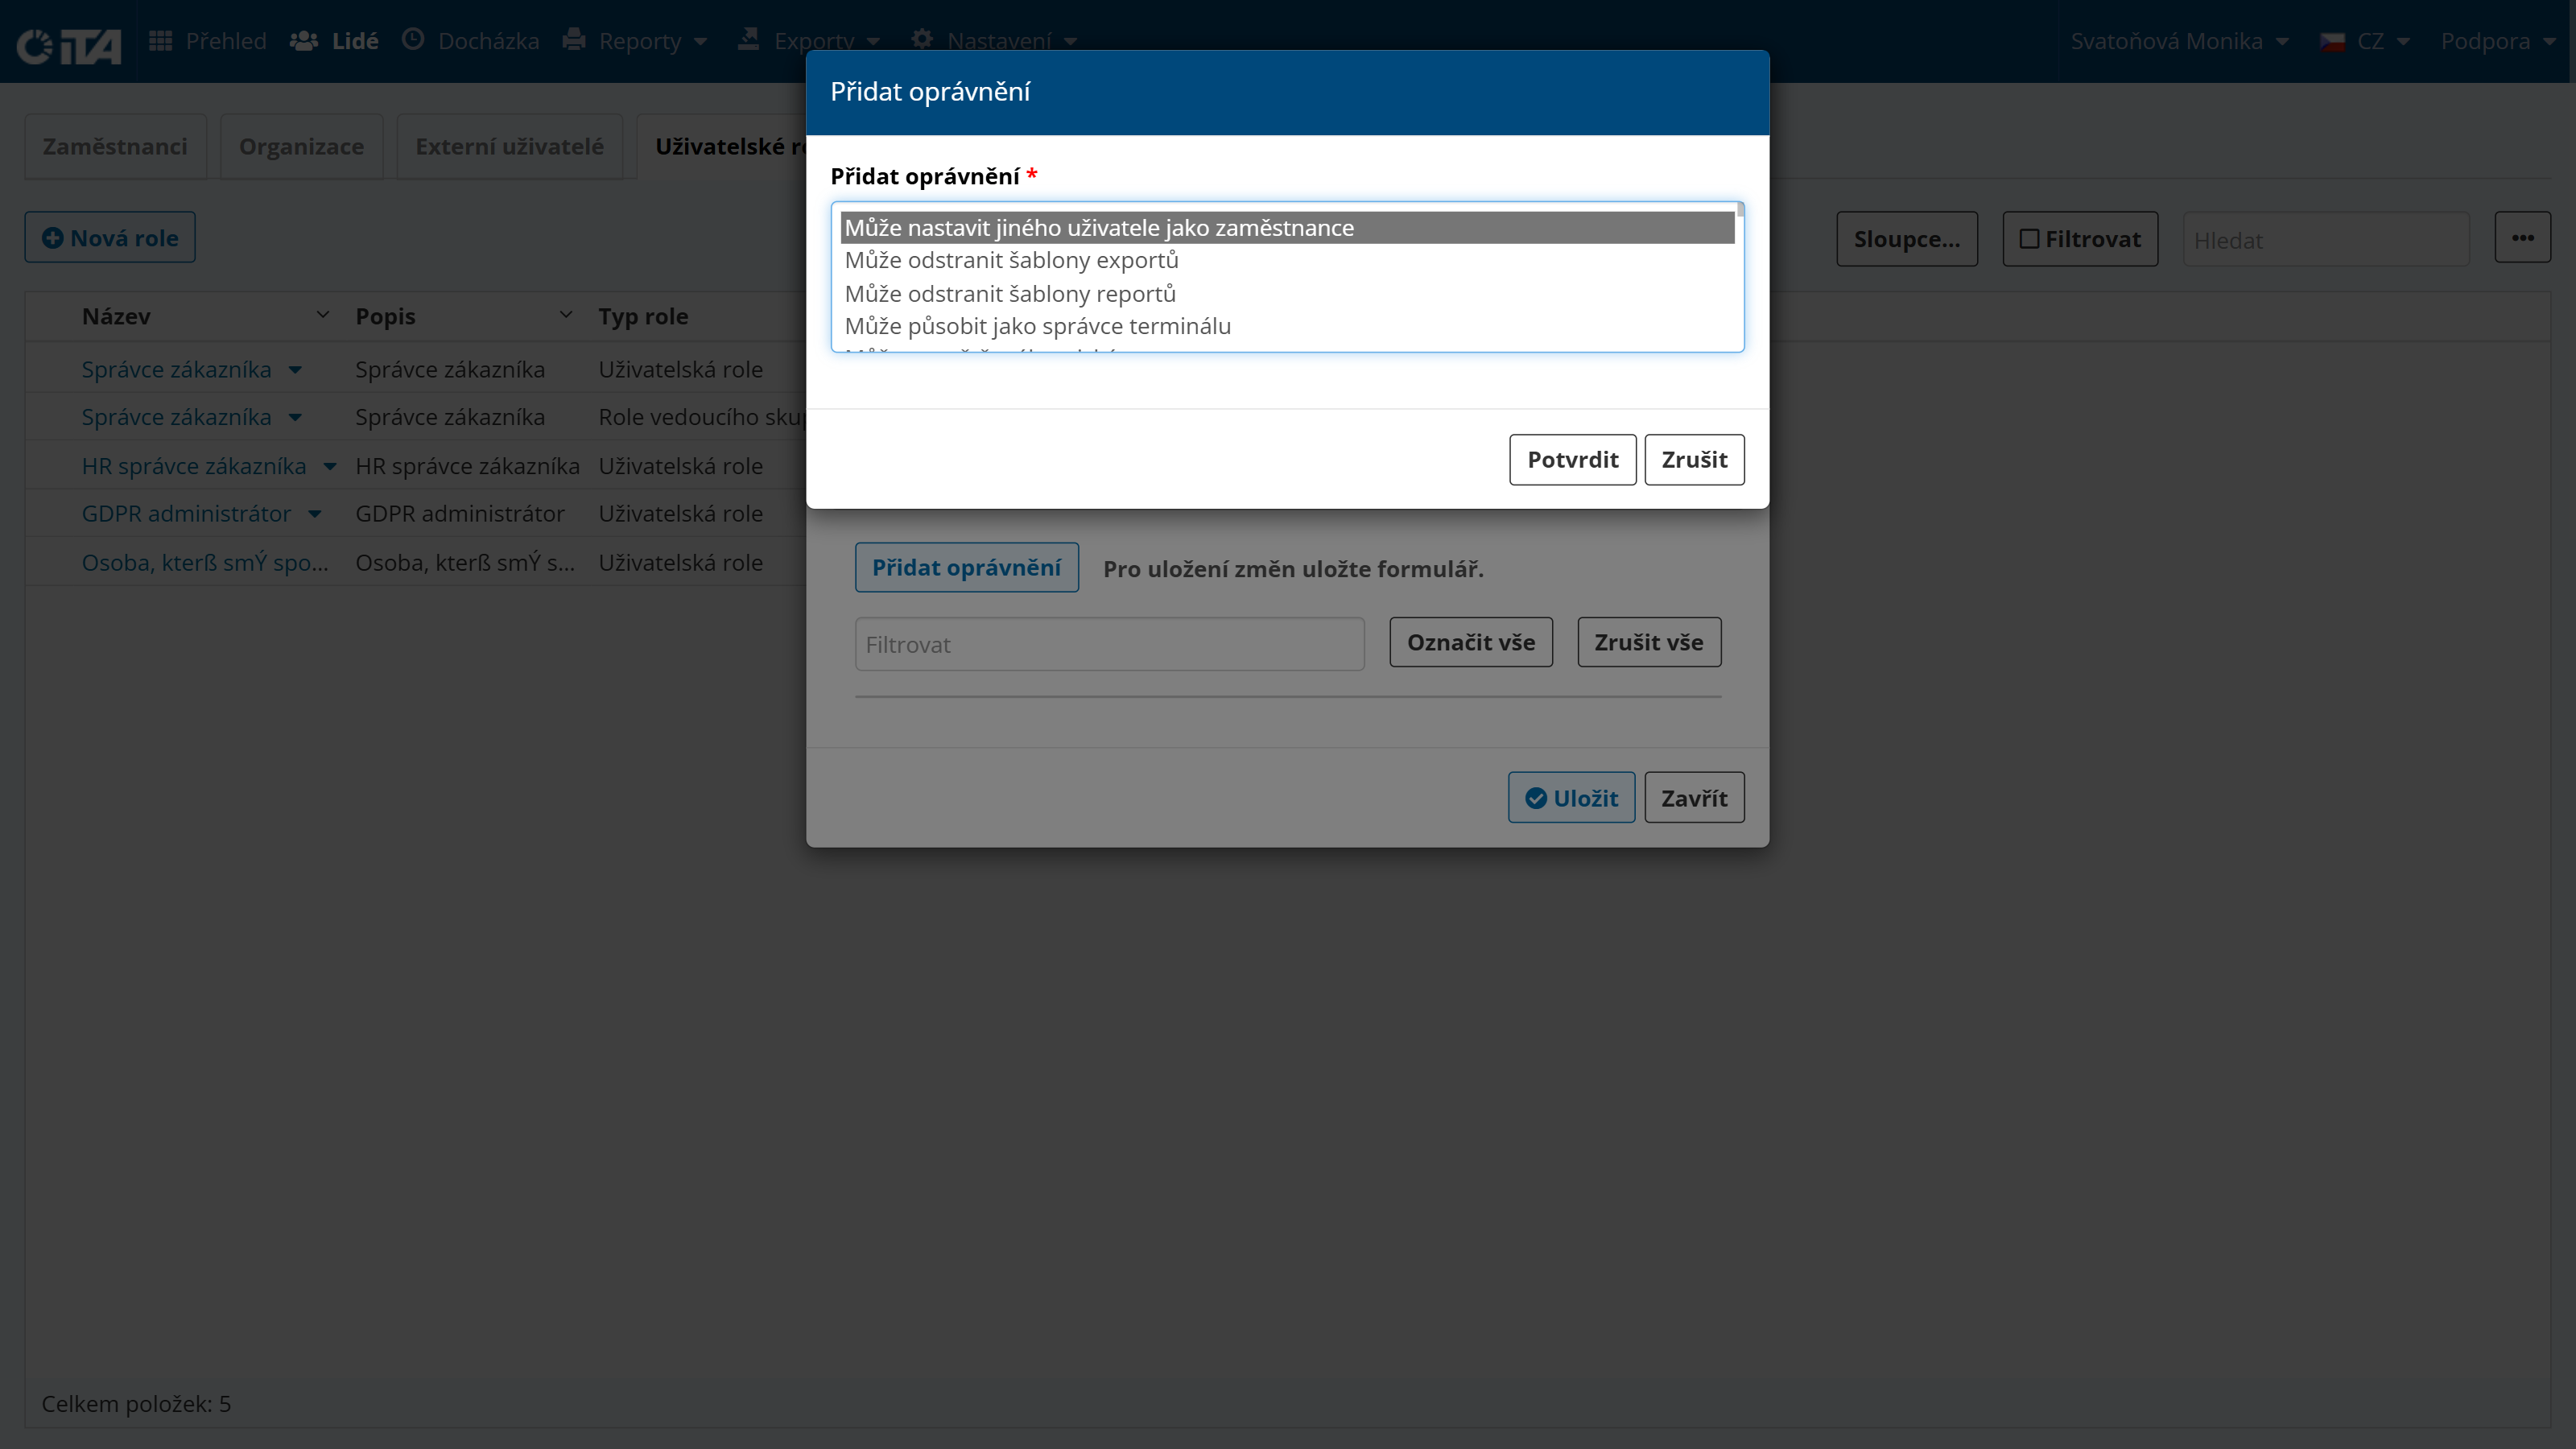
Assign permissions to the role:
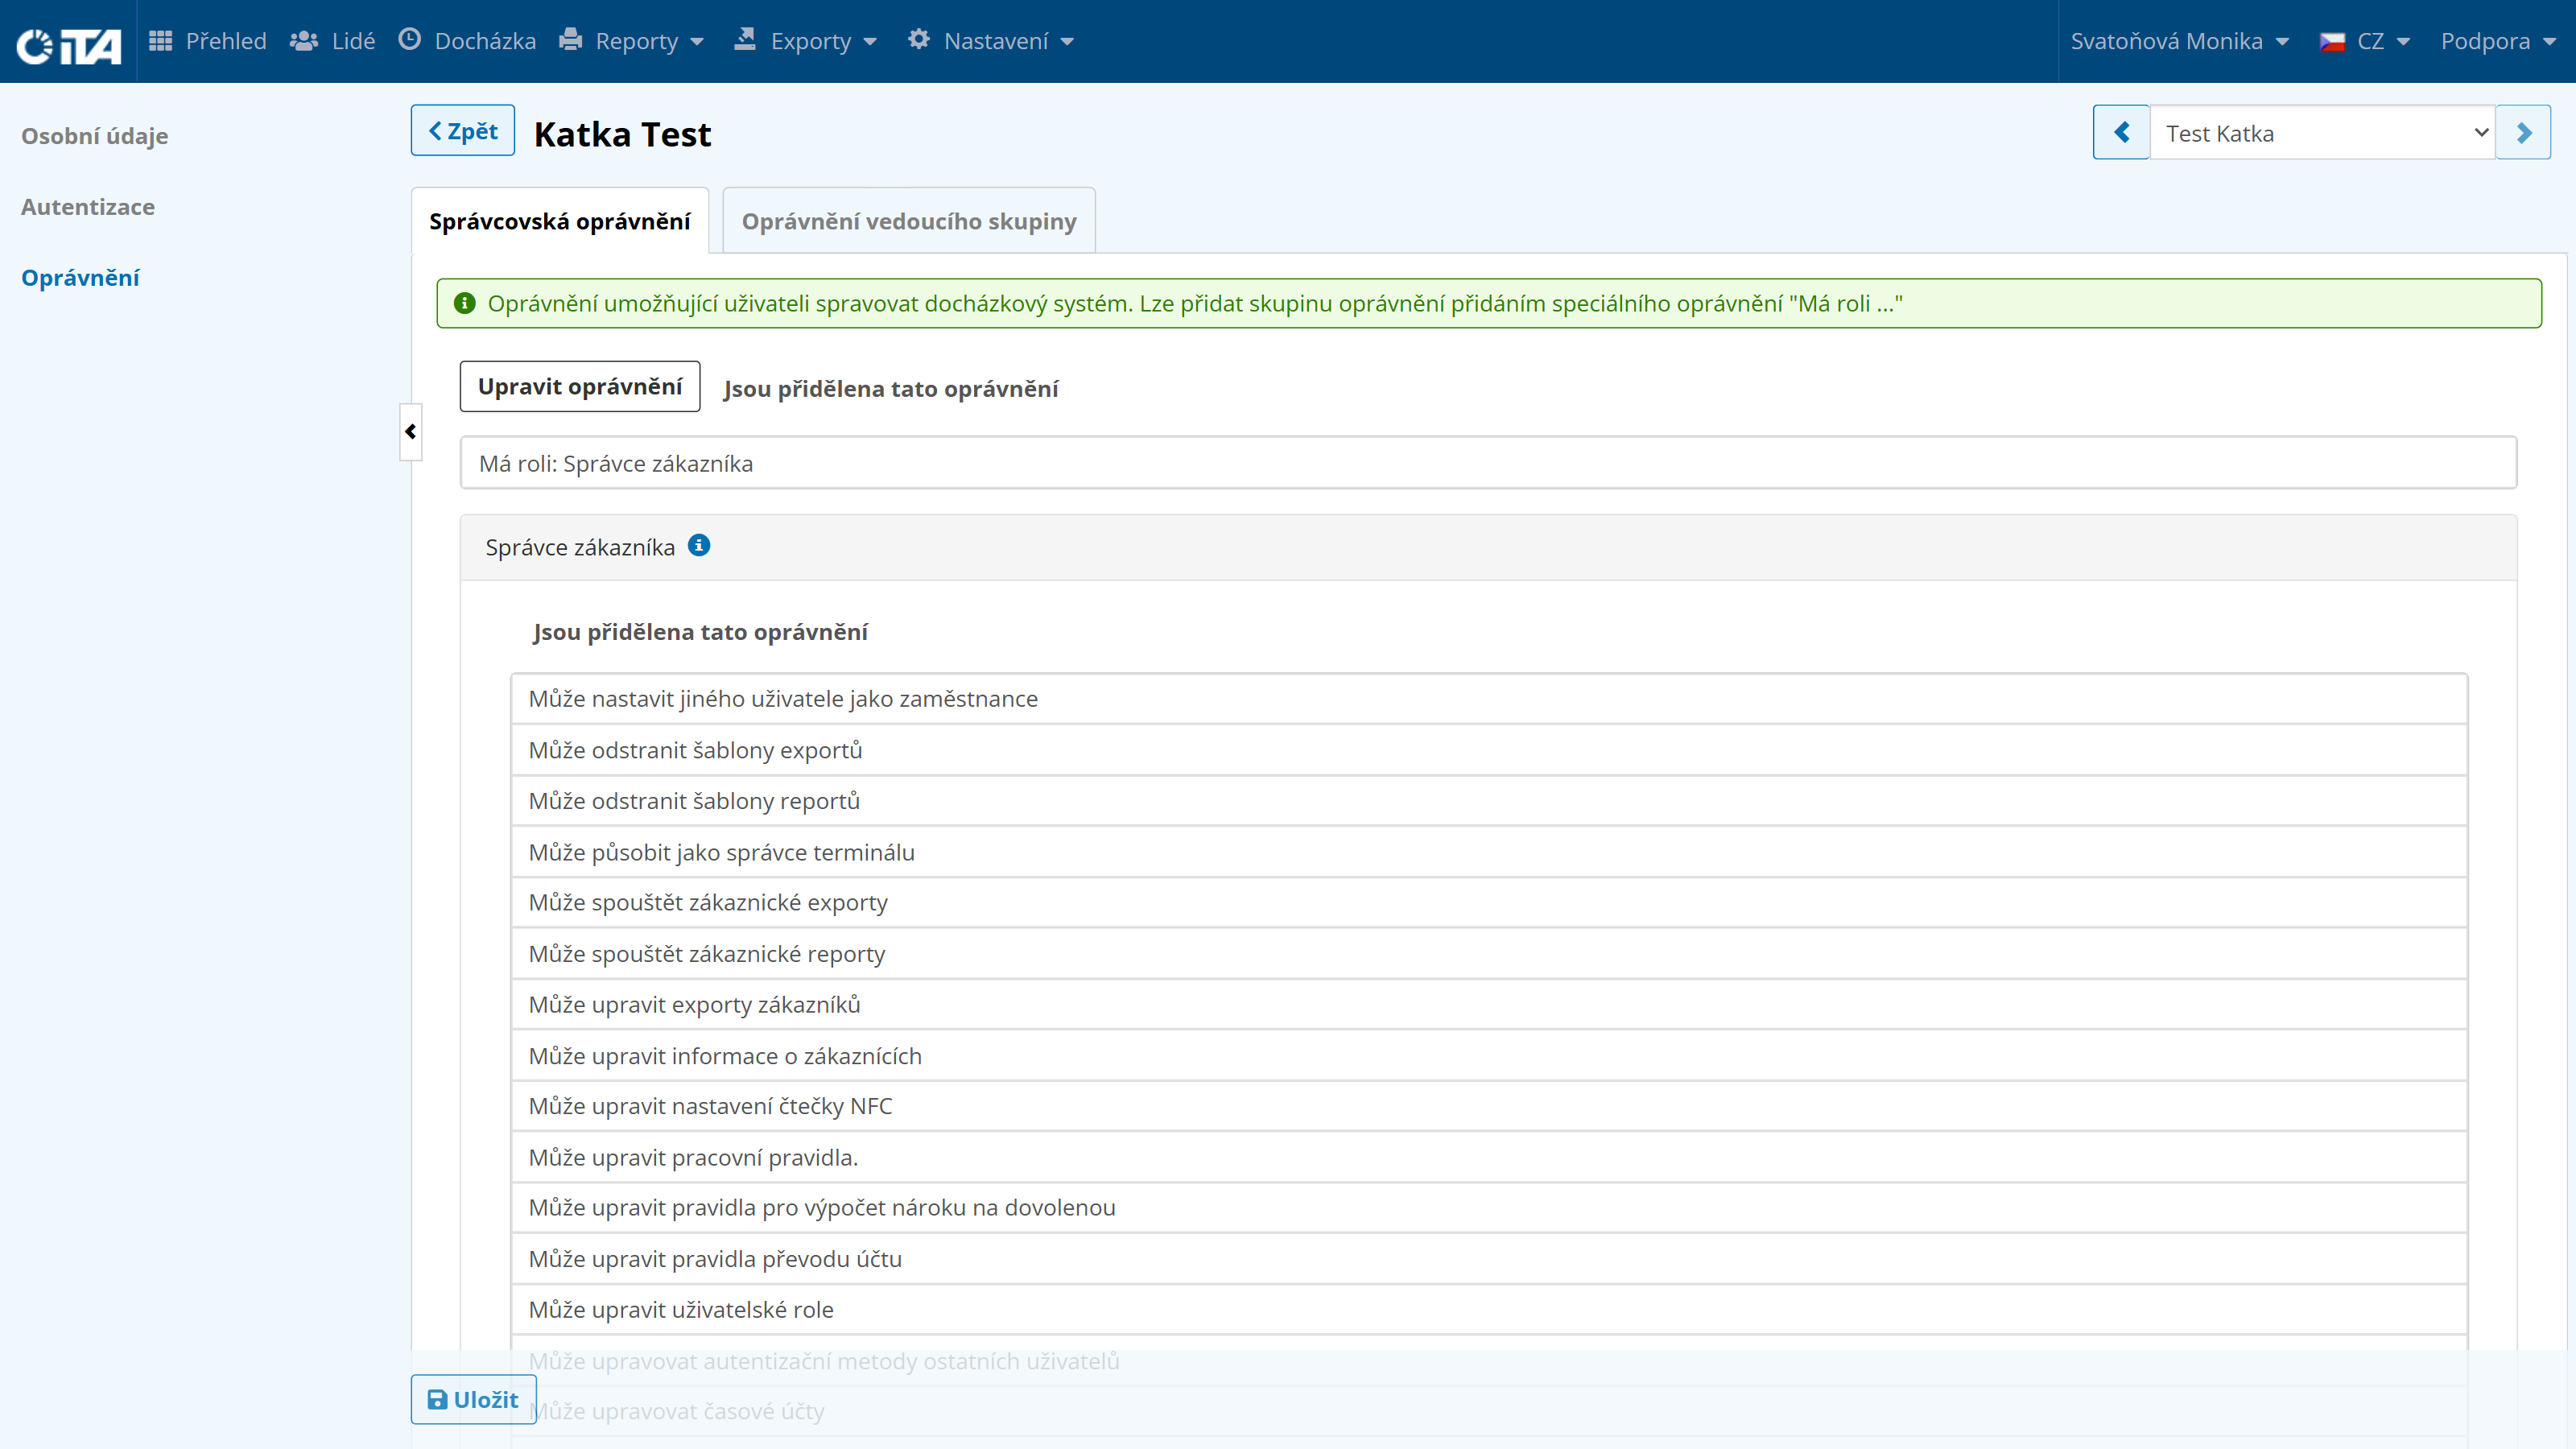
Customer Administrators#
This is where you can create and delete accounts that are allowed to manage and perform various operations in the iTA attendance system.
Creating a New Administrator#
If this is an external user (a user who does not have an account on the Employees tab), enter their first name, last name, and email on the External Users tab and assign them the Customer Administrator role, or another role you previously created for this purpose. The user can then navigate the system based on the rules you have granted:
Click the external user (a user who does not have an account on the Employees tab), or create an external user.
Open the Authorization tab:
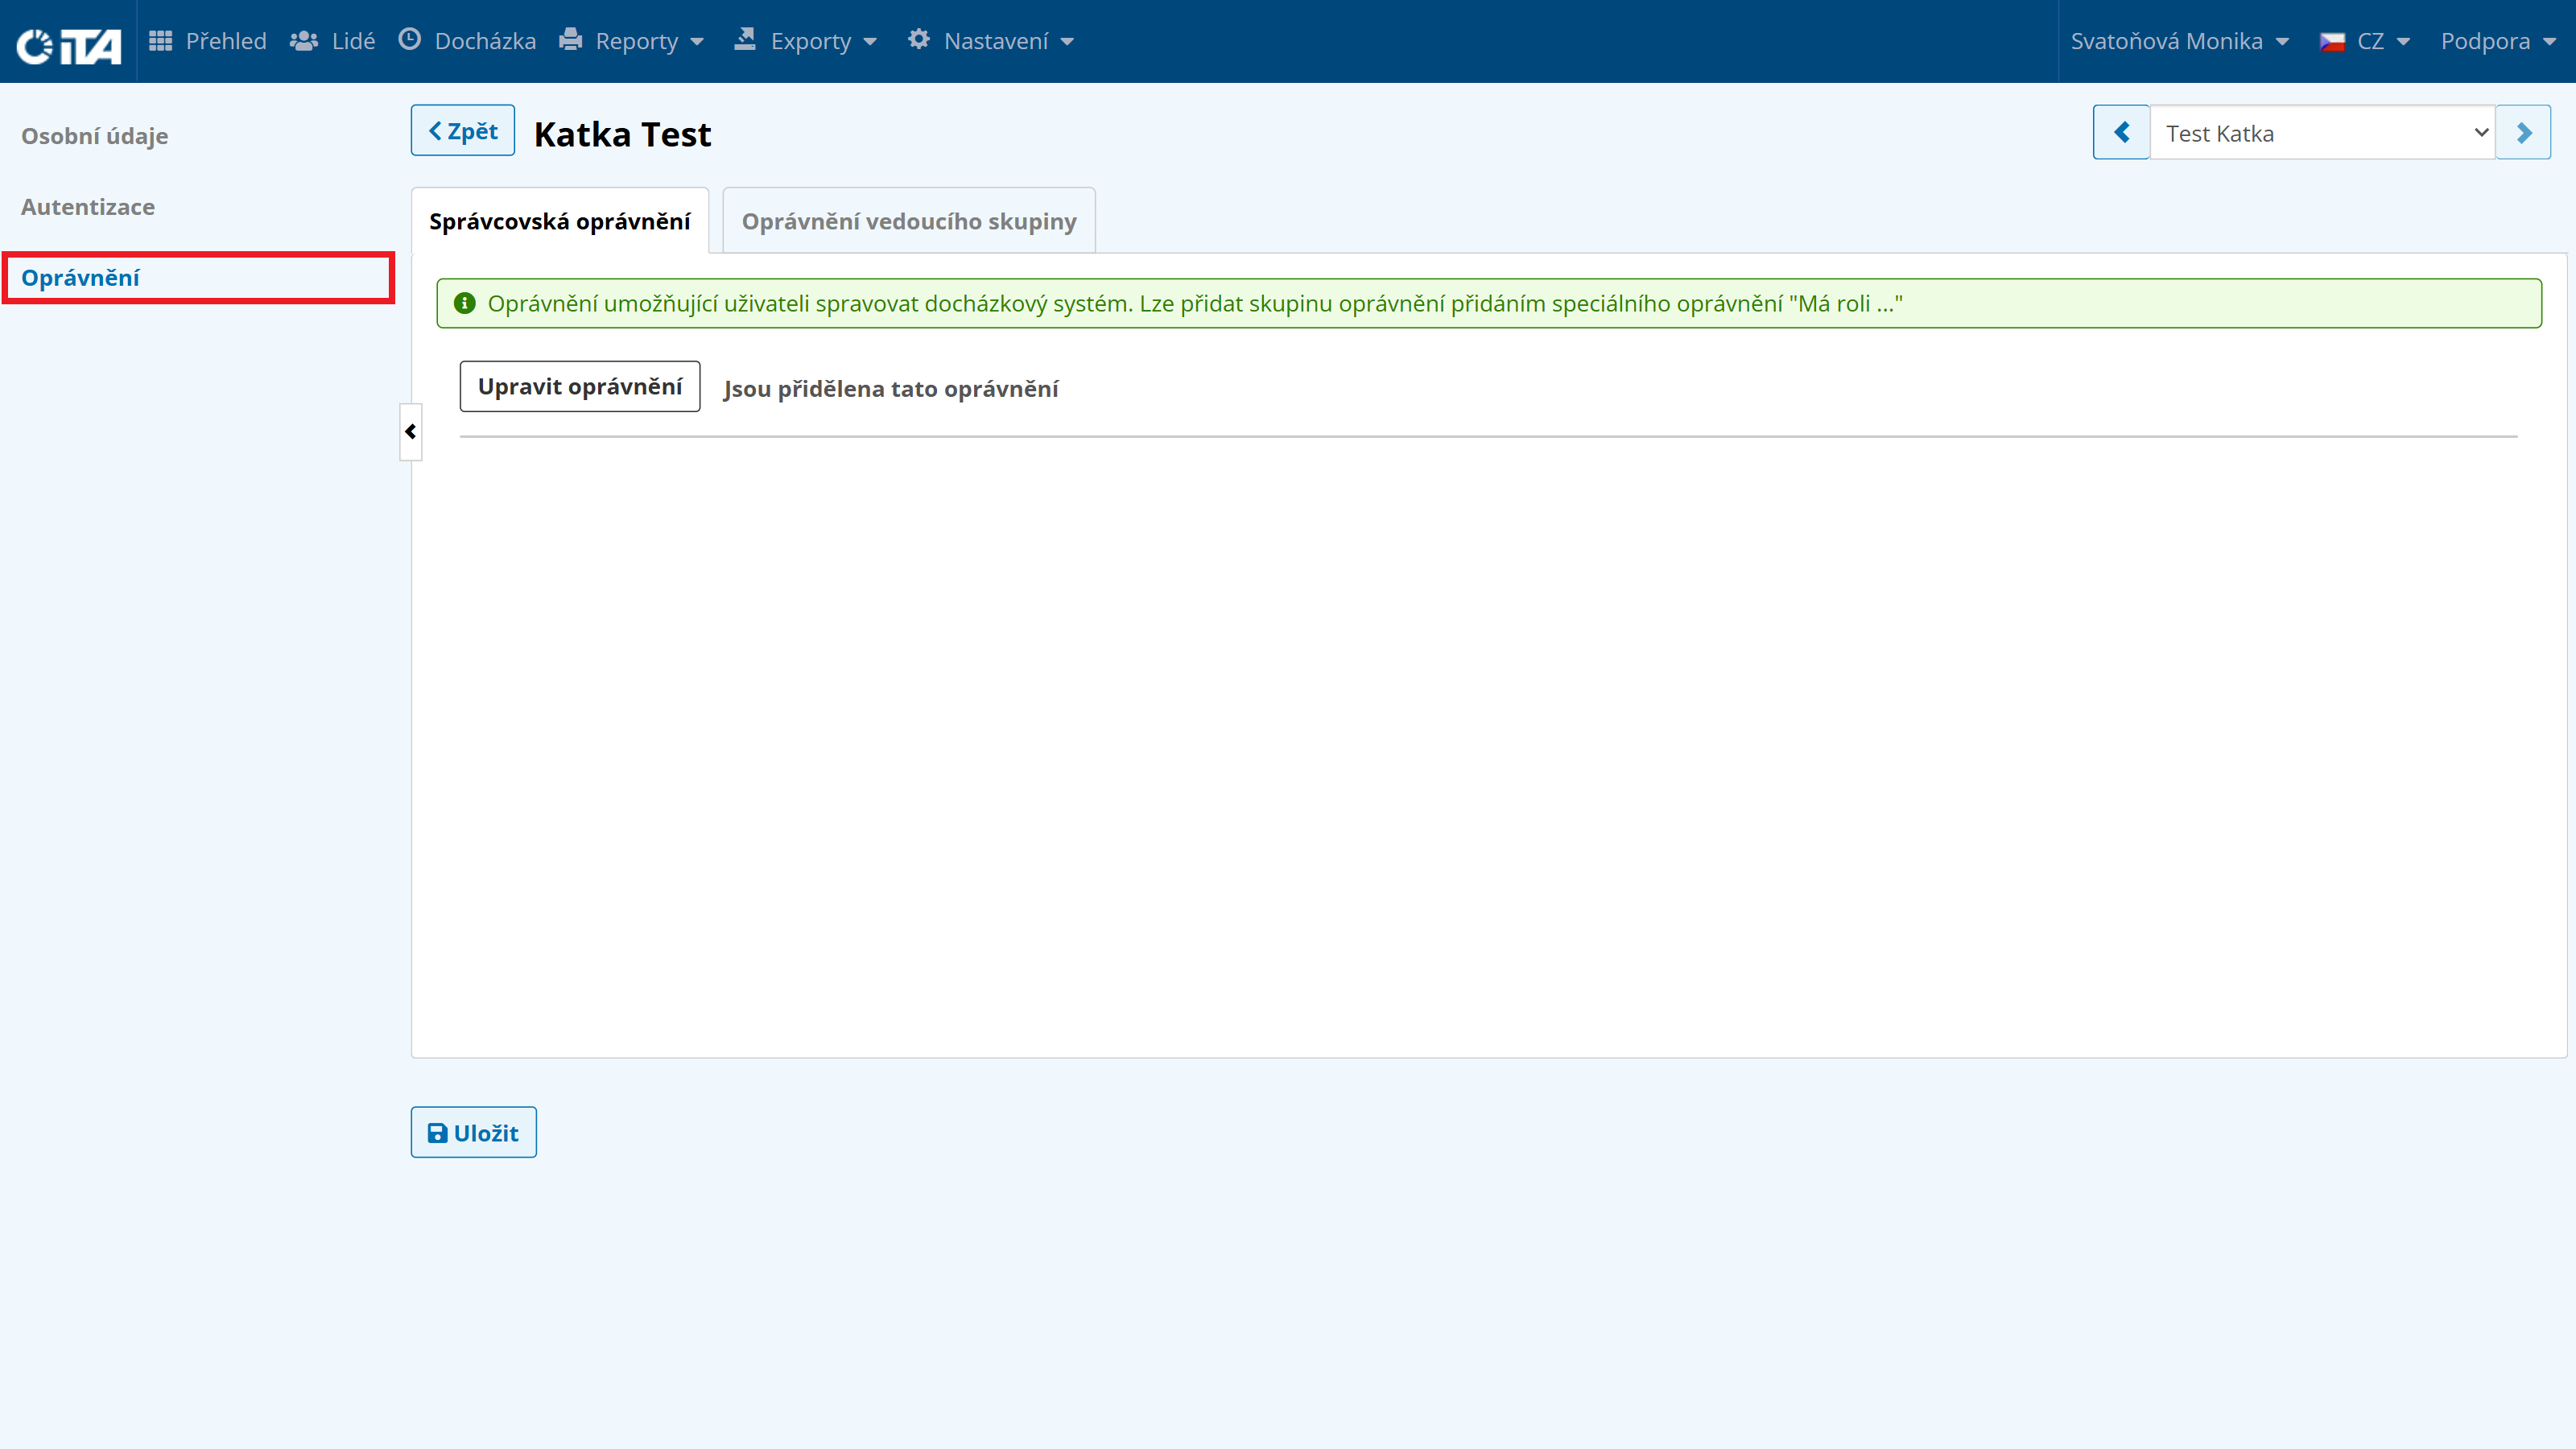
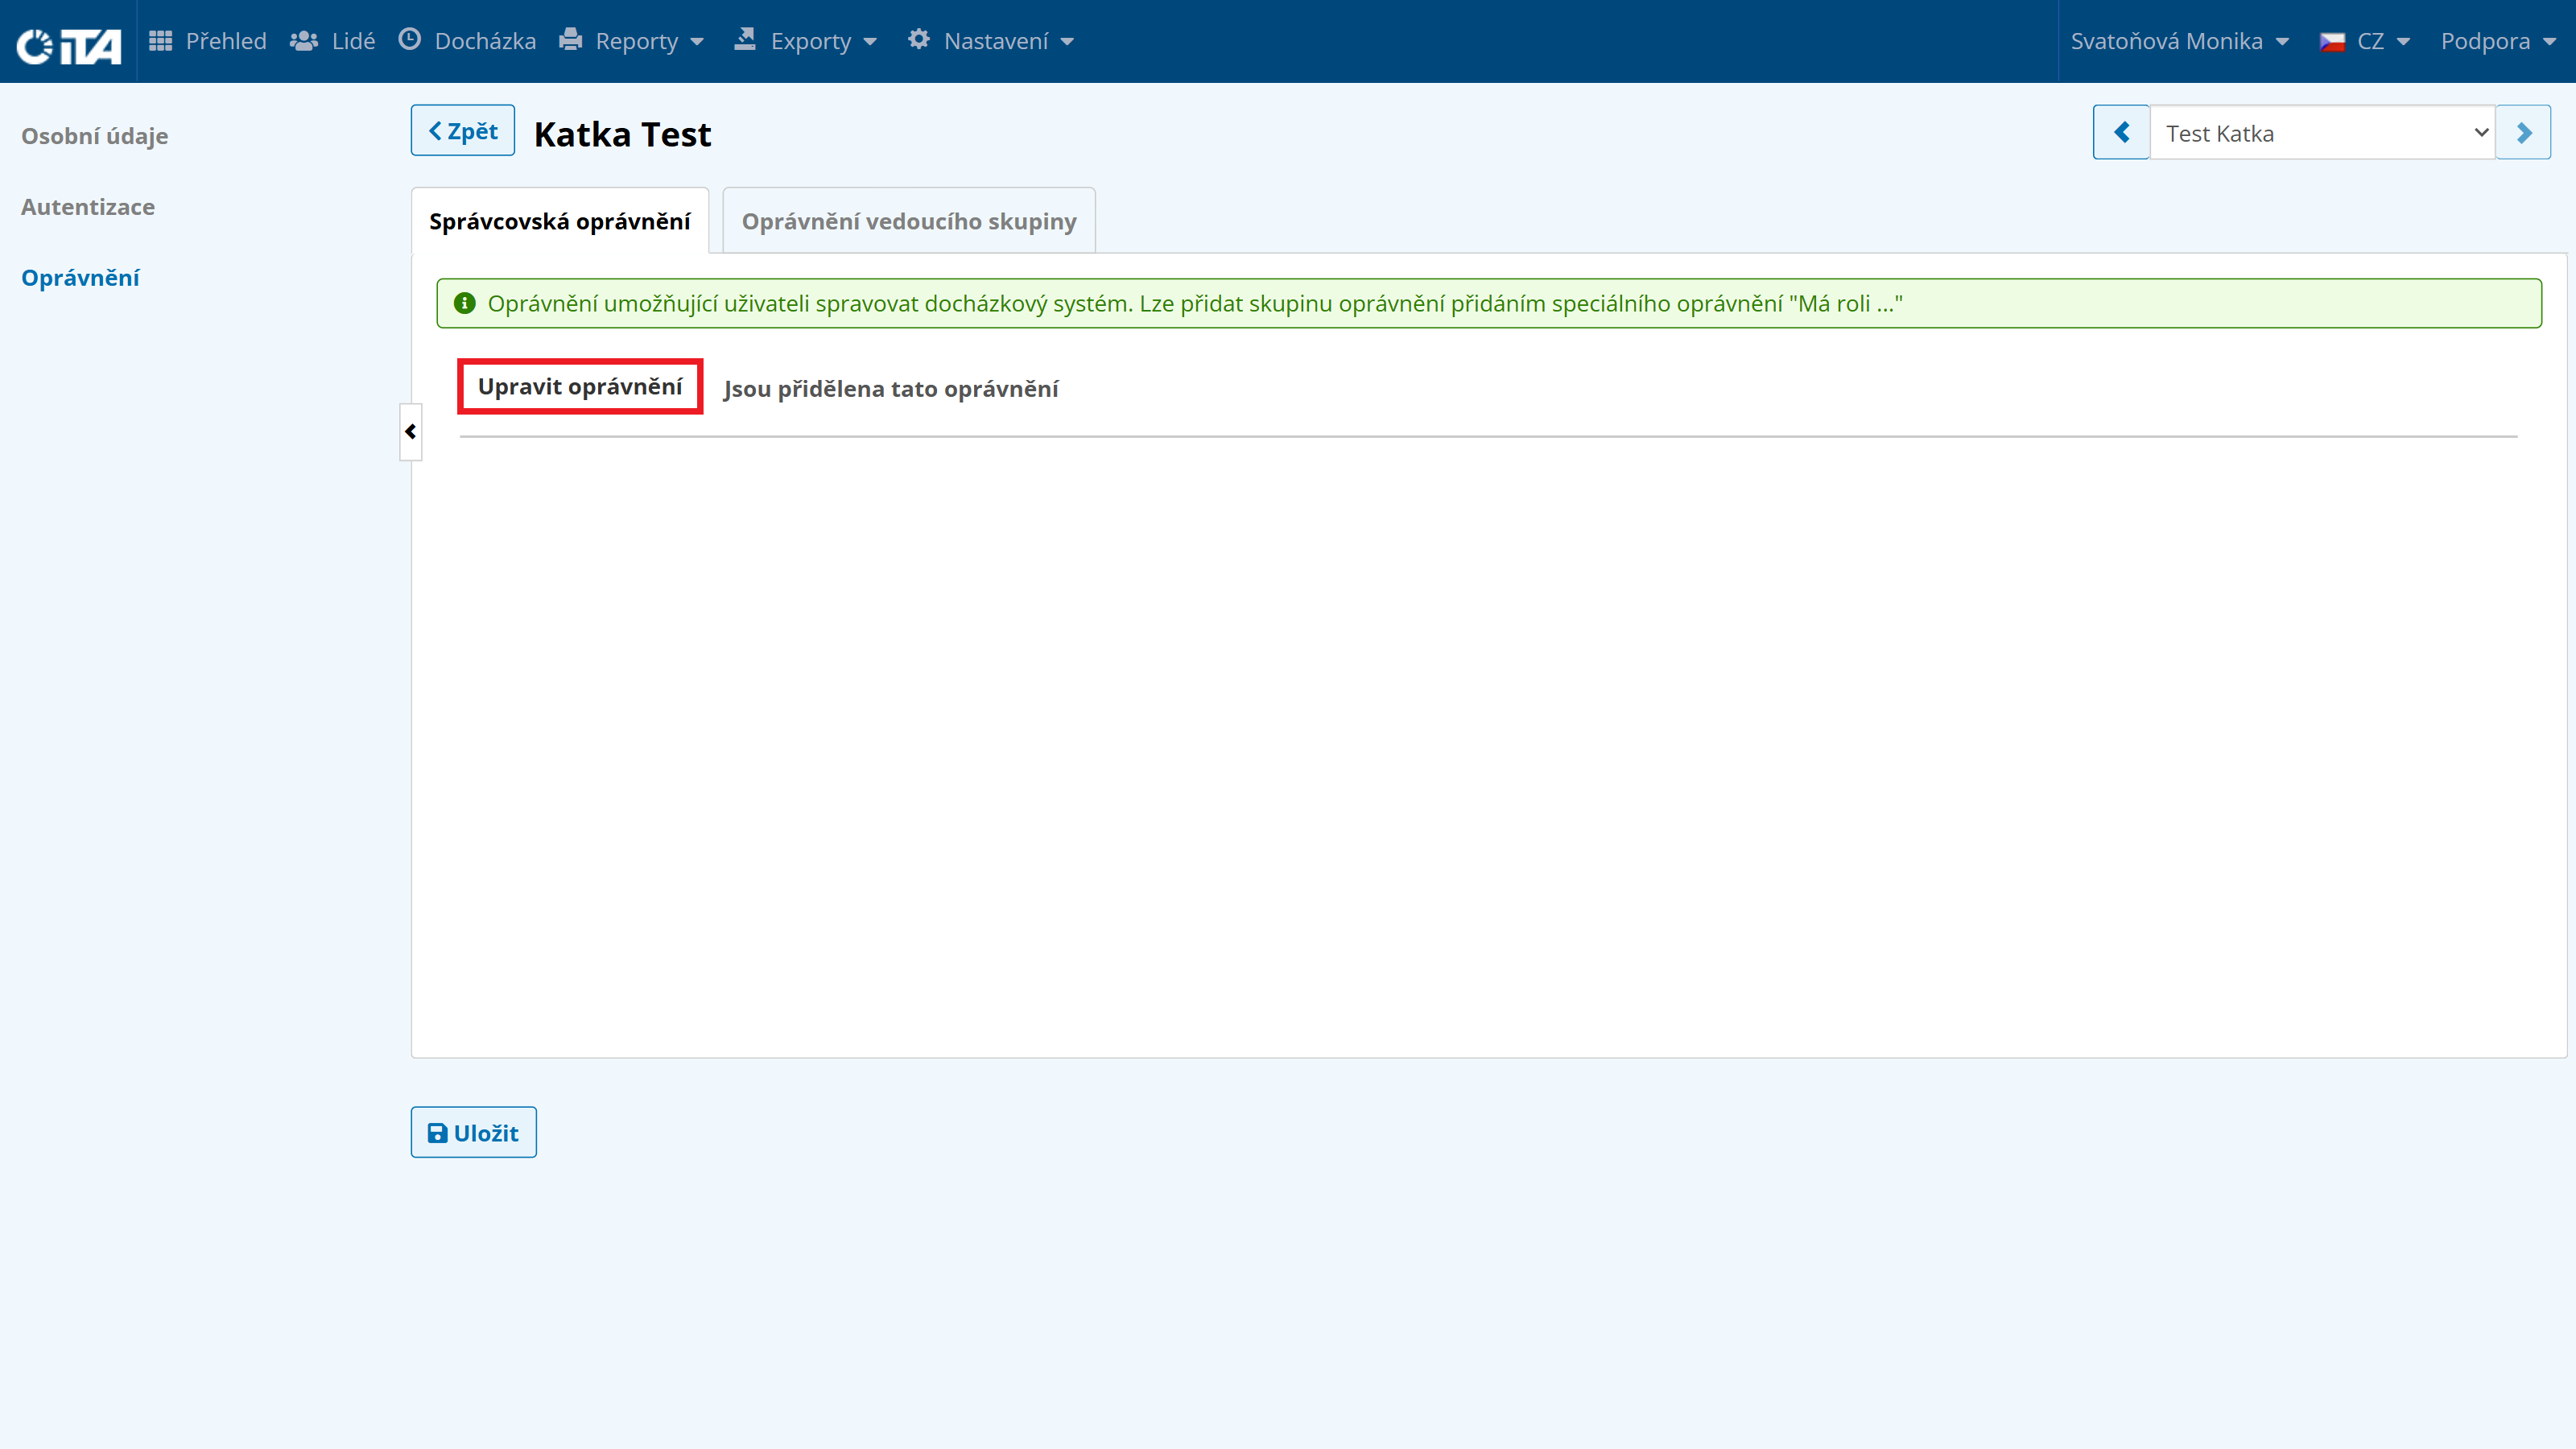
Click Edit Permissions:
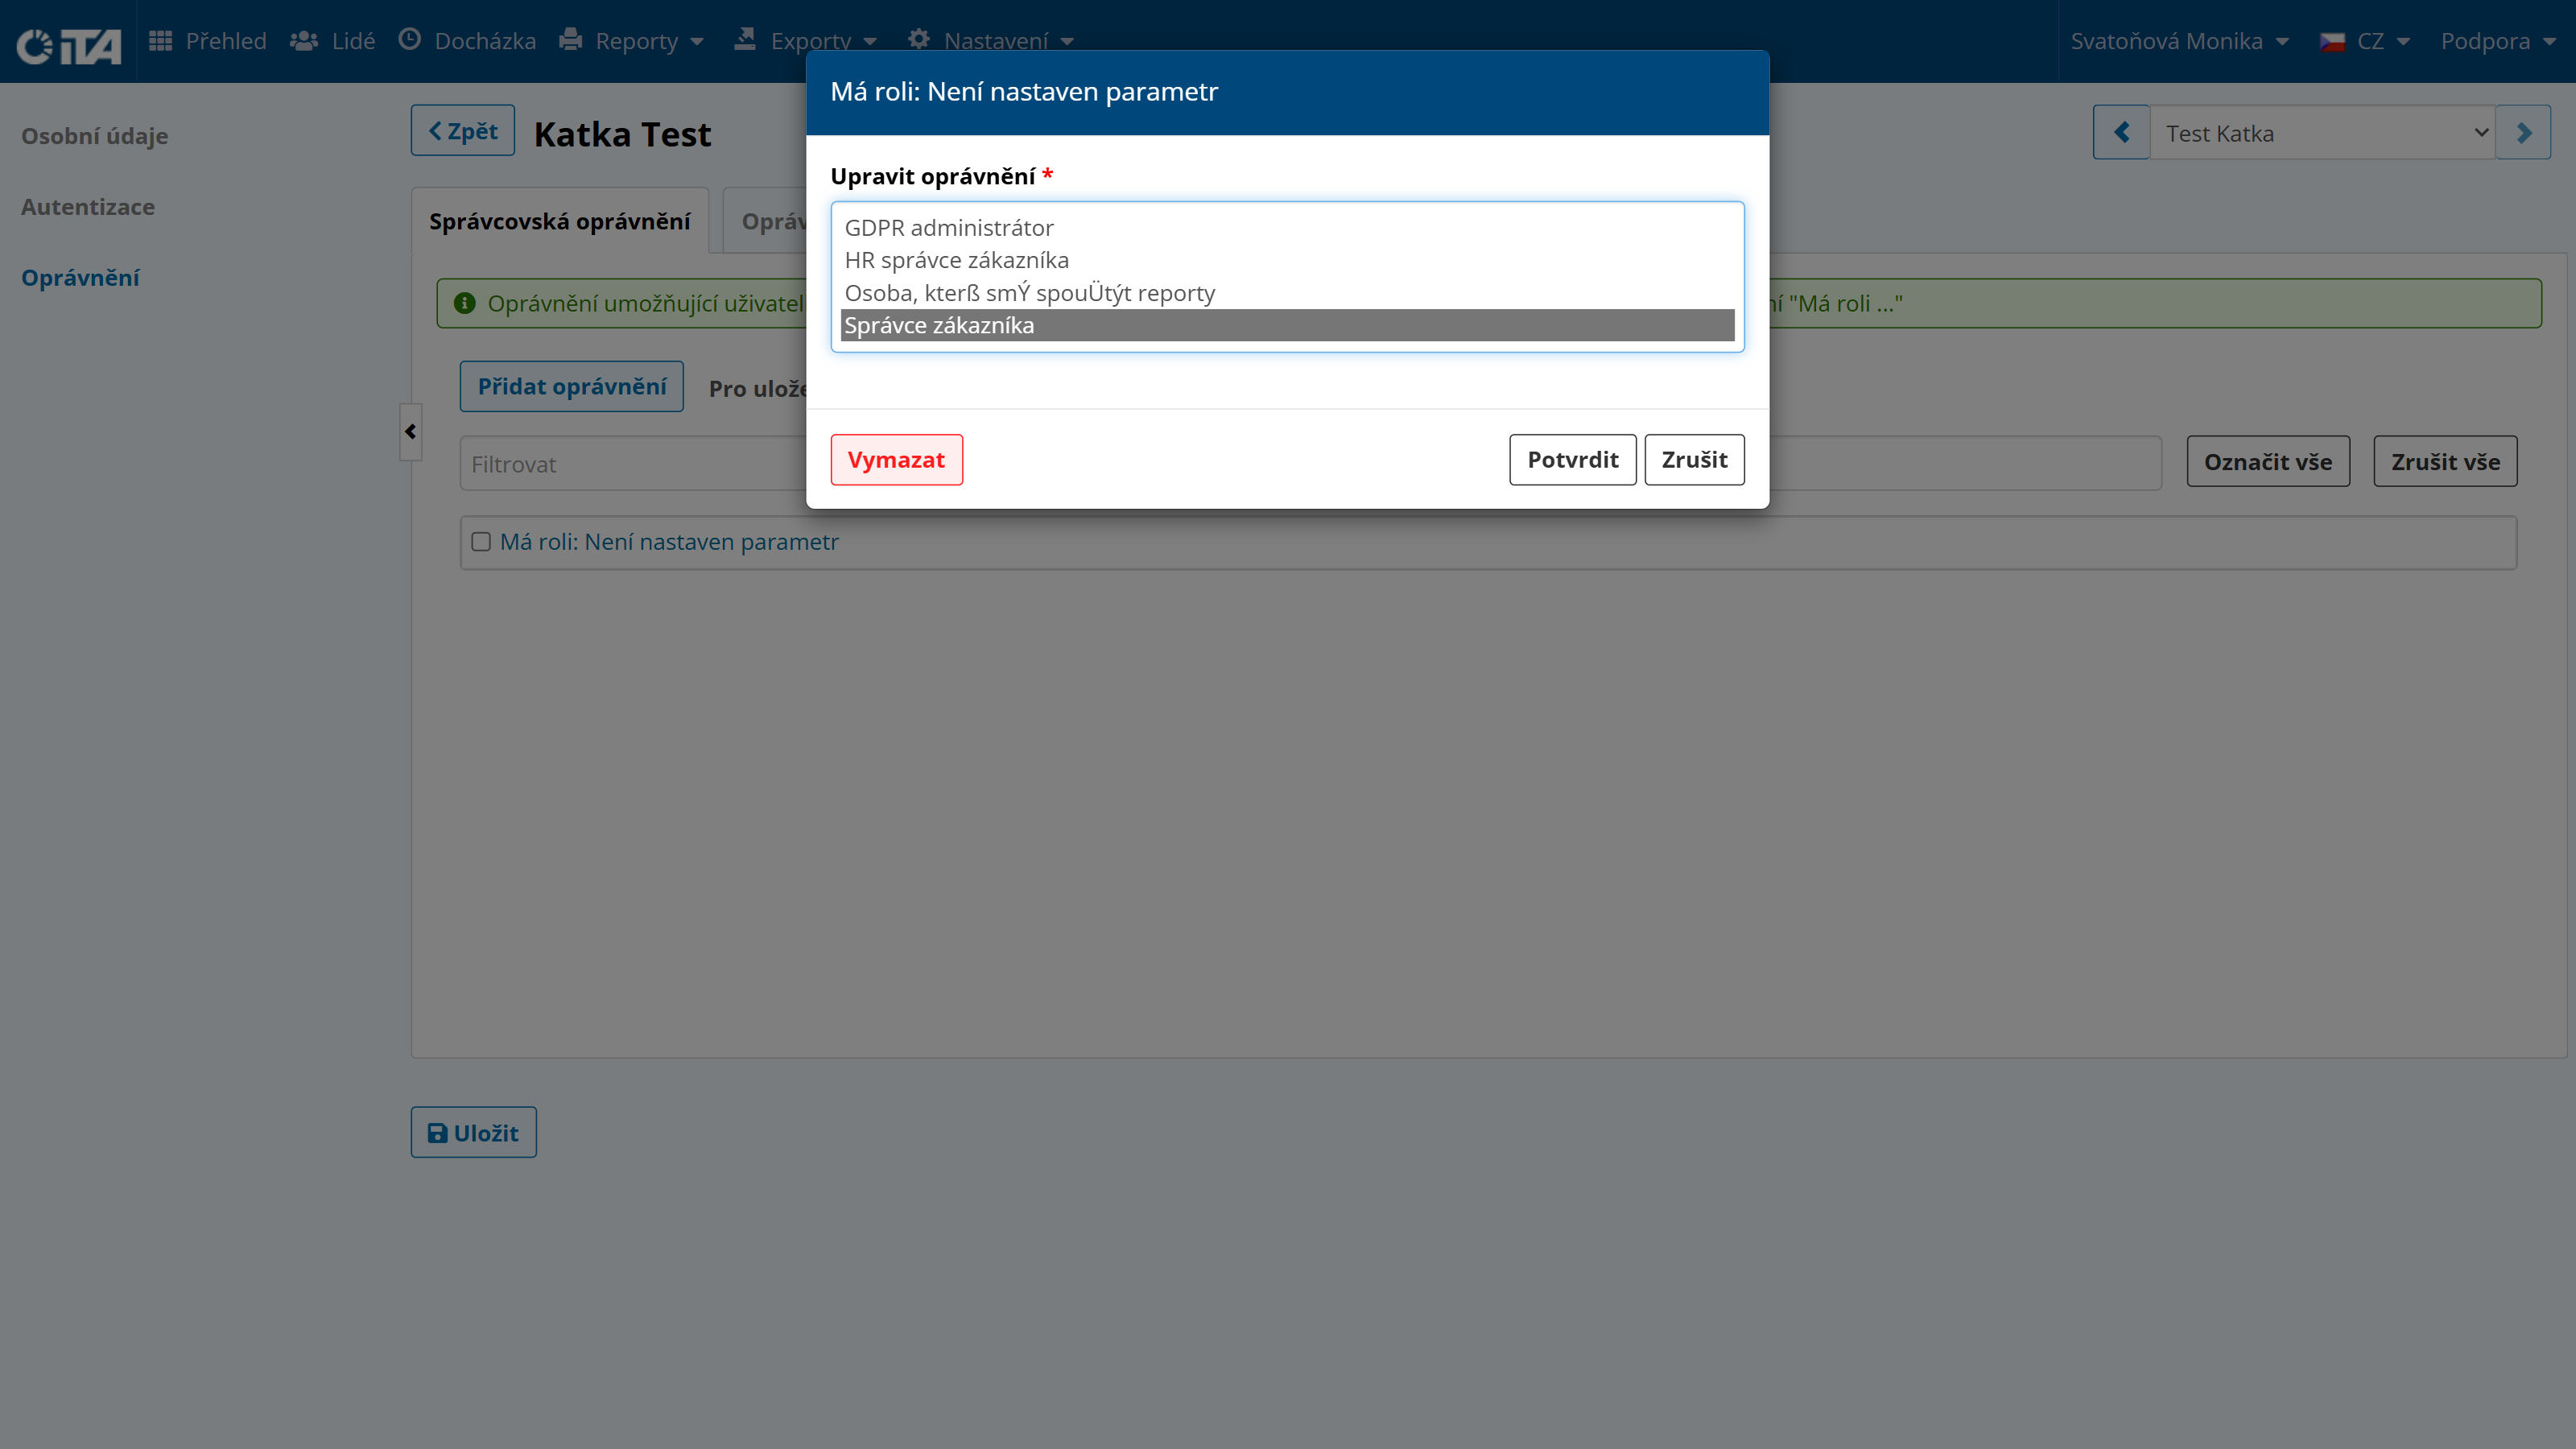
Click Has Role and confirm with Confirm:
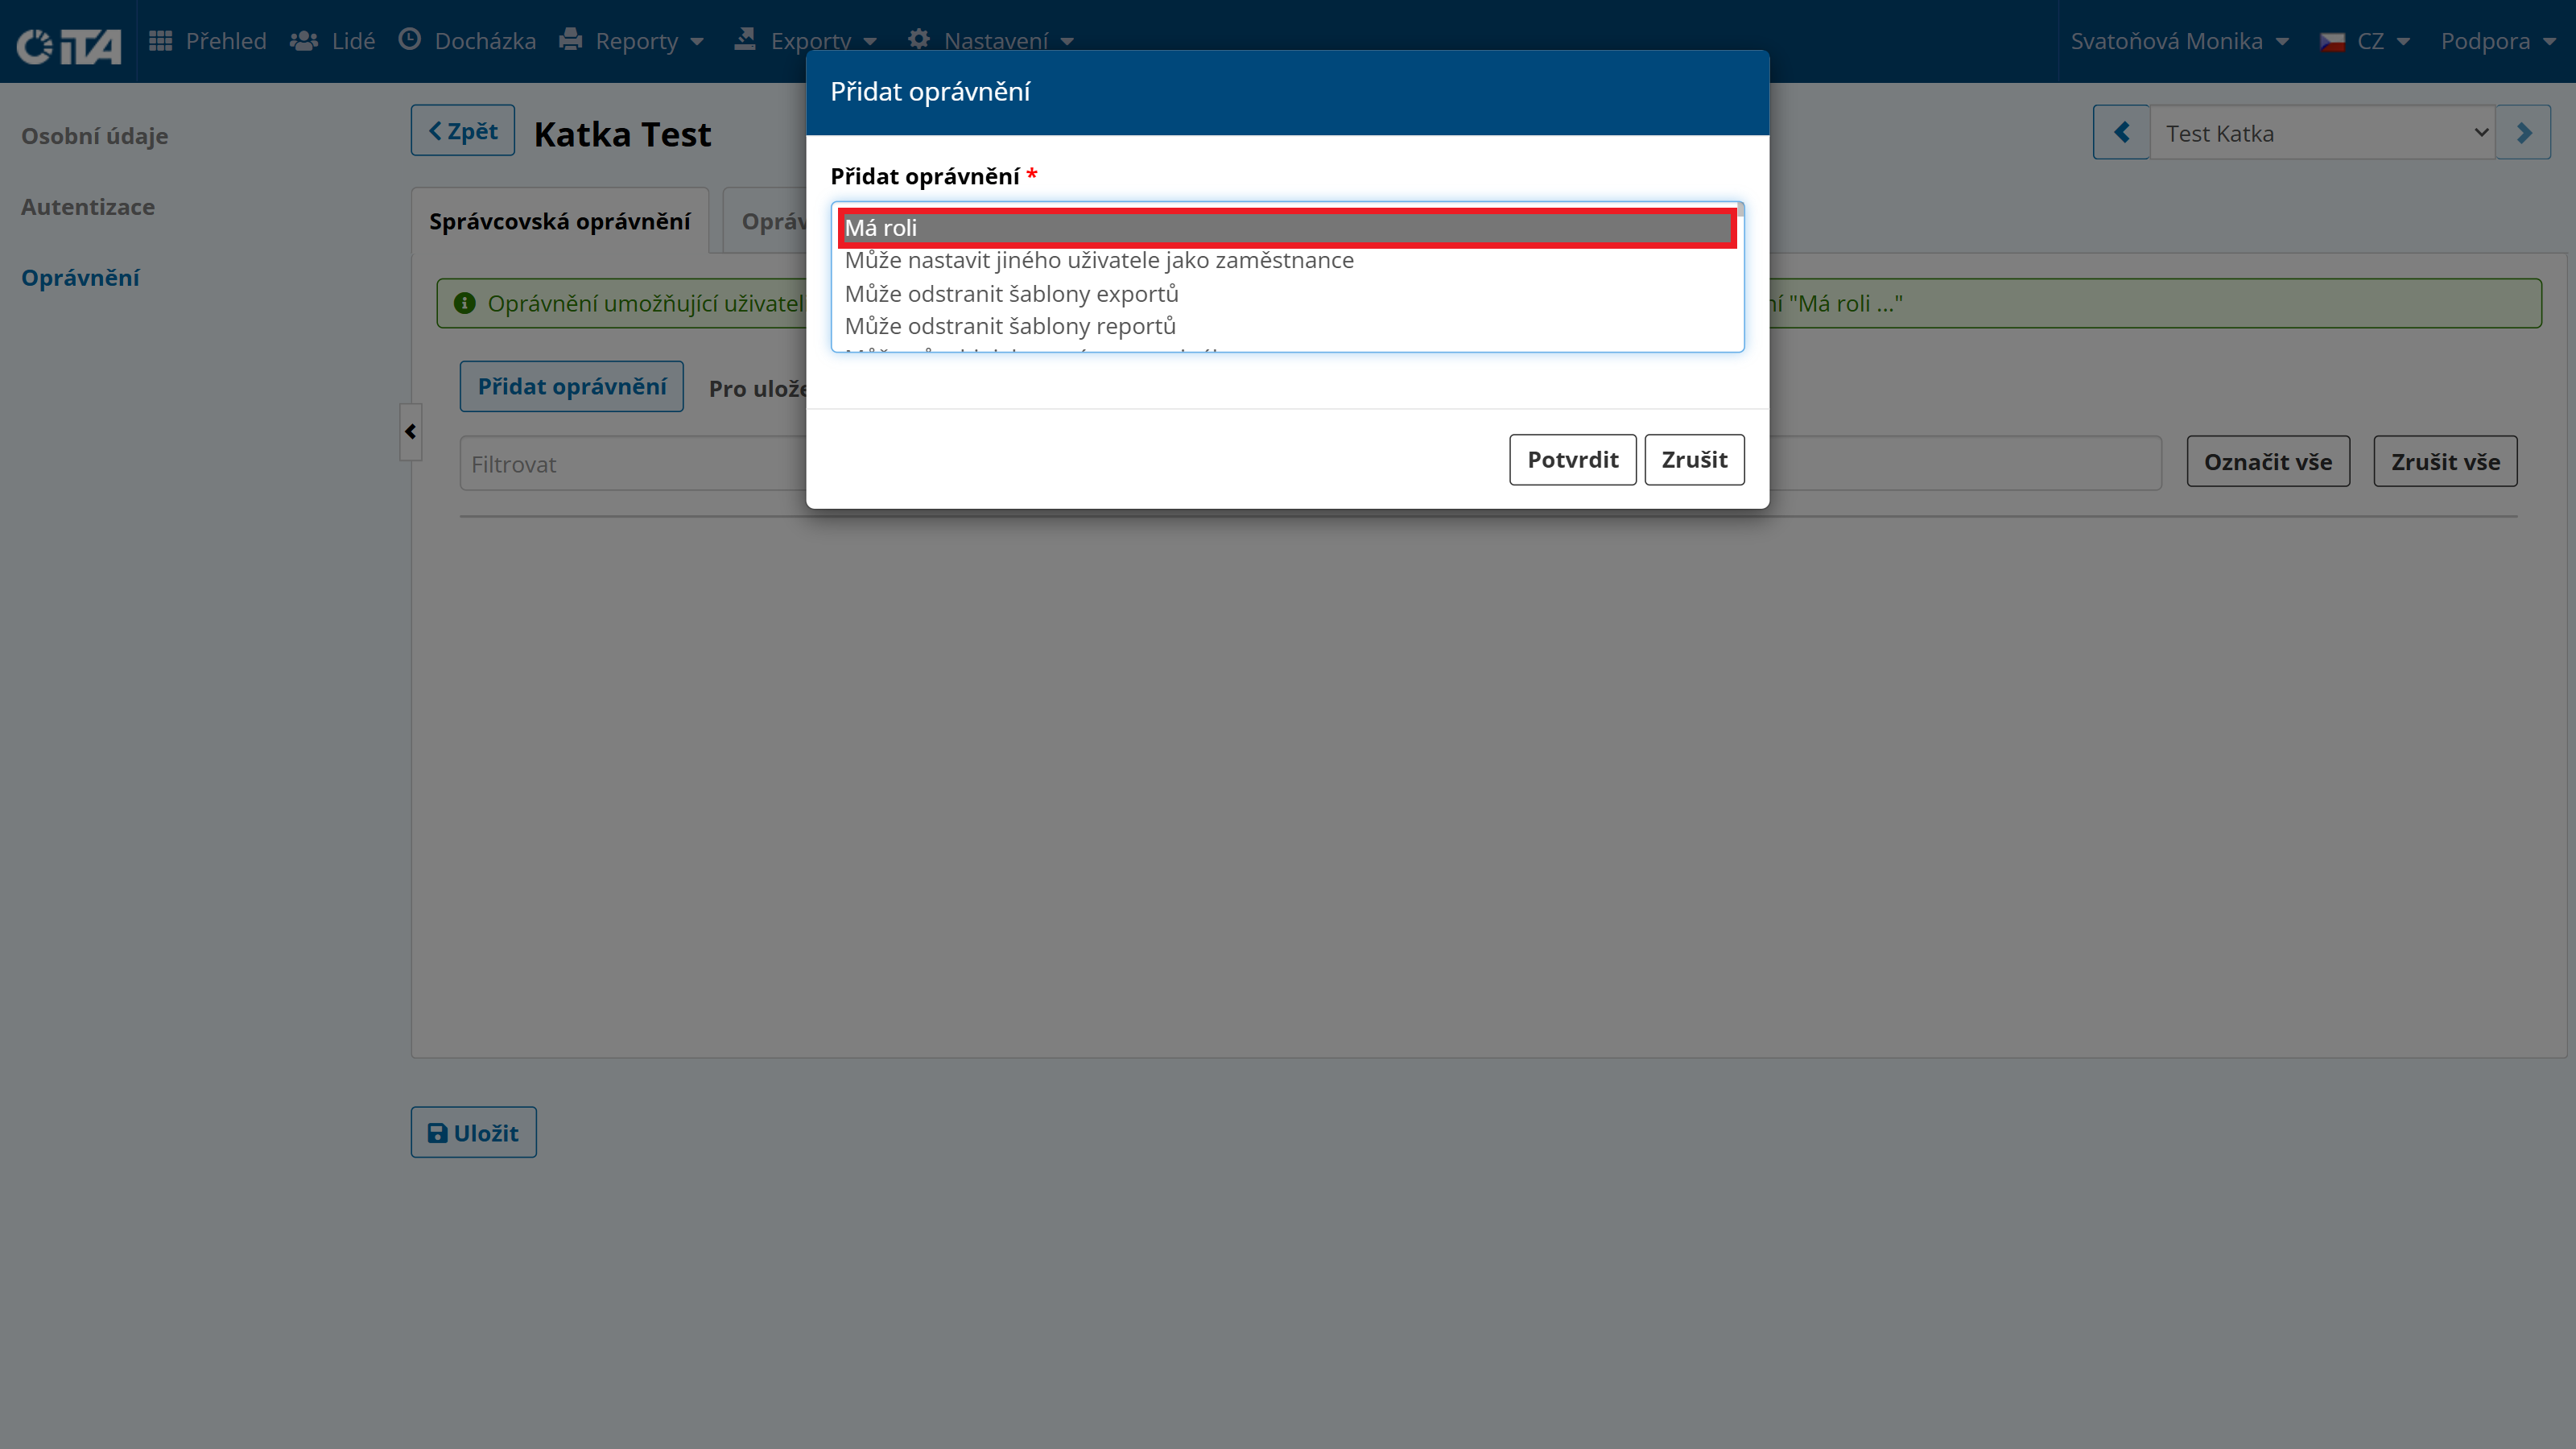
Click the newly assigned permission and, in the pop-up window, assign the Customer Administrator role or another role you previously created for this purpose:

Click Confirm.
Click Save.